Easy And Beautiful Decoupage Lamp DIY
Changing the look of a lamp or any hard surface in your home is easy with just a few items. Using Mod Podge and decorative napkins, see how a plain lamp can be turned into decor that enhances the look of a room. This is an easy craft anyone can do.
Looking to add a touch of creative beauty to your living space? Look no further than Decoupage! This easy-to-do craft allows you to breathe new life into various objects throughout your home, and the best part is you don’t need to be crafty!
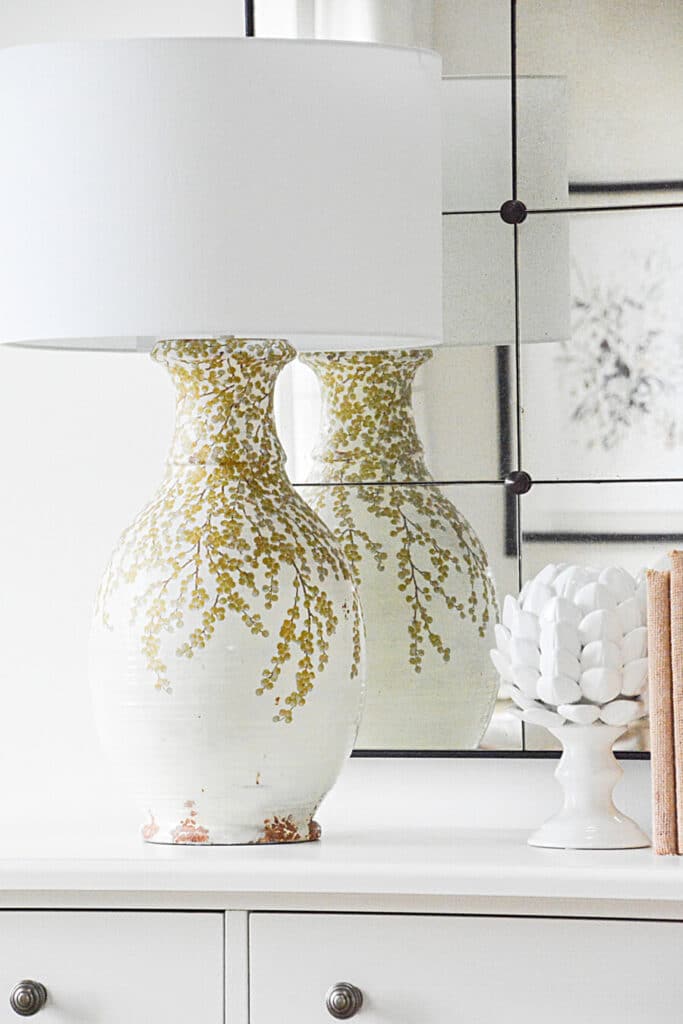
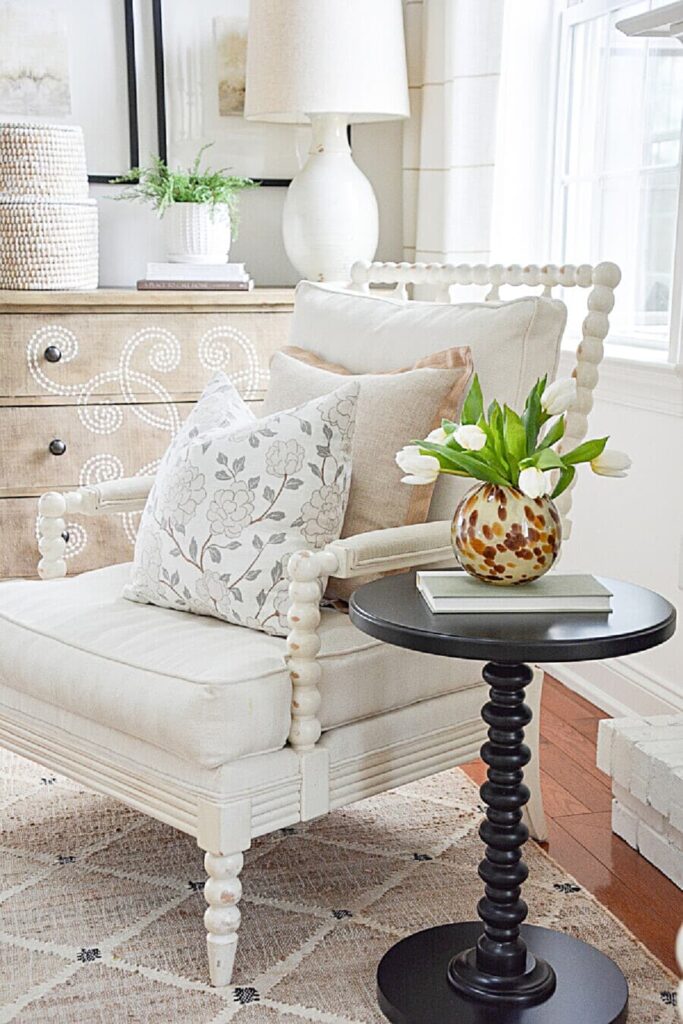
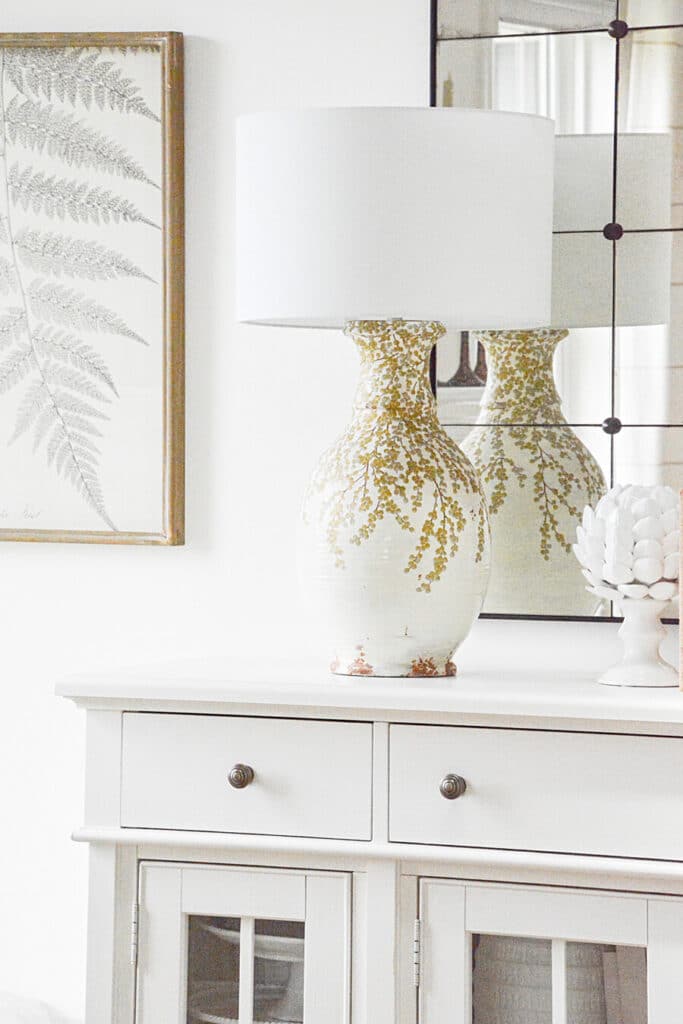
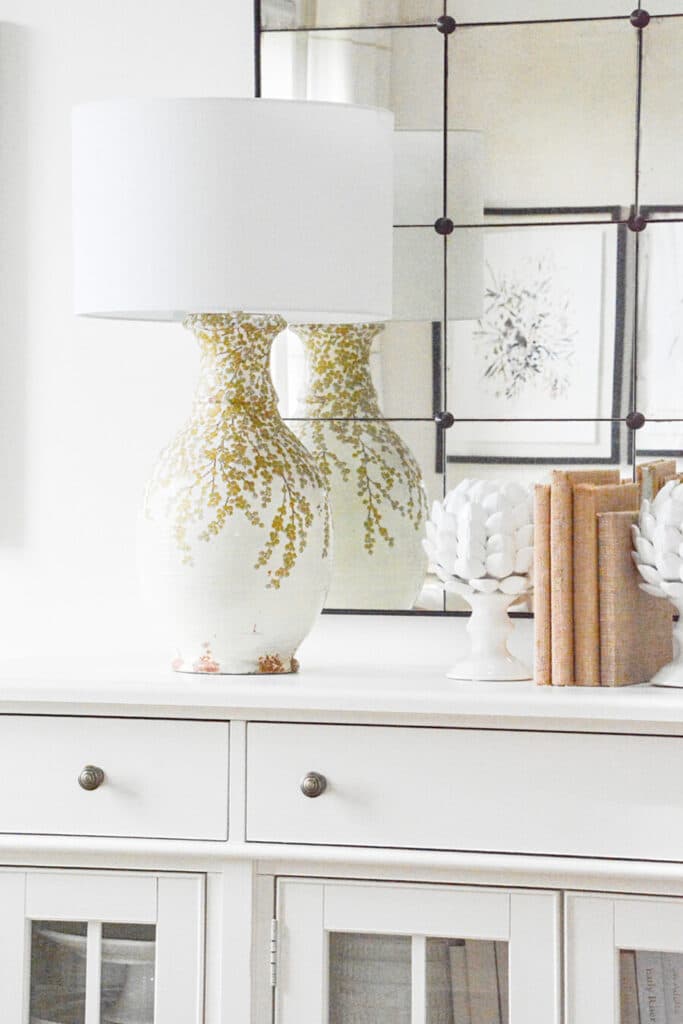
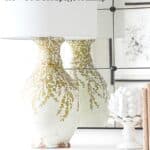
Recently, I was thinking about getting rid of a rather ordinary table lamp. While its shape was appealing, its color didn’t do anything for our neutral living room. Instead of passing it on to our children (sorry, kids!), I decided to decoupage the lamp with attractive gold berry napkins in my napkin stash. Here is the lamp before on the Curlacue chest…
I love decoupaging. Actually, it is a bit addictive. It’s so easy to do, and the results are amazing. I’ve transformed plain eggs into beautiful Chinoiserie Eggs and terracotta pots into Torn Tissue Planters.
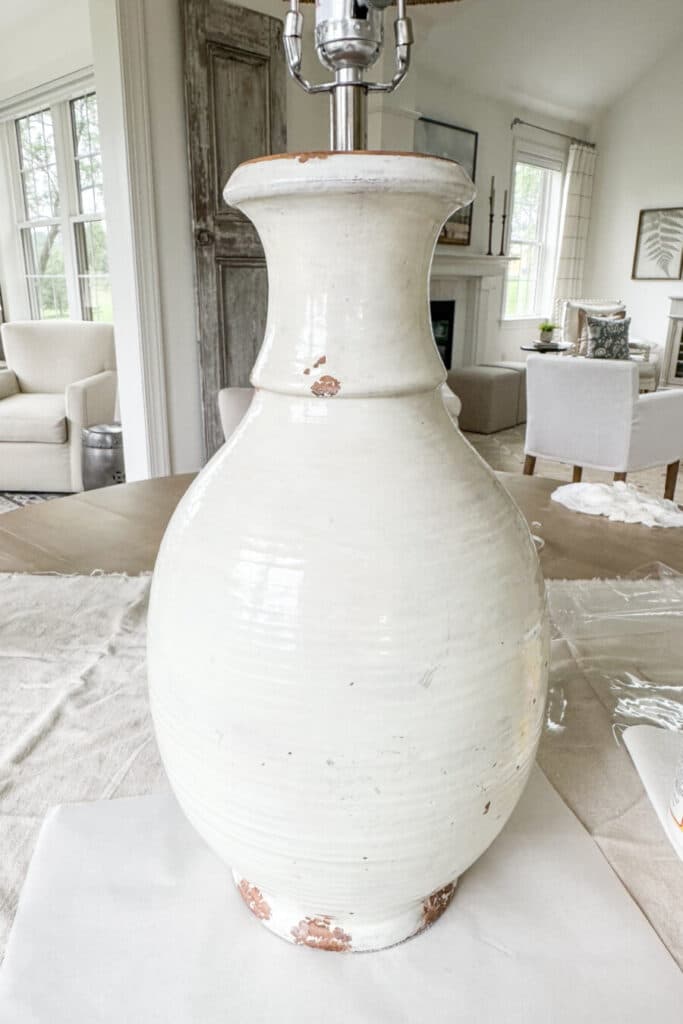
The Lamp
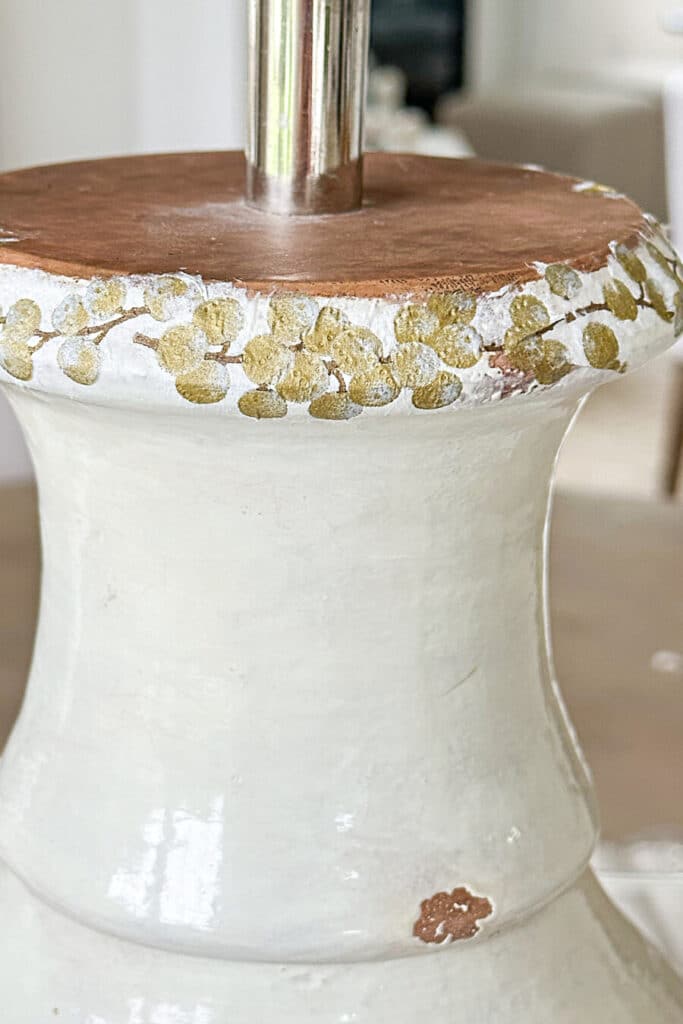
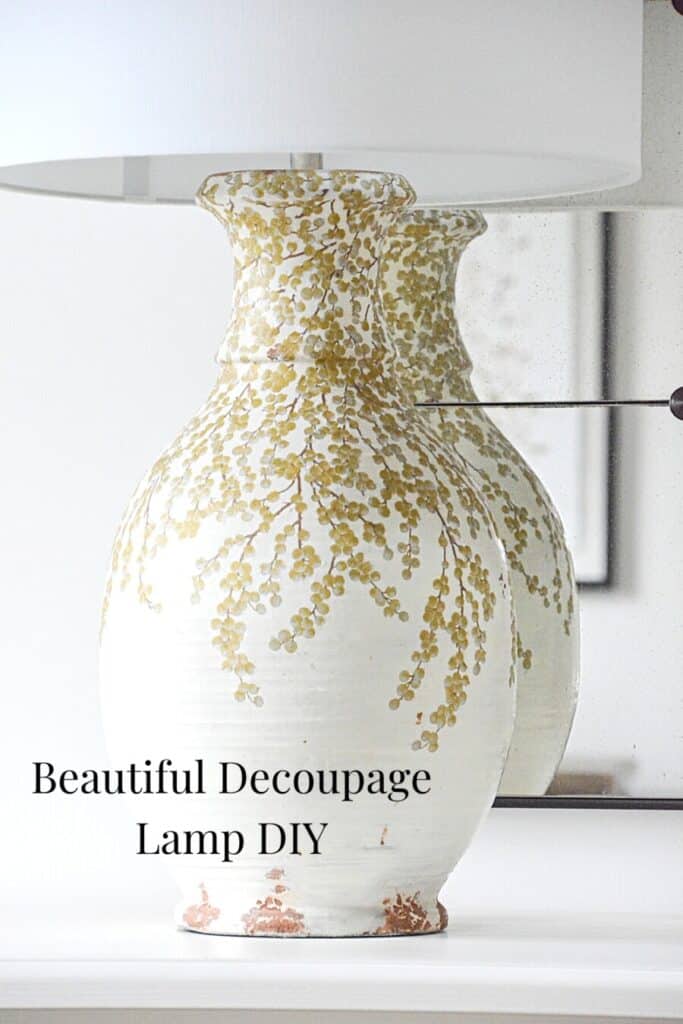
Here’s a close-up…
I’ve owned this lamp for many years, and it has traveled around my home, brightening up different rooms like the bedrooms, sunroom, foyer, and living room. But as I made some changes to my living room recently, I realized that the lamp was looking rather dull and uninspiring. It lacked that special something that could make it stand out. Just as I was considering replacing it, I thought, why not give it a fresh new look by decoupaging it?
The lamp is a light neutral beige that is lightly ribbed and aged. Because of its light color, I did not have to paint it before decoupaging it.
The New Design
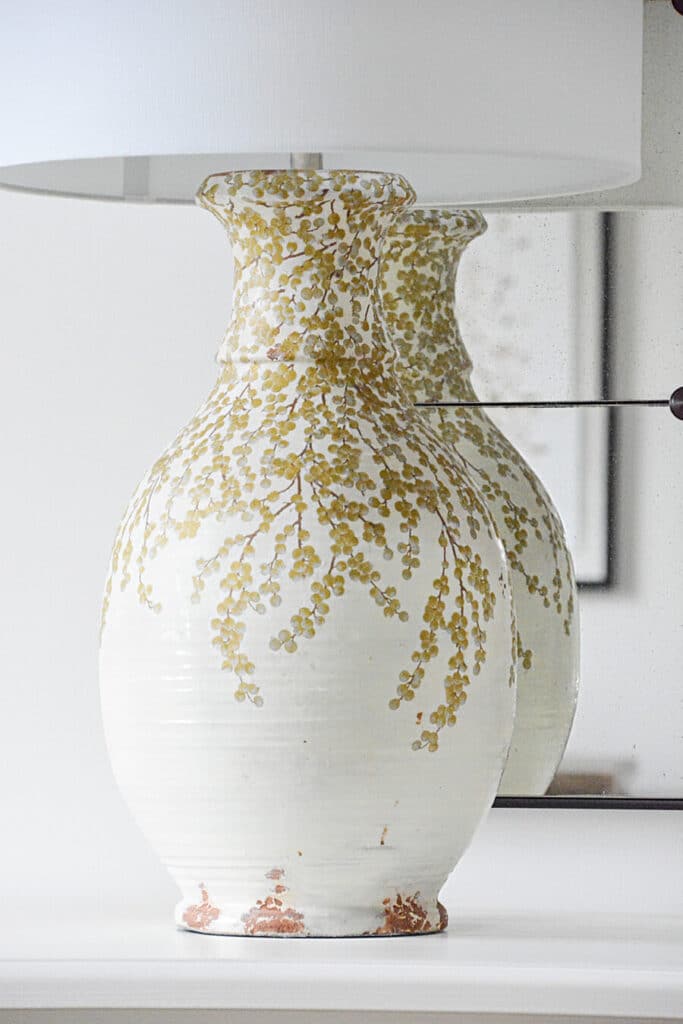
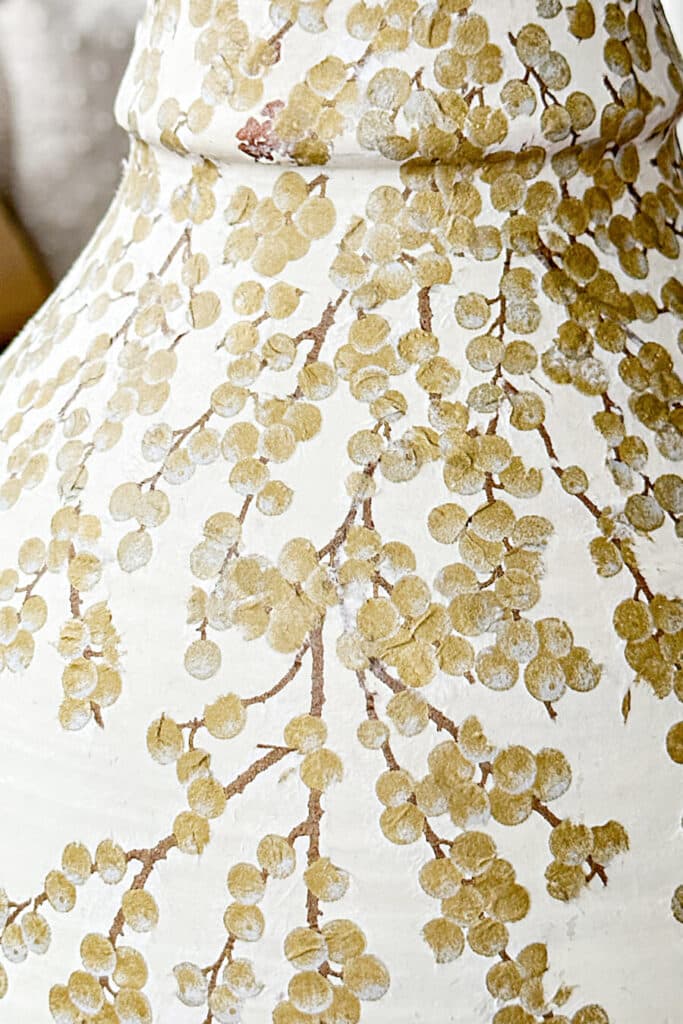
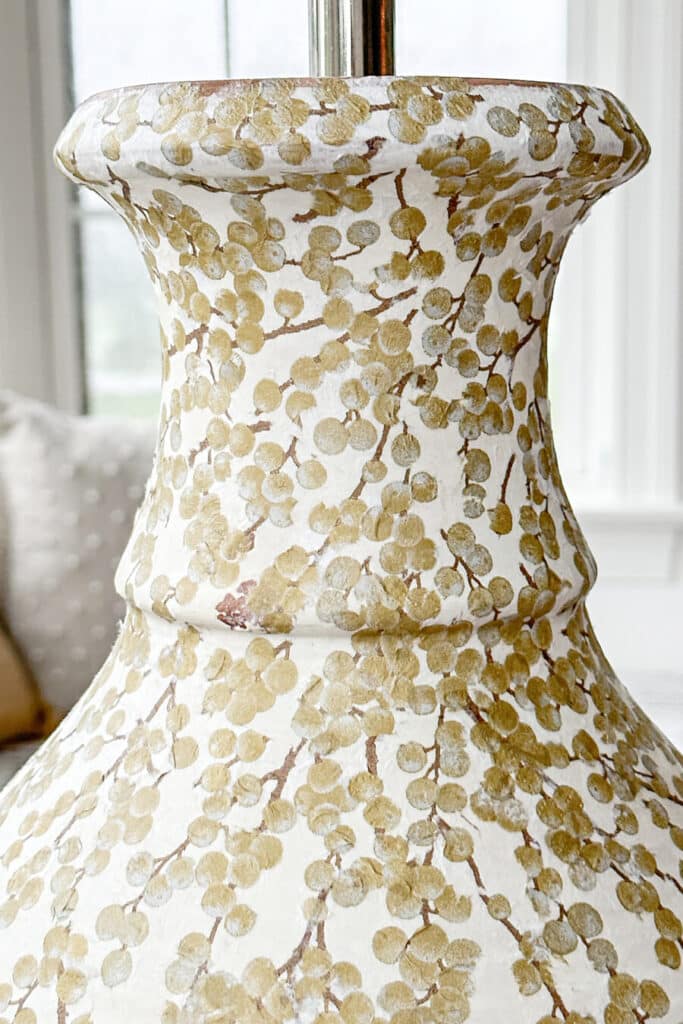
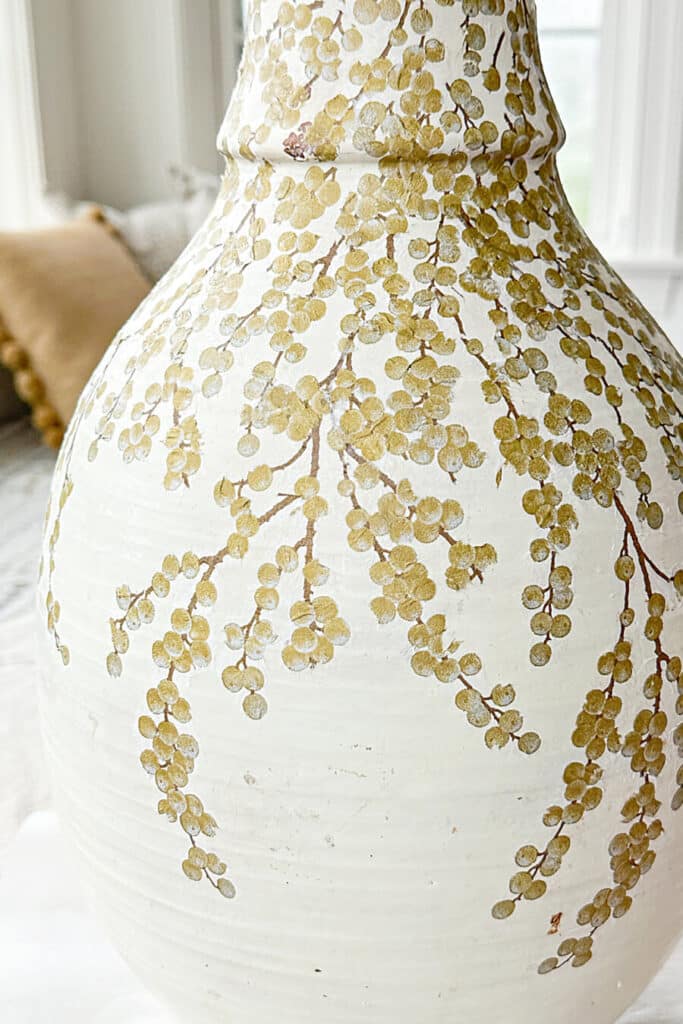
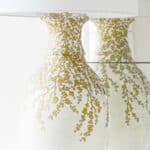
A berry-designed napkin became the inspiration for the lamp. I wanted the berries to be decoupage very concentrated at the top of the lamp and then gradually become less and less concentrated until only a few of their long stems to gracefully cascade toward the bottom half of the lamp. And wanted the bottom of the lamp to be left plain,
What Is Decoupage?
Decoupage, derived from the French word “decouper” meaning “to cut out,” was an intricate paper craft in 17th-century France. Now, decoupage has evolved into a simple and enjoyable crafting technique. It involves embellishing various surfaces with paper cutouts or thin materials and securing them with glue. Decoupage can be applied on numerous surfaces, including wood, glass, ceramics, metals, and more. It provides a fun, cost-effective means of personalizing or refreshing items in your home according to your unique style and preferences.
What Is Mod Podge
Mod Podge is a water-based, versatile crafting glue and sealer specifically made as a decoupage medium for paper. Mod Podge comes in different finishes, such as matte, glossy, satin, and sparkly, allowing you to choose the desired look for your project.
Can I Make My Own Mod Podge
It’s easy to make decoupage glue. Put 8 oz of white craft glue (like Elmer’s) and 3-4 oz of water in a jar with a tight-fitting lid. Stir to combine. This will make a matte finish decoupage glue. However, I skip the mess and buy Mod Podge because it is made specifically for decoupage.
What You Will Need
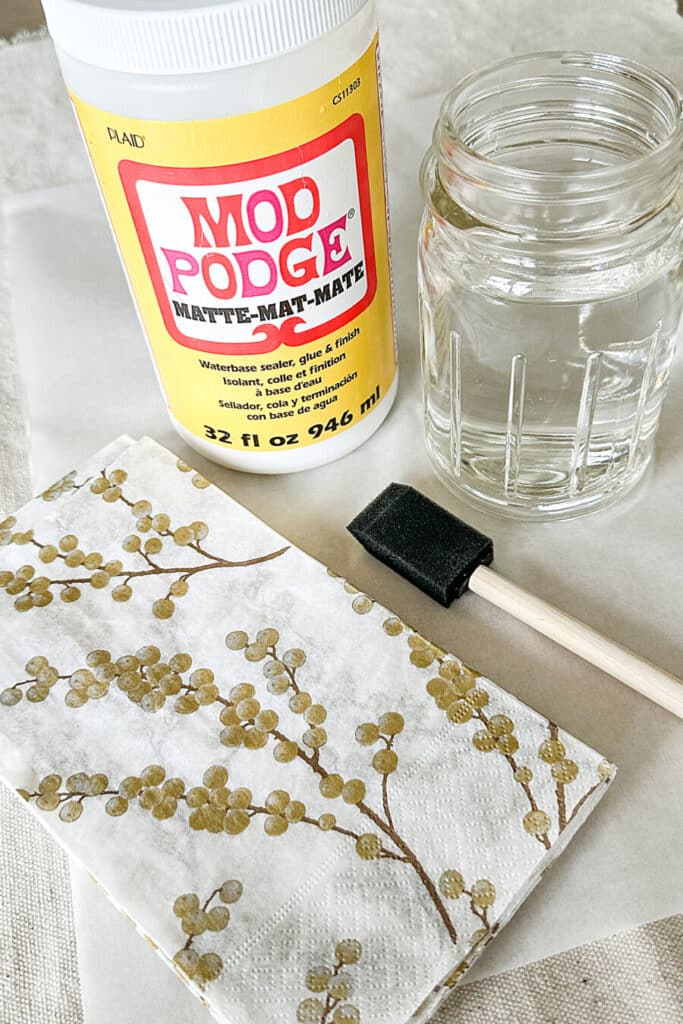
Most decoupage projects need just a few items. Here is a list of things I used to make the lamp…
- Mod Podge- find it here
- Foam brushes- Find them here.
- Paper napkins with a printed design-See, mine here.
- Something to cover your work area- I use a small drop cloth to cover my work area
- Paper towels
- Jar of water
Other things you can use for decoupage projects that I did not use:
- Paintbrush- You can use an old paintbrush to apply Mod Podge. However, I find even after soaking it, the ferrule will have glue stuck in it, and some of the bristles close to the ferrule will be stuck together too.
- Scissors- Use scissors if you want to cut around the design on the napkin or decorative paper.
- Brayer- A brayer is a small roller that will press down your design. I find them hard to use when I decoupage tissue paper, so they are not needed for this project.
Set Up A Work Area
Set up your decoupage work area. When I was taking painting lessons, the first thing I learned was how to set up my work area. This was one of the most important things I learned, and I use it for every DIY I do. Cover your workspace. And set out everything you will need.
Because I am right-handed, I put a folded paper towel down to the right side of my work area. On it, I set a small jar of water and a foam brush. In front of the water, I put a small plate with a small amount of Mod Podge on it.
What I am working on goes directly in front of me. And to the left side of the work area goes things I may need, like a roll of paper towels and the jar of Mod Podge.
Working in a neat area keeps your supplies organized and helps to keep your mind on the decoupage task at hand.
How To Decorate A Lamp With Decoupage
Prepping The Lamp
I started by taking the lampshade, and the finial off of the lamp and cleaned the lamp with a multi-purpose cleaner and a clean cloth. Then I wiped it again with a dampened cloth with water and set the lamp aside.
If you are working on anything that has hardware, such as handles, knobs, and hinges, make sure to remove it before you begin the decoupage process.
Also, you might have to paint an item you want to decoupage if it is not white or a very light neutral color. Use acrylic white paint for this.
Separating And Tearing The Napkin Layers
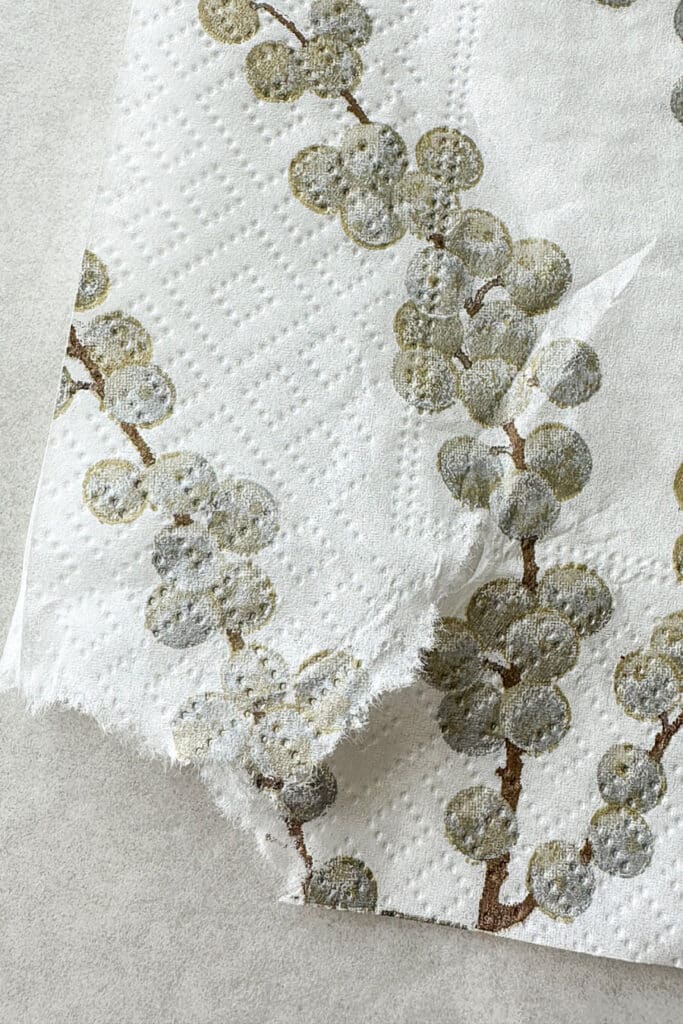
I separated the napkin layers before I began any gluing. Most decorative napkins have perforated edges. You can cut them off or use them. I used them.
I tore one corner from the napkin, exposing the layers, and gently pulled, peeling back the printed layer from the white layers. Then I discarded the white napkin layers.
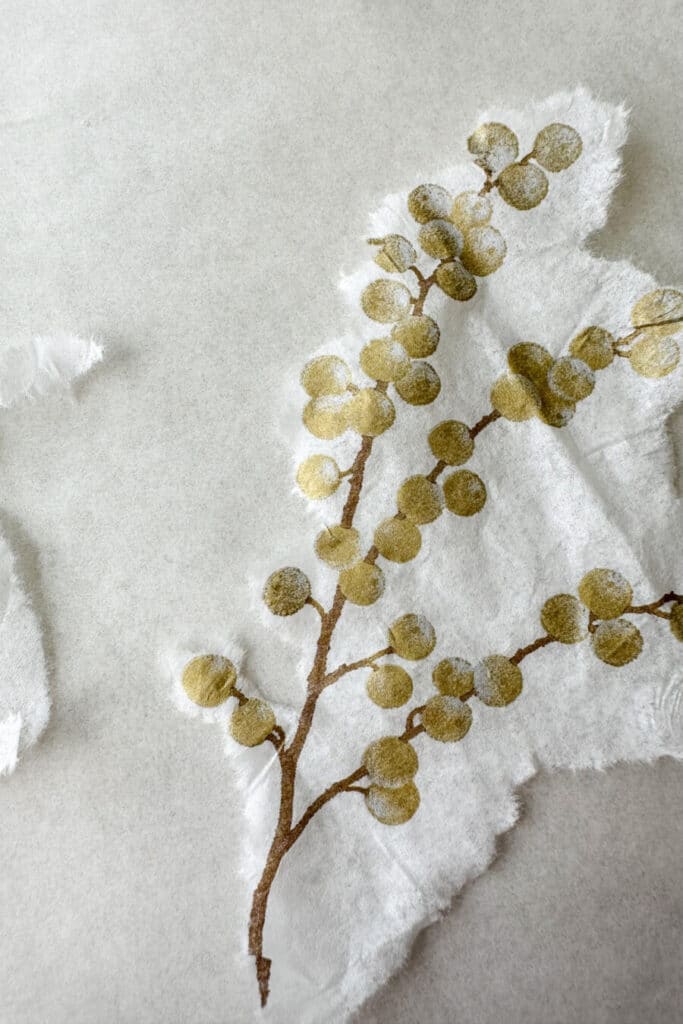
I decided to tear the berry design from the napkin instead of cutting around it. The image below shows the left side of the napkin torn closely to the berry design.
Tearing the intricate design leaves a feathered edge. Also, the napkin was much easier to tear than cut. The torn edge effortlessly blends into the background of the lamp, creating a subtle, natural appearance that doesn’t draw attention.
Preparing The Mod Podge
I like to water Mod Podge down a little bit before I use it, so I put a dollop of Mod Podge on a small paper plate and sprinkle it with water. This has two purposes. First, the decoupage is thick and needs to be thinned a little. And second, a sprinkle or spritz of water will keep the Mod Podge from drying out.
Do not use the Mod Podge directly from the container. Keeping the lid off of a container of Mod Podge will make it dry out. So, I don’t use Mod Podge straight out of the container for any project. If I have any Mod Podge left over from a project, I throw it away with the paper plate.
Gluing The Tissue To The Lamp
I found the easiest way to decoupage the berry tissue to the lamp was to put a thin layer of the Mod Podge on the lamp and not paint the Mod Podge onto the berry paper.
So, I applied Mod Podge with a damp foam brush onto a small area on the lamp, the size of the berries I intended to add. Placing the tissue over the Mod Podge, I promptly smoothed down the sections, making sure the berry tissue adhered to the lamp and, with gentle pressure, smoothed out any wrinkles with my fingertips.
It’s important to handle the tissue delicately since it becomes fragile once it comes in contact with Mod Podge. So only use gentle pressure.
Don’t be concerned about minor wrinkles or imperfections.
We want a relatively smooth finish, but a few tiny wrinkles won’t matter. They will mostly vanish as the Mod Podge dries; in fact, any left will contribute to the charm of decoupage.
WORKING AROUND THE LAMP
As I worked, I moved around to different parts of the lamp because I did not want to get near any just decoupaged berries. I worked in small sections that were already dry.
It did not take the decoupaged berries to dry on the lamp. However, I did not see the true effect of it until the lamp had dried for about 24 hours.
Finishing The Lamp
After the lamp was dry, I went around the lamp, finding any loose little flaps or pieces, and covered them with Mod Podge and smoothing them down with my finger.
I did not need to varnish the lamp because the decoupage finish was durable for indoor’s use.
Fixing Mistakes
Most decoupaging mistakes can easily be fixed! Here are a few common ones and fixes:
- Air bubbles or wrinkles: If you notice air bubbles or wrinkles in the decoupage design, gently lift the affected area using a pin or craft knife. Smooth it out with your fingers or a clean cloth, applying gentle pressure to release the trapped air. If the bubbles persist, carefully puncture them with the pin and smooth out the area again. When all else fails, remove the decoupaged area with a damp cloth and start again.
- Excess glue: If you accidentally apply too much decoupage glue, gently wipe it away using a damp cloth or sponge before it dries. Be cautious not to disrupt the design or remove too much of the adhesive.
- Putting the design in the wrong place: If you’re unhappy with the positioning of the decoupage design, you can wipe it away using a damp cloth or sponge if it is still wet. If it has dried, gently moisten the area around the design to loosen the adhesive, then carefully lift and reposition the cutout to your desired placement. Smooth out any wrinkles or air bubbles once it’s in the correct position.
- Rips or tears: Repair it by carefully applying a small amount of decoupage glue over the damaged area. Smooth it down with your fingers or a brush to secure the torn edges.
Remember, mistakes happen, and they can often be fixed or even embraced as part of the unique charm of a decoupage creation.
This Mod Podge DIY project provided a fun opportunity to breathe new life into my lamp and unleash my creativity. How about you? Look around your home and find something you can transform into one-of-a-kind decor!
Frequently Asked Questions
What can you decoupage onto a surface?
There are many items you can decoupage, like wrapping paper, wallpaper, rice paper, book pages, pieces of paper, fabric, decoupage paper, and paper napkins with pretty or intricate designs.
What are common items that are decoupaged?
Almost any flat surface can be decoupaged. Home decor items like trays, frames, vases, furniture, tin can, leather purses, plastic planters, inside oyster shells, ceramic tiles, and so many more items.
What kind of products can I use to seal a decoupaged item?
You can use varnishes such as Gloss Varnish to seal a decoupage project. Other things that work well are polyurethane sealers and acrylic sealers.
Related Post
Here are a few easy home decor DIYs that are creative, easy to do, and will enhance the look of your home…


Hi Yvonne, your lamp is beautiful and has inspired me. But I have a question; my lamp does not have a smooth surface. Is it possible to decoupage on anything but smooth? Mine is rather textured, like small grain of sand. Thanks, I’ll look for your reply, but I’m not hopeful.
I’m not sure Pam. Give it a try. I wonder if you could sand your lamp to make the surface smoother?
Let me know it decoupage works over a grainy surface.
Wow this is stunning! There are so many possibilities with this technique, thank you for sharing your talents 🙂
Thanks, Heather. I know! I have two other projects that I’ll share soon. Thank you for your sweet comment!
I love this idea for decoupaging a lamp! Do you also put a light layer of modge podge over the design to seal it? Or do you only place the modge podge under the napkins?
For the lamp project, Lori, I did add an additional layer of Mod Podge over the lamp. It was stuck down pretty well!
What a great comprehensive set of instructions. I have watched you do this for years and never felt motivated to try it… but, THIS lamp. How cute! Now I am walking around my house gathering ideas. Thanks a bunch.
Hi Ann, I’m so glad the lamp motivated you!
Very pretty!
Thanks SC.
That lamp is just beautiful! Such a great idea and looks perfect on the chest.
Hi Yvonne–This is stunning! I am walking around my house looking at pieces I could possibly use. Thank you for the detailed instructions.
Yay! Make sure you try decoupaging. It can update lots of things. Next on my list is a bulletin board in my office.
Thank you sooo much for this post. I have NEVER decoupaged before and have thought it might be interesting and fun to do. Your instructions were, as usual, simple and thorough. Almost as if you know how to break things down for, um…, first graders! haha
Hi Deb, I got a good laugh out of the end of your comment. Yes, once a first grade teacher always a first grade teacher. I hope you do try decoupaging. It is very fun!
Very pretty?. Love how it turned out.
Thanks, June!
OMGoodness, the lamp looks beautiful!! I never would have thought to do this. Great instructions too. Hope we can get together soon, and even include your Mom! XO
Oh, how wonderful to hear from you HERE ON MY BLOG Pinkie! Yes, let’s get together! Give me a call.
You did an amazing job on this. This is what decoupage should look like!
Thanks, Teddee! I’m so glad to see you here.
It would have been so easy to cover the whole lamp but your distribution of the pattern is perfect! You breathed new life into a favorite piece.
The lamp came out so pretty.What a good way to repurpose your lamp and give it new life.
Thanks Doreen. I’m so happy I did not give this lamp to my kids. LOL!
Yvonne, your lamp is just beautiful! What a nice job you did! Thanks for sharing how your lamp went from plain to beautiful! Love all your DIY’s!
Aww! Thanks, Mary Ann
As much as I love love love the decoupage on the lamp, I’m hesitant about the spots on the bottom. I know they are original to the lamp but I’m thinking they need to either be painted white to match to base or done in gold to match the decoupage. Or maybe even black as I see you have black picture frames hanging in the background on one of your pictures.
However, in saying that I can’t even say what an excellent job you did on the decoupage and how perfect it looks as if it were a high end piece.