BEAUTIFUL FALL BURLAP WREATH DIY
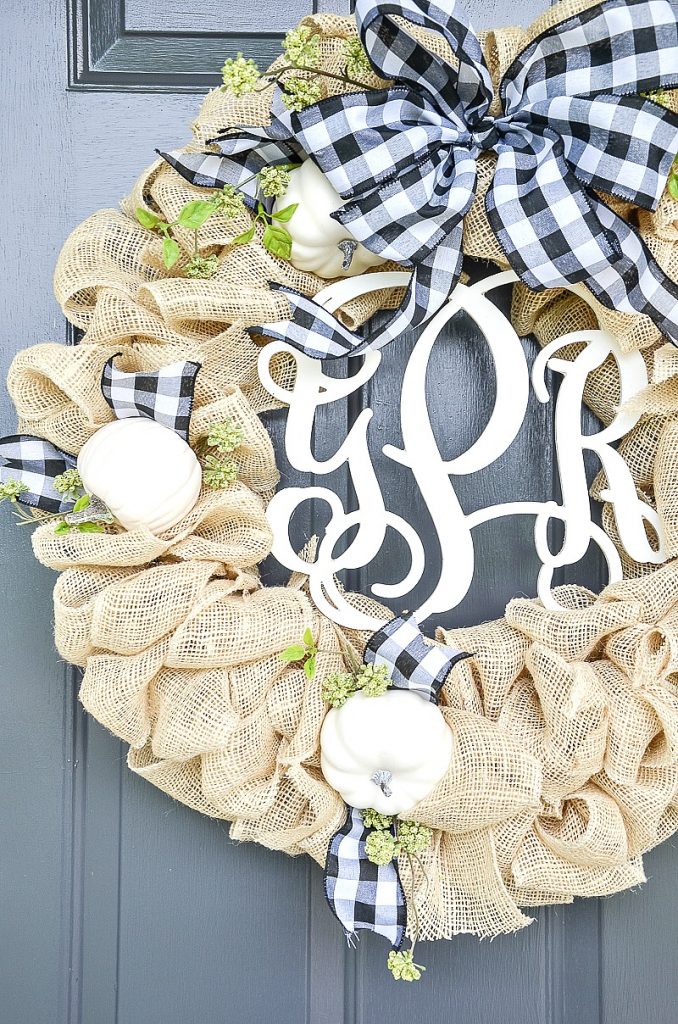
Today I’m sharing a beautiful fall burlap wreath diy! The first thing I usually do at the beginning of each season is to make a new wreath and put it on my front door. And I want a wreath on my front door that gets noticed. This fall’s wreath is burlap and beautiful!
This post contains affiliate links.
I want my front door wreath to wave and say “hello, friend”!
Burlap is a classic and it is the perfect material to use for fall! It’s so textural! And it is all dressed up in this pretty fall wreath!
HOW TO MAKE A FALL BURLAP WREATH
The first thing to do to make this fall wreath is to make a really fluffy and fabulous burlap wreath.
I can’t wait to share my new and improved and revised and updated burlap wreath! I came up with a way to keep the loops from de-looping so it’s much more sturdy!
What do you think…
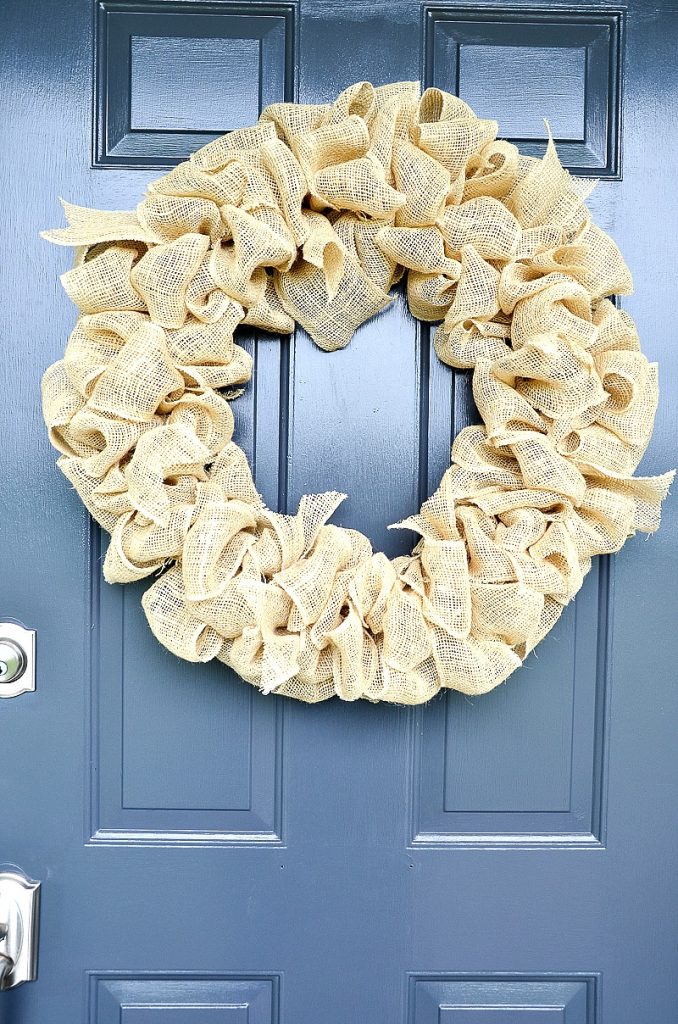
Go here to make the basic and beautiful BURLAP WREATH. You will find a step-by-step tutorial.
Once you have the basic burlap wreath it is so easy to embellish it so it becomes a fall burlap wreath!
HERE’S WHAT YOU WILL NEED TO MAKE A BURLAP WREATH FOR FALL
- 2 1/2 inch wide black and white wired ribbon See it HERE. I bought a large spool of this ribbon because I use this ribbon so so often. You can find a smaller amount of the black and white checked ribbon on Amazon
- 4-inch mini white pumpkins See them HERE.
- “fluff” bunches of little buds or greens I had these in a stash in the basement But you can find them HERE
HOW TO EMBELLISH A BURLAP WREATH FOR FALL
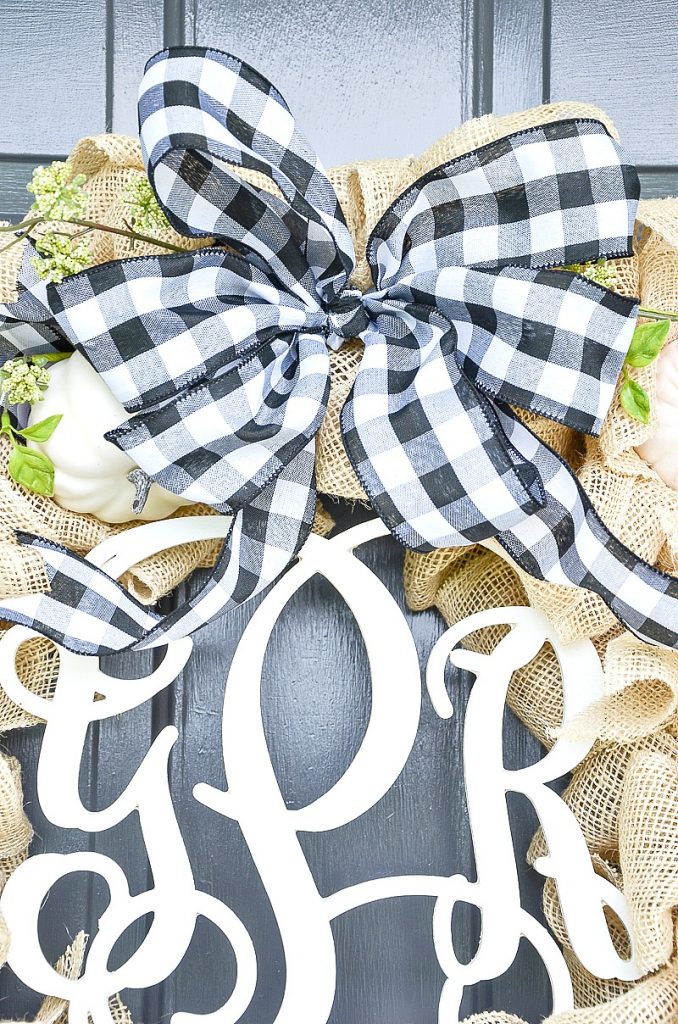
The first thing to do to make this wreath a gorgeous fall one is to make a pretty bow! Look for a video on making a stunning bow soon!
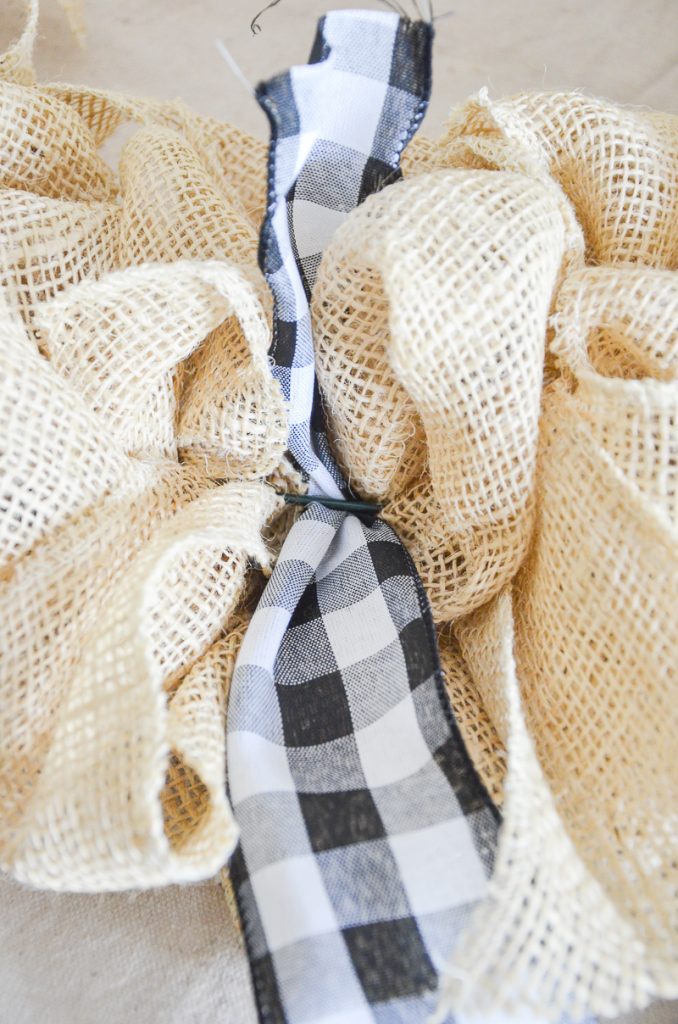
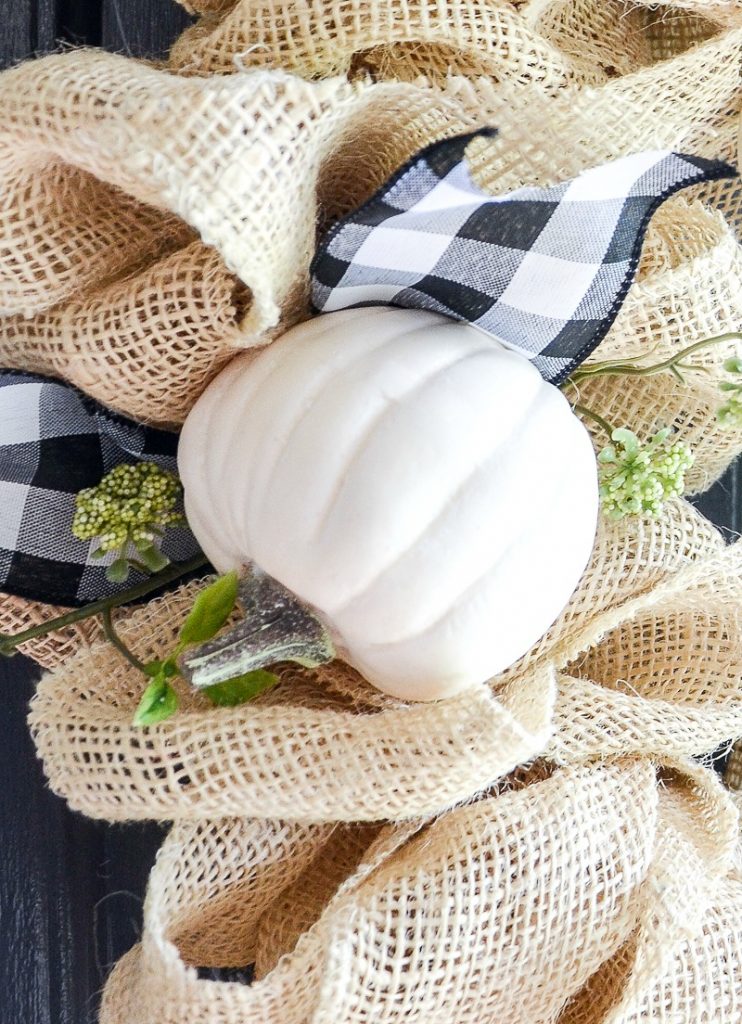
To make the pumpkin embellishments around the wreath cut a length of black and white ribbon and slip it under the center wire in the wire wreath between the burlap loops. See image below…
Hot glue a pumpkin to the ribbon and then cut the ribbon about the same height as the burlap loops and cut the ends of the ribbon in french tails as shown.
Gluing the pumpkins to the ribbon keeps from damaging the wreath that you can use again and again for different seasons.
And add a few sprigs of a little bit of fluff, flower, leaves or other pretty faux organics to ribbon and pumpkin.
Wouldn’t acorns or baby pinecones look pretty too?
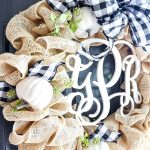
Lastly, add your monogram in the middle! I’ve used this laser cut wooden monogram for YEARS! And it really adds so much style and sass to any wreath!
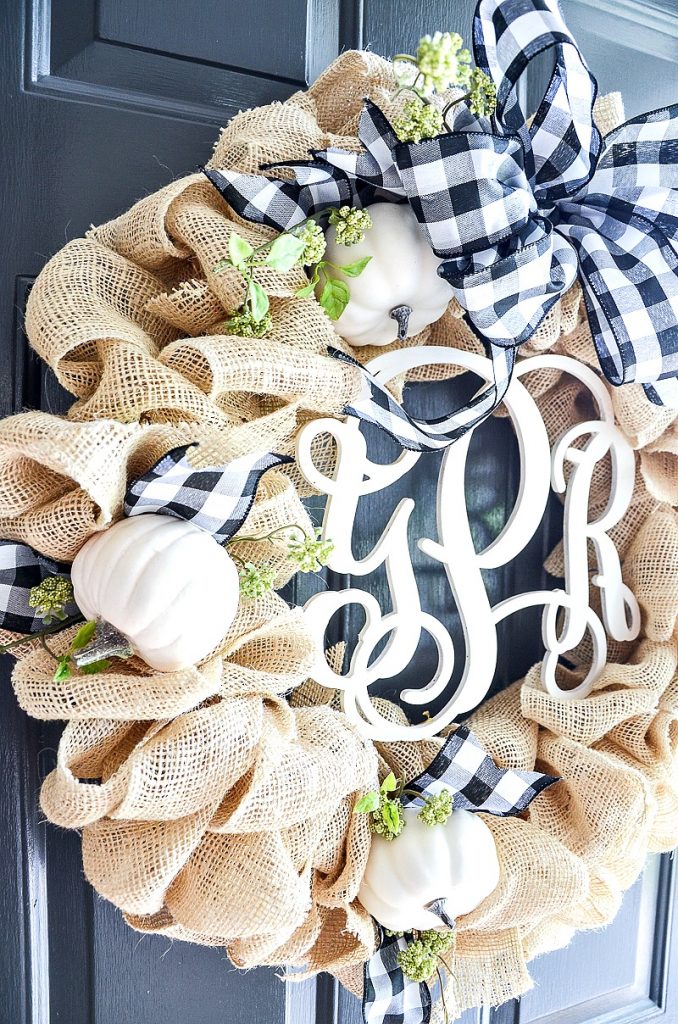
The ‘Y” stands for Yvonne, the “P” for our last name, and the “R” for Robert! So cute, right?
Did you know that the wife’s first name initial goes first? I had to look that up when I had the laser monogram made!
Go HERE to see how to get your monogram!
I drilled tiny holes in the top of the “Y” and the “R” and strung some CLEAR ELASTIC THREAD through the holes and secured the monogram by tying the thread to the wire wreath form. So Easy!
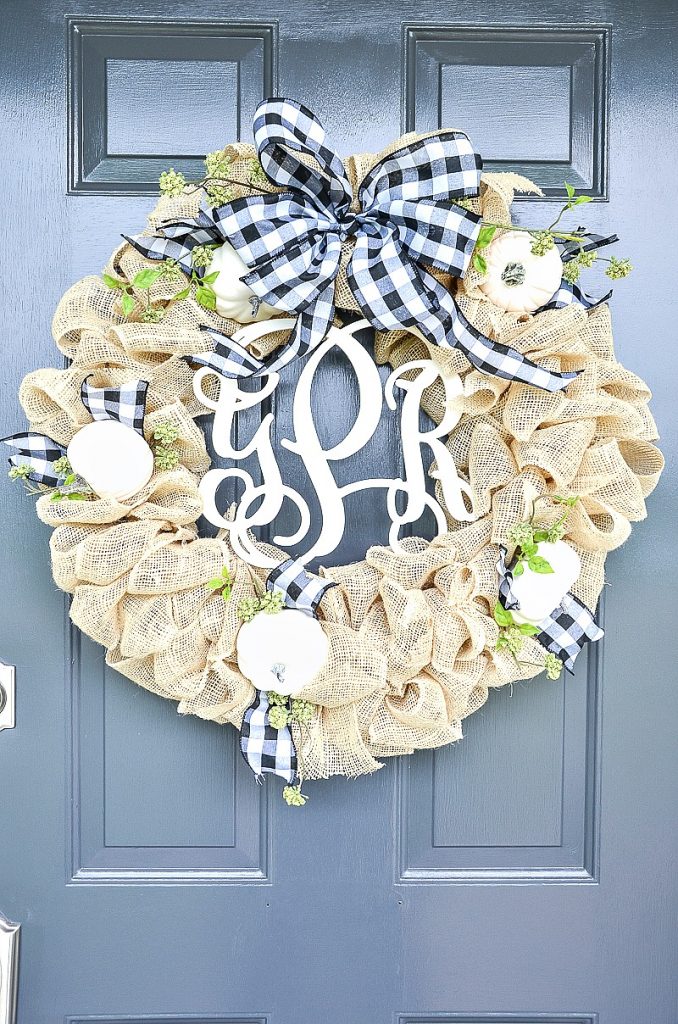
Here’s your fall burlap wreath!


Very pretty wreath and looks great on your blue front door.Still trying to figure out my fall wreath. For now I have a simple one of bronze muscandine like faux grapes.May redo a grapevine wreath I have or use one I have with fall foliage and little lights. Waiting for a bit of cooler weather to inspire me. Still really hot and humid here in N.C.
Hi Kathy! Little lights on a front door wreath sound so fun! How about doing a few fall project now so when the cooler weather rolls around you can use them! Did you see 10 THINGS TO DO FOR FALL NOW:https://www.stonegableblog.com/10-things-to-do-now-for-fall/
Lots of things to inspire you there!
Your burlap wreath is beautiful, Yvonne! Pinned to my Fall ideas board. Love how you added your signature monogram in the center too. Perfect for greeting guests during the Fall season. Thanks for sharing it with us at the Talk Of The Town Party 🙂
Hi Marie, Thanks SO MUCH for pinning! I LOVE my pinning readers.
The monogram is a Perfect touch! Can you tell me what size it is? I’d love to make one.
Hi Heddy, the monogram is 10 1/2 inches. Hope this helps.