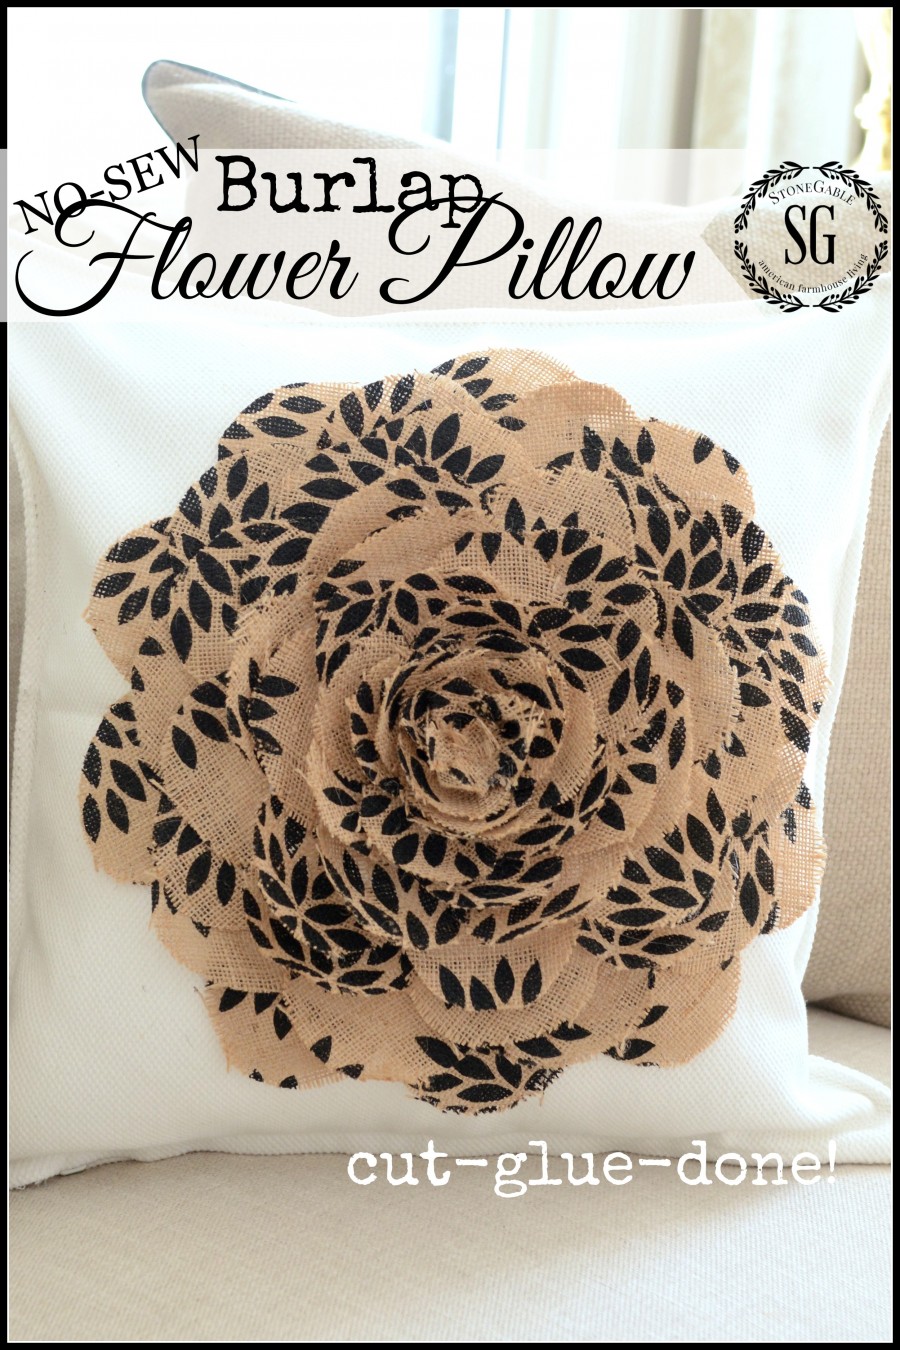
NO SEW BURLAP FLOWER PILLOW
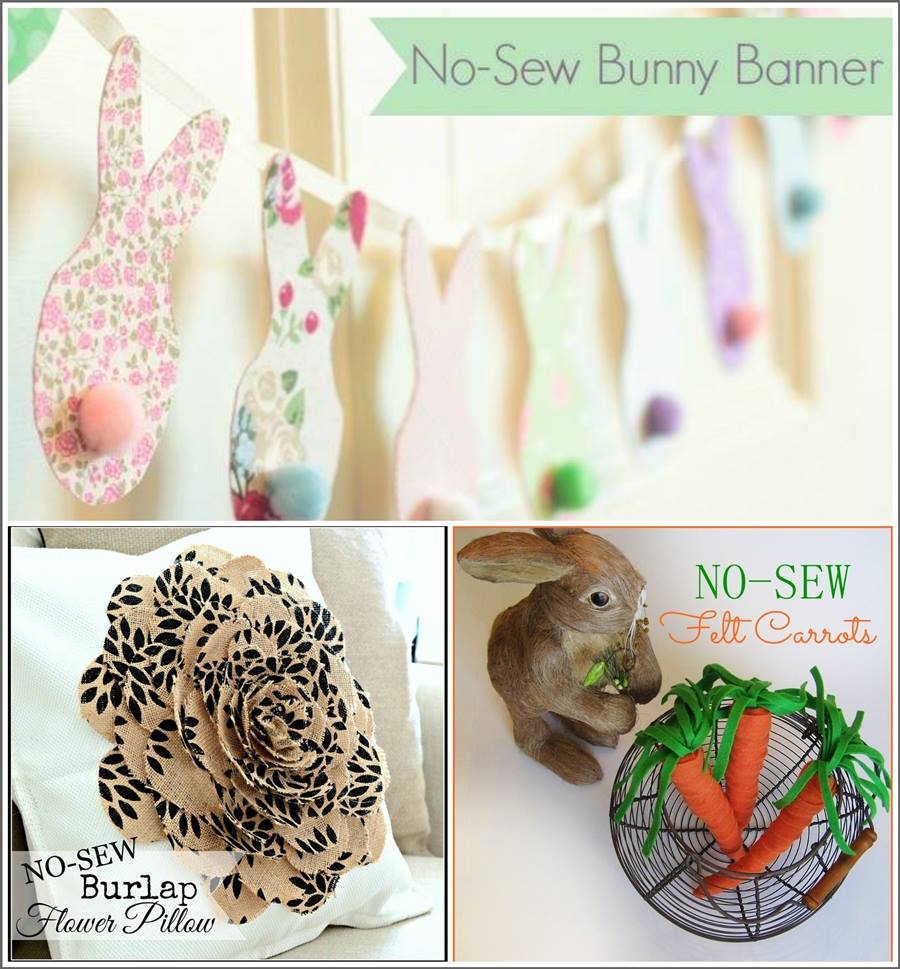
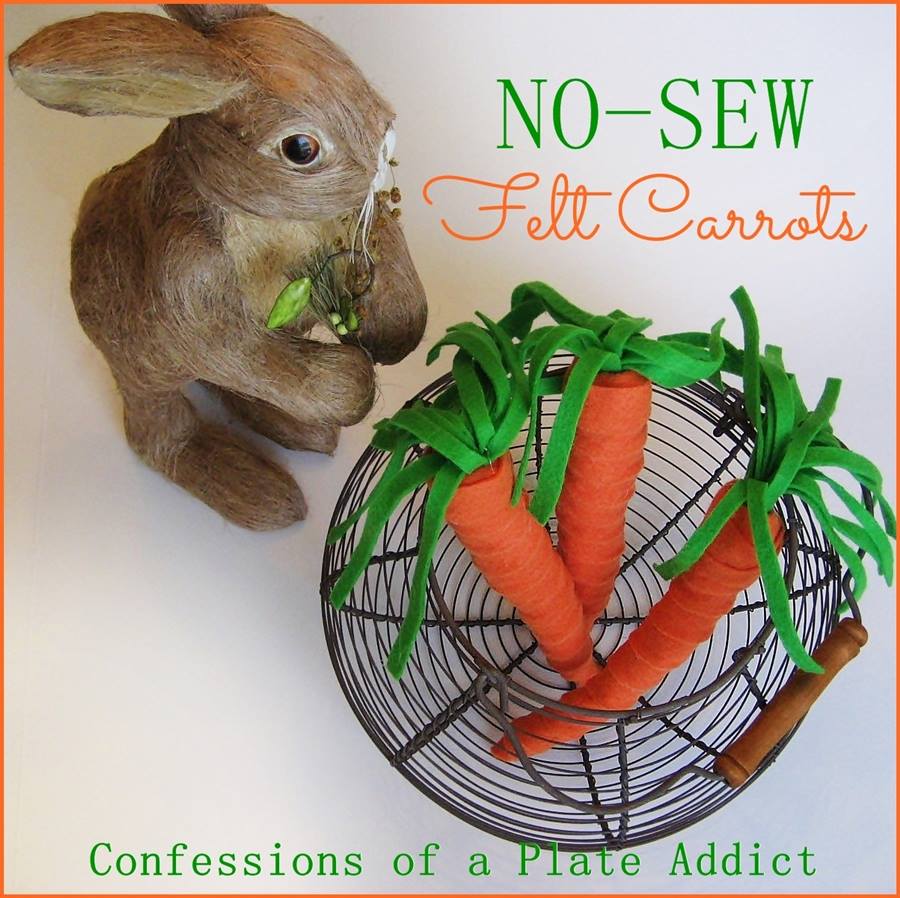
I’m joining 2 other fabulous bloggers for NO-SEW EASTER PROJECTS… Check out their fun projects at the end of this post!
And I am also part of BIO today too! Our prompt was “FLOWERS”. Head over to my dear friend Marsha at SPLENDEROSA’S and see all the By Invitation Only beauty!
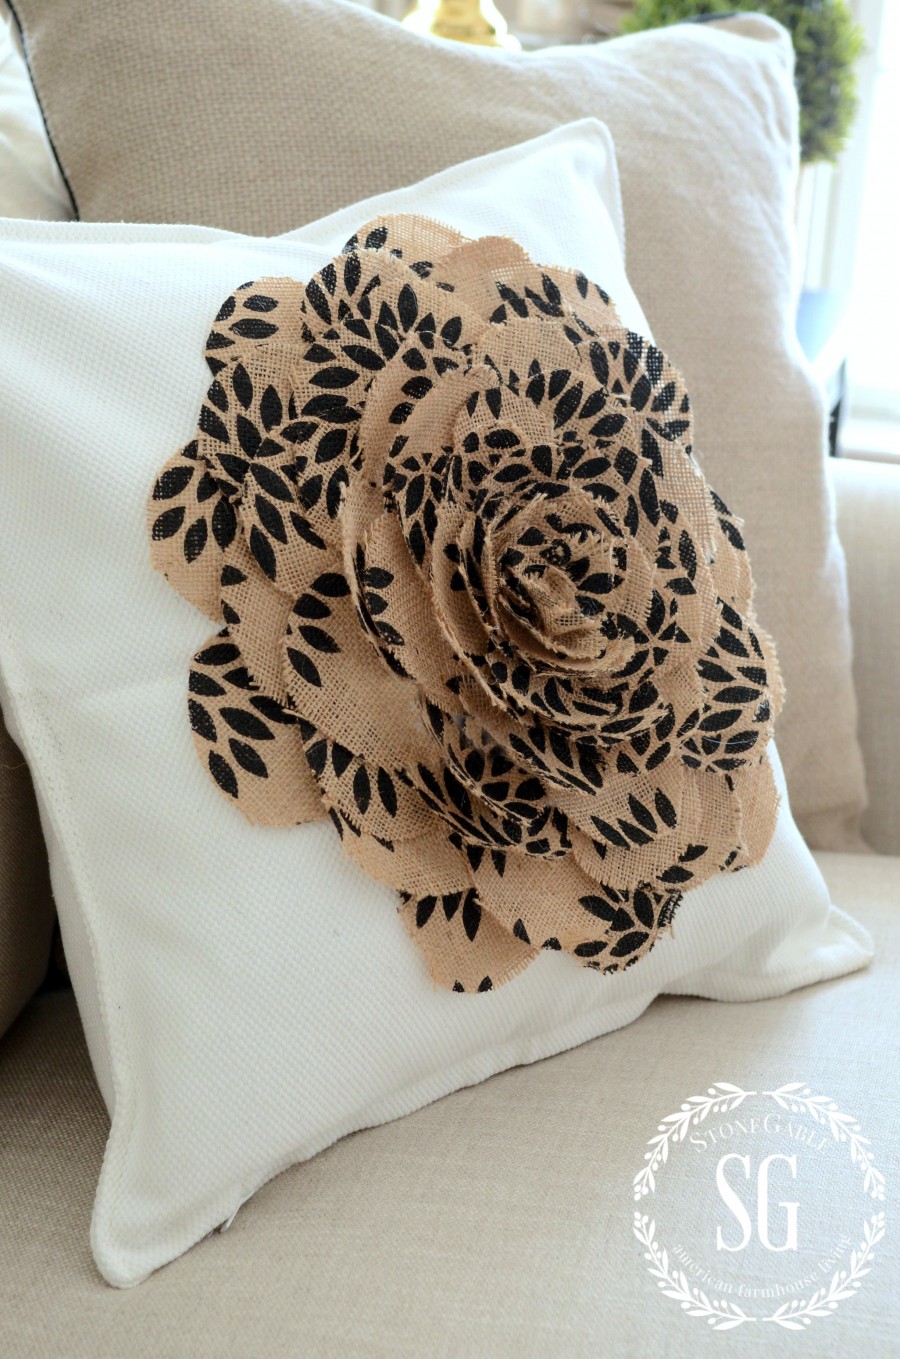
For this no-sew pillow I chose a white 20 x 20 pillow cover from Ikea and a stylized floral burlap. I am wild about the contrast of white, black and neutrals!
Let’s get busy and make this cute pillow!
STONEGABLE NO SEW BURLAP FLOWER PILLOW
Materials:
- 1 pillow cover
- material, about 1 yard
- 3 carboard cut out circles… 1 about 3 1/2 inches diameter and 1 about 2 1/2 inches diameter
- hot glue
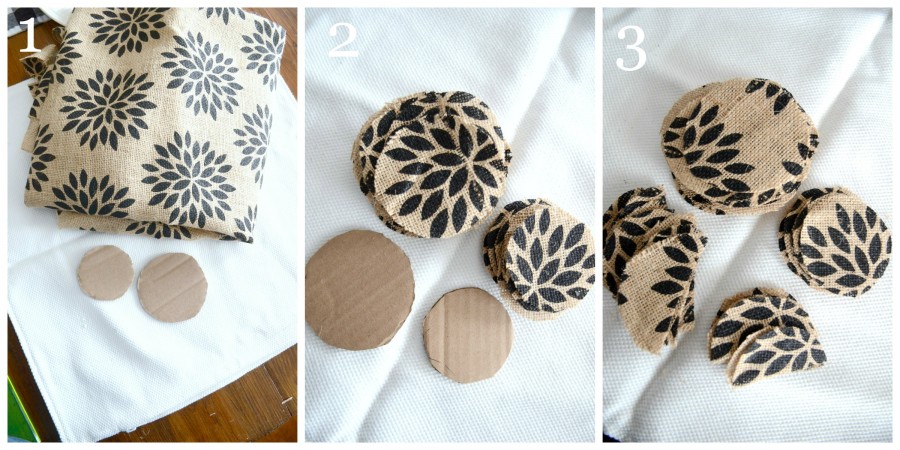
2. Cut 25-30 3 1/2 inch circles and 15-20 2 1/2 inch circles.
3. Cut the circles in half. These are your petals.

5. Start the second row of large petals between the gap of your first and last petals on the first row. See the next image (3) for this instruction. To know where to put your next row of petals mark off 1/4- 1/3 inches from the edge of the last row of petals all the way around the circle of petals. Use large petals for 3-5 rows.
6. Start using small petals. Snip the edges 3 to 4 times, as shown, to make them easy to curve and stand up a little.
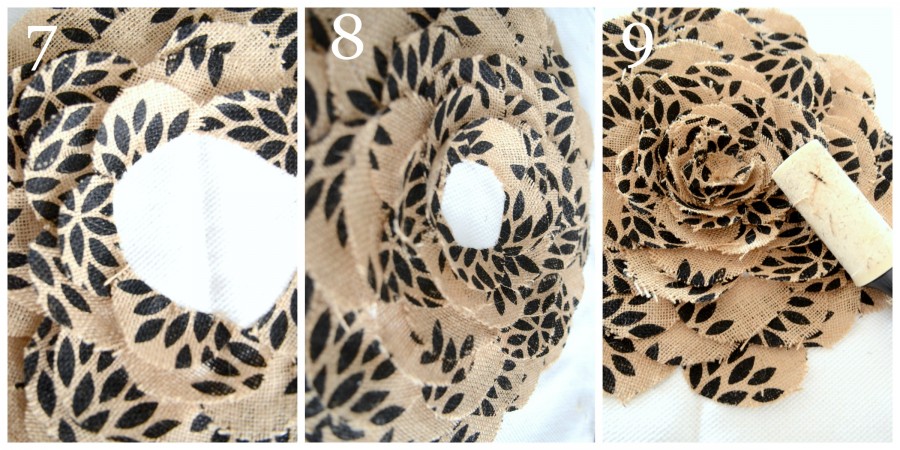
8. Continue around the flower in concentric circles until all that is left is a small bare circle in the middle. Cut out a small circle to fit the center and glue.
9. Roll over the flower and pillow with a sticky lint roller to get up all the loose fibers.
DONE!

Please check out the NO-SEW GIRLS and their Easter projects!
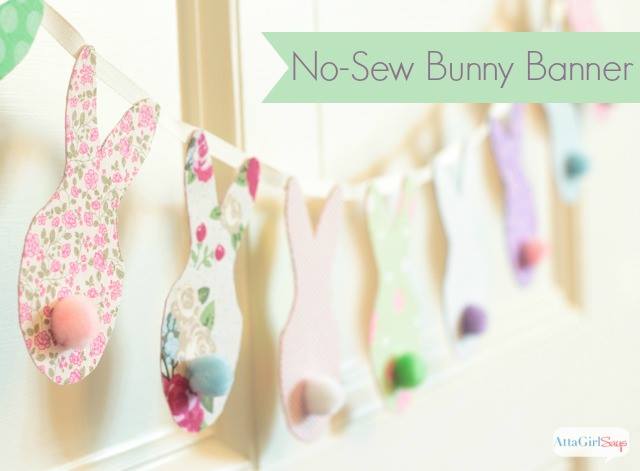
POTTERY BARN KNOCK-OFF EASTER BUNNY BANNER
Remember to pin this to your DIY or SPRING or EASTER Pinterest boards. You can follow me on Pinterest and see the tons of fun Spring and Easter things I am pinning HERE.



Yvonne,
You have done it again! I adore this idea and will be making it my Wednesday project. You are my absolute favorite blogger – love your style.
Sue
Bless your sweet heart, Sue! Thanks so much!
I love your pretty pillow, Yvonne! I can’t wait to see its mate! I’m enjoying our little no-sew group! Have a great week!…hugs…Debbie
Love this pillow! And saw a perfect printed burlap at HobLob for this project- but I am embarrassed to tell you I must be dense, but I don’t understand some of the instructions. I hope you can clarify… I don’t understand what you mean by “snip 3-4 times on the edge to make them curve and stand up a little”. I think maybe I do understand- but am not sure- do you mean that you snip the straight edge so you can then overlap those smaller pieces of the edge over the other pieces of the edge so they sort of taper or gather in? – sort of like making a dart? Sorry I am not getting this- but I would really like to try this for a fresh spring look for my sofa. Thanks in advance for explaining!
Snip vertically to the edge just a little. Look at the picture and see how I am cutting it. This will make it easier to stretch or crumple the petal so it fits in the 1/4 – 1/3 inch marks you make. Sorry , that I did not explain this better! I hope you will try this easy pillow, Joanne!
How very pretty and easy. Just beautiful Yvonne!
Ohhhhh so pretty and easy to make. I am always looking for no sew projects. Thanks for sharing.
That is a VERY cute pillow!
Love the flower pillow. Can you tell me where you bought the bunny pillow next to it. Love bunnies!
Thanks for the flower pillow how to!
DianeD
I got the cute bunny pillow from Pottery Barn!
I am a no sew-fanatic!! Love this idea and the mixture of burlap, black and white is classic….I just need to get another pillow cover or two from Ikea….think I better buy several if you are going to keep showing us such cute pillow ideas! Thanks for the easy to follow instructions….and the best tip was using a lint roller to get up the strings….I made the mistake of wearing a black sweater when I made my last burlap project…it was a mess by the time I finished!
If the weather is nice, burlap is an outside project for me!
This looks so smart and so adorable next to the PB bunny pillow. Winner – again (need I ever doubt that??)! Have a great week.
Rita
I love this! Thank you for the detailed instructions and pictures. I will be making one (maybe more) of these!
Love, love this pillow and I am such a fan of anything “no sew” !!!
Just love your pillow, Yvonne!
Thanks Suzy! Missed you this month!
I love the pillow! I am NOT very artistic but I would like to try this.
Oh, my! Can I say darling! I just love this.
Be a sweetie,
Shelia 😉
Cute project. Looks like something I might try.
Hi, I cannot open the instructions for the burlap table runner!
Thanks,
Stephanie
Hi Stephanie,
Thanks for letting me know. The link broke. I fixed it!
This is darling! Where did you find that adorable burlap and did you also make the lampshade in your foyer? Thanks
Love this! I want to try it and use a sparkly earring or brooch in the middle for a little bling.
I missed this! But I’m here now! I love this project! Do you think it would work with something other than burlap? I’m really thinking I need to make one! Thanks for the wonderful tutorial.
Hugs,
Cecilia
Hi,maybe I missed it but do you do anything to the burlap to keep it from unraveling or fraying? Thanks and beautiful pillow
No, I just cut it. I bet you could use a product called “Frey Check” if your are worried about the burlap unravelling.
Yvonne que lindo blog tienes, gracias por transmitir tantas cosas bellas para arreglar la casa, el tutorial maravilloso pero en cuanto a la “2. cortar 03 al 30 1/2 circulos pulgadas y 15 al 2002 1/2 pulgadascirculos” TEngo dudas al respecto por favor me da una claridad. T e deseo muchos exitos.Por favor me puede responder a mi correo.Desde Colombia con los brazos abietos te recibiria algun dia. Dios te bendiga.Mercy
I love this! I saw it on your 20 Best Home Decor DIY post and clicked on it! I am going to try to make a pin (to wear) using this technique! Thank you for the step-by-step photos and instructions!
Your pillow is lovely!!! What a great craft idea and so simple, the possibilities on color and pattern are endless. Thank you so much for posting, I’m thinking front porch pillows in beachy colors for my cottage!! Bravo, Yvonne!!!
I am going to try to make a smaller version on the outside of small linen bags I’m making. They seem like like the perfect touch combined with the lace I’m using.
THANK YOU SO MUCH!
This is such a pretty pillow! When I went to Ikea the other day I picked up my pillow and pillow cover. I just need to get my material and I will be ready to make one. Thanks for sharing!
What if you get a stain on it. I take it there is no way to wash it just spot treat it right?
Just spot cleaning is right, Sasha. I’ve had my pillow for years and no problem!
What a pretty pillow .Thank you for the instructions. I am always looking for no sew projects.