WOOD BEAD GARLAND DIY
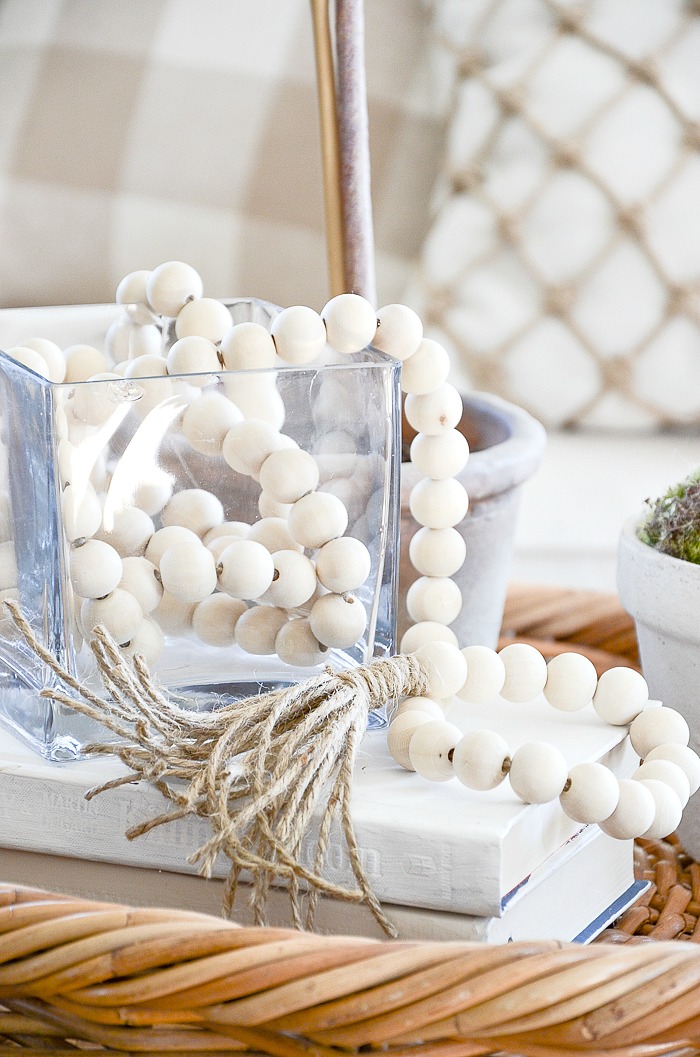
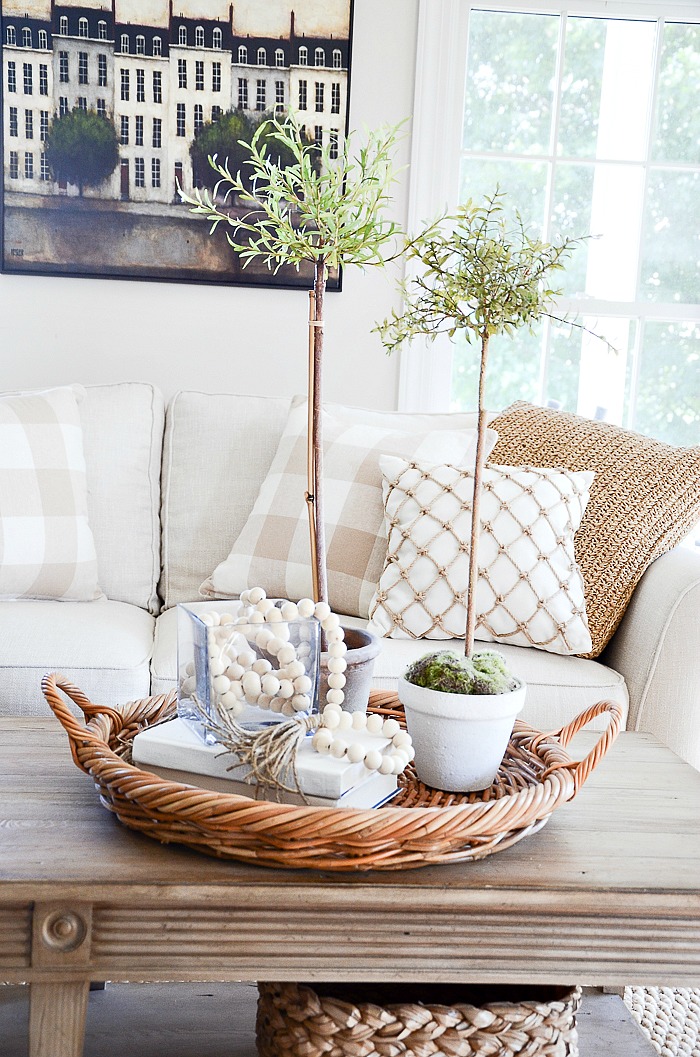
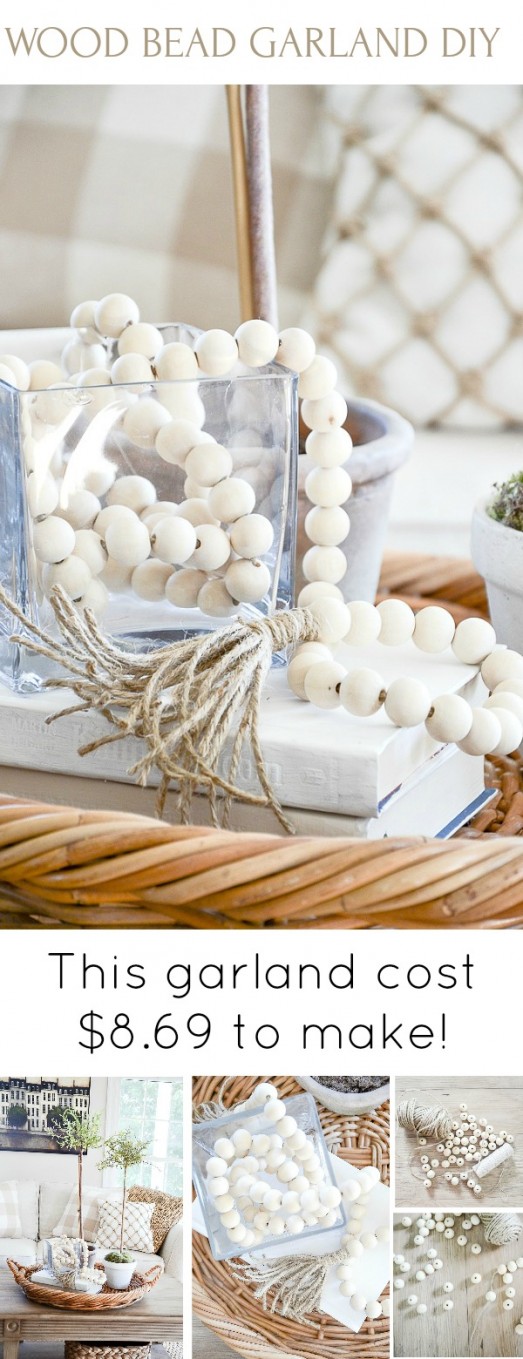
I’ve had a huge crush on wood bead garlands for a while now! But they are hard to find and when found they are expensive!!!! Really!!! Let’s make our own! So easy! This wood bead garland diy took under an hour to make! And isn’t it pretty? Here’s how I made it!
I’m thrilled with the bead garland! I had the twine and the only thing I bought were the beads. They cost $8.69. A beautiful home decor accessory for so little! I LOVE that!
Here are a few things that will make this project super simple for you
- Make sure the twine you use is smaller than the holes in the beads See twine HERE
- Roll a piece of tape around the end of the twine that is threaded through the beads. This will make it easier to get the beads on the twine. I started by threading the beads onto the twine without the tape and it wasn’t long until I thought putting tape on the end as a “threader” was best.
- Before cutting the twine with the beads on it make sure there is about 1 1/2 to 2 inches between two (and only two) beads in the garland. This will ensure garland beads can bend and fold. It looks so much nicer than a very stiff garland where the beads are all lined up tightly together. The beads will distribute along the garland and you won’t see any gaps but they will look much nicer when styled.
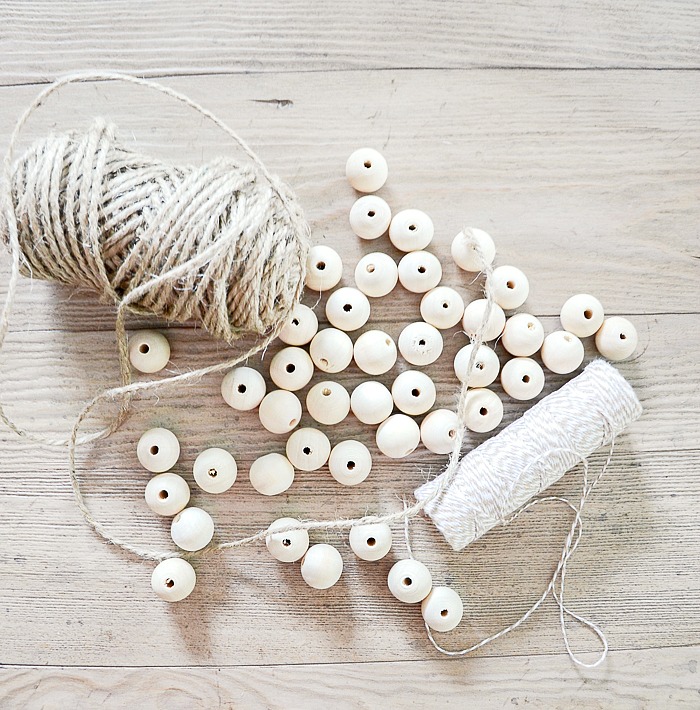
Materials:
- twine
- baker’s twine (if you want to make different tassels) See baker’s twine HERE
- 100 20mm wood beads. See them HERE *
- and HERE, HERE, HERE (20 count)
- scissors
- hot glue
*Many of you have asked why my beads are so white and did I paint them. The answer is they came that way and no I did not paint them. But if you don’t like the color of these beads I bet they would look great painted!
Directions:
FOR THE GARLAND:
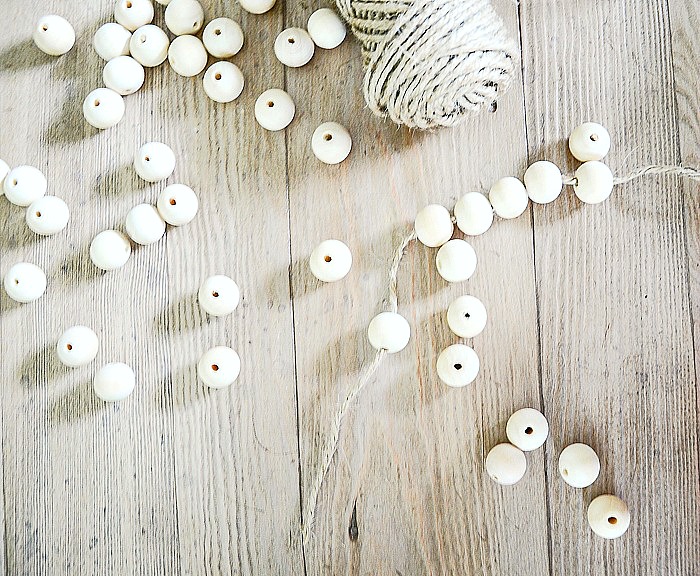
Roll tape around the end of the twine and string all 100 20 mm beads the twine. Do not cut the twine off the spool yet.
Leave a couple inches between two beads on the length of the garland. Only between two beads. This will give your bead garland a little more relaxed shape.
Put a dab of glue over and into the end hole and when it dries cut the twine. Do this on both sides.
FOR THE TASSEL:
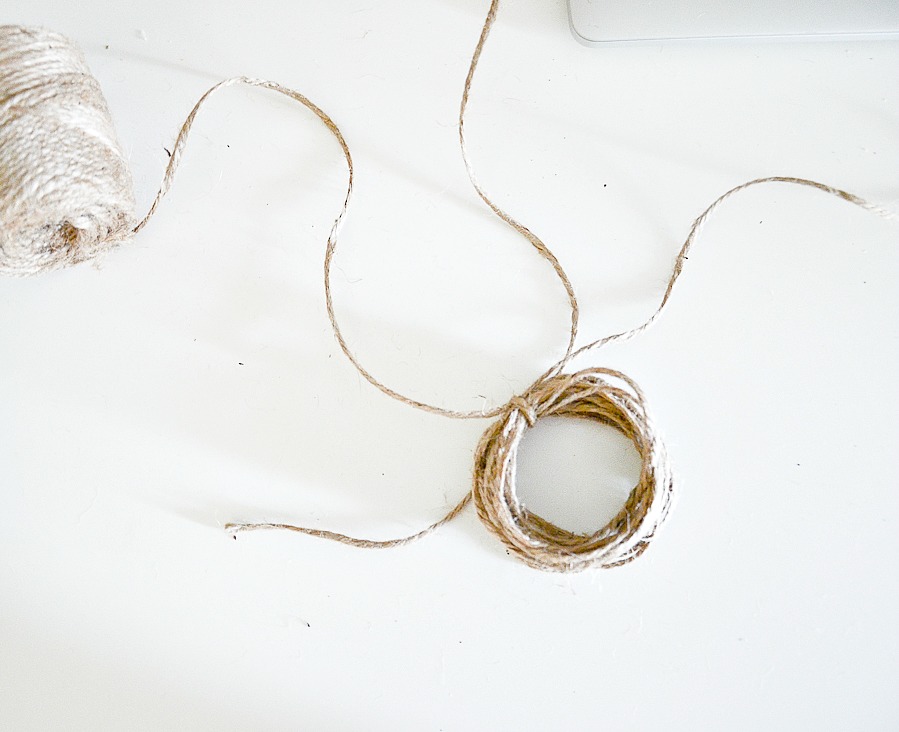
Loop the twine (or baker’s twine if you want a thinner tassel) around your four fingers about 15 times. Cut.
Cut an 18-inch length of twine and tie it around the “loop” as shown.
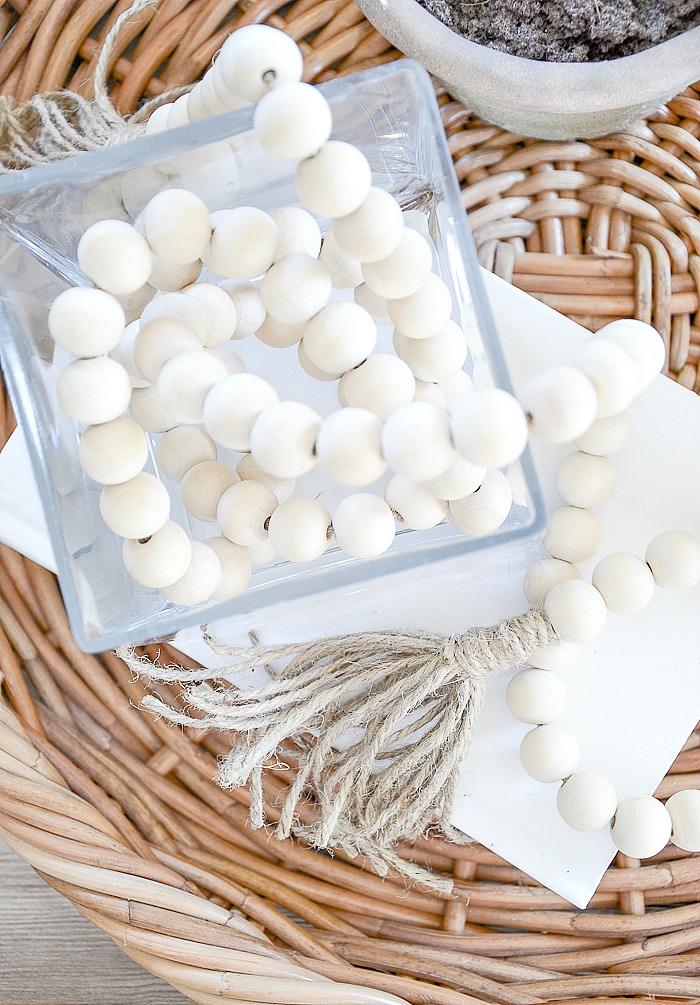
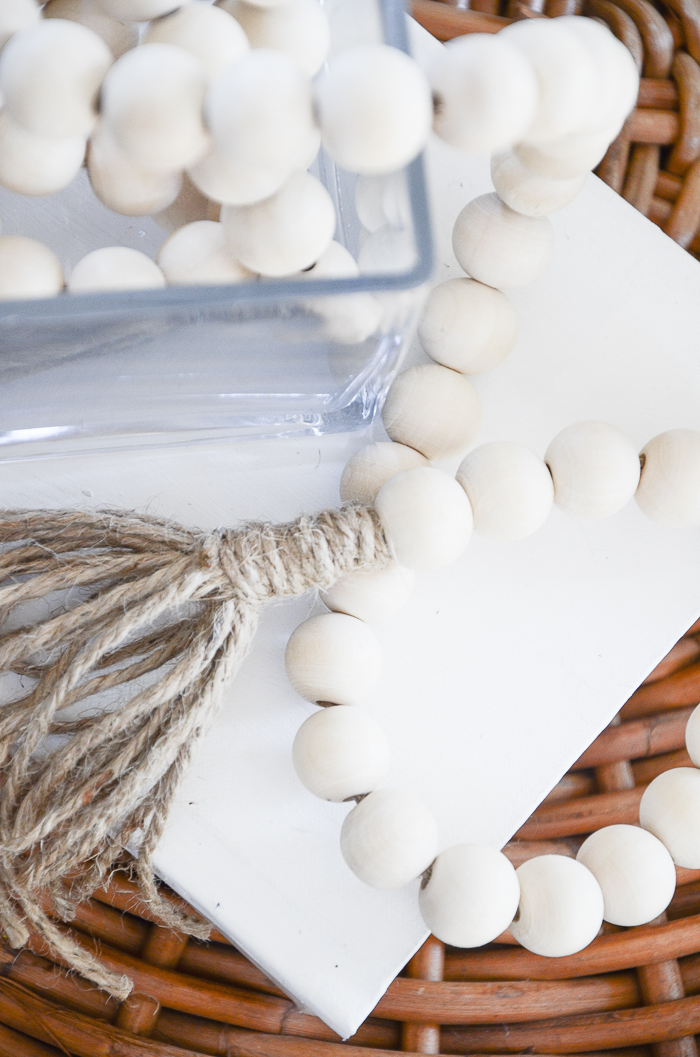
Fold the loop in half and wrap one side of the twine around the top of the of the loop until it looks like a tassel. Put a dot of glue on the end of the twine. Cut off the other side of the twine. See image below.
Glue to the bottom of the bottom beads. See image below.
Repeat to make a tassel for the other side of the bead garland.
TA-DA! A beautiful wood bead garland!
Such an easy diy and a perfect addition to your home decor!
You might like to follow me on Pinterest and see what I’m finding to pin every day HERE.

Hobby lobby has these garlands in stock with fall items for $8.99.
That’s a great find! Just add some fun tassels.
Love how you make everything so “easy peasy “ for your readers… you give great directions & where to buy … I love that! Thank you!
Did you have to paint or spray them white or were they white to begin with??
You cleaver lady! I love your easy peasey project Yvonne. I think I’m going to use this project as a counting project for my grandson, he loves beads. He can count and string the beads. Thanks. And have a great day!
Did you have to paint these beads white? The link goes to beads that are “natural” unfinished wood.
Thanks!
Great little, inexpensive, fast project. Thanks for sharing! I’m thinking this would be perfect to string on our cabin Christmas tree. How cute would these be to give as gifts at the beginning of the holiday season? Have a beautiful weekend.
I love all the wood beads and have used some in my decor recently too! I never thought of making them…but how easy is that! definitely going to make some more for the cottage…thanks for the inspiration.
Such an easy project and I love anything with beads.
They look white. I really love this project. I was bummed, amazon doesn’t have them in stock anymore. Guess, I’ll have to hunt them down. Thanks for sharing.
You can make the prayer beads too. You can buy the wood hearts/crosses, etc. So easy and I don’t know why anyone would pay $$$ for the prayer beads or garlands (which can be pricey too).
Your wood bead garland looks great. I love an easy, inexpensive craft! Thanks for sharing!
Trying this craft project for sure! Question: Your beads appear to be white; link to Amazon is for natural colored beads. Did you paint these first? Thanks for continuing to share your ideas 🙂
Bummed Amazon is out of those beads ? thank you for excellent tutorial ?
I’m also curious why your beads are white?
These are the natural wood beads. It’s how they came
I like this just beads and twine. I am going to try this.
I tried all your suggestions to get the beads, all came from Amazon, but the only color they had was natural. I would really like them in all white. Where do you think I can get white?
They are the ones that look white. My beads are raw wood and very light.
Oh Yvonne that is such a great tutorial, I am ordering beads and getting that done. I get so many helpful ideas from your blog, those wool dryer balls, love them and remember that beautiful stocking with the poinsettia cuff? Thanks for sharing your creativity and talents. Oh and those recipes, too.
Pat
I love this! Tried it with a bit larger & natural beads, used 3 different twines for the tassels & it turned out amazing! Such a pretty addition to my tablescape. Thanks for the inspiration!
Love the bead garland thanks for the tutorial! I’m waiting for the tutorial on the chinoiserie pumpkins.
See them on Thursday
A rainy Sunday in Western Germany. The perfect occasion to make this cute garland. It looks really beautiful and embellishes my livingroom coffee table. Thanks for sharing it.
Happy summer Sunday.
Luv the wood bead garland. Could you please suggest other ways to display the garland?
When will you share your basement storage
blog. I love organizing my home and our 39ft
Sailboat. Thank you
Since I had a stash of wooden beads, this project was a must for me! My beads were two different sizes, so I alternated them. I happened to have an interesting odd shaped bead that was perfect for the ends, and I even had the jute. It measures 36″ (not including the tassels). I can even wear it if I’m so inclined. Thanks, Yvonne, for another great idea.
LOVE that Linda! Your bead garland sounds so pretty!
So cute ! I found mine almost identical to yours at Hobby Lobby and used my coupon !
Thank you for this post, and the links to supplies. I have always been confused as to what size beads to purchase. I ordered them, so I can start making some. I’d like to leave one natural, and paint some others to go with the seasons and tiered trays I do throughout the year. Love this!
I have been admiring these wood beads with tassels for a long time. I also love to craft. So, this is perfect for me. Thanks so much!