How To Make A Twine Tassle
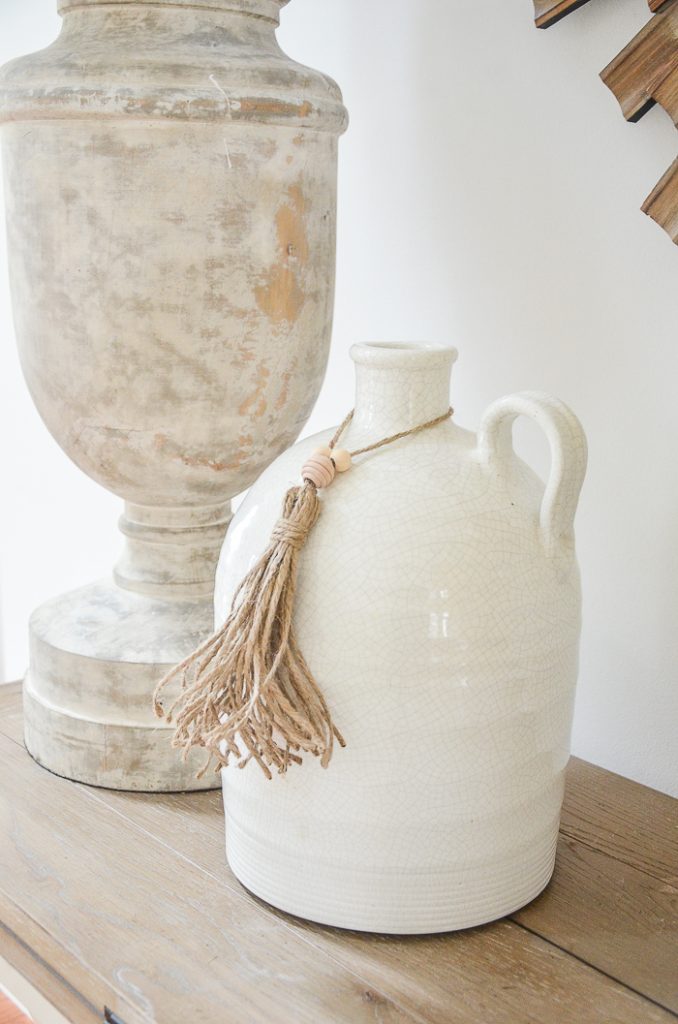
This twine tassel diy is so easy to make and will add lots of texture to your decor. I love when a project comes out better than I imagined! I’ve always been captivated by the beauty of tassels! So today let’s make an updated version of the classic tassel!
This post contains affiliate links. That means when you click on some of the links in this post and you make a purchase I earn a small commission at no cost to you. All my opinions are my own.
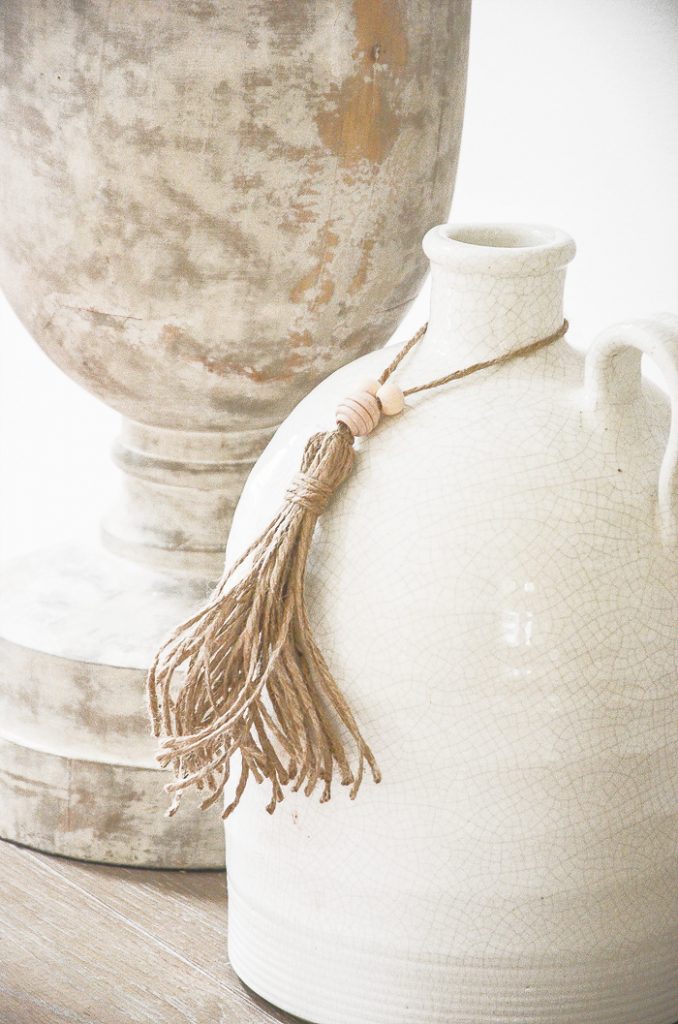
Tassels have always held a fascination to me. I think they add a little layer texture and interest to decor.
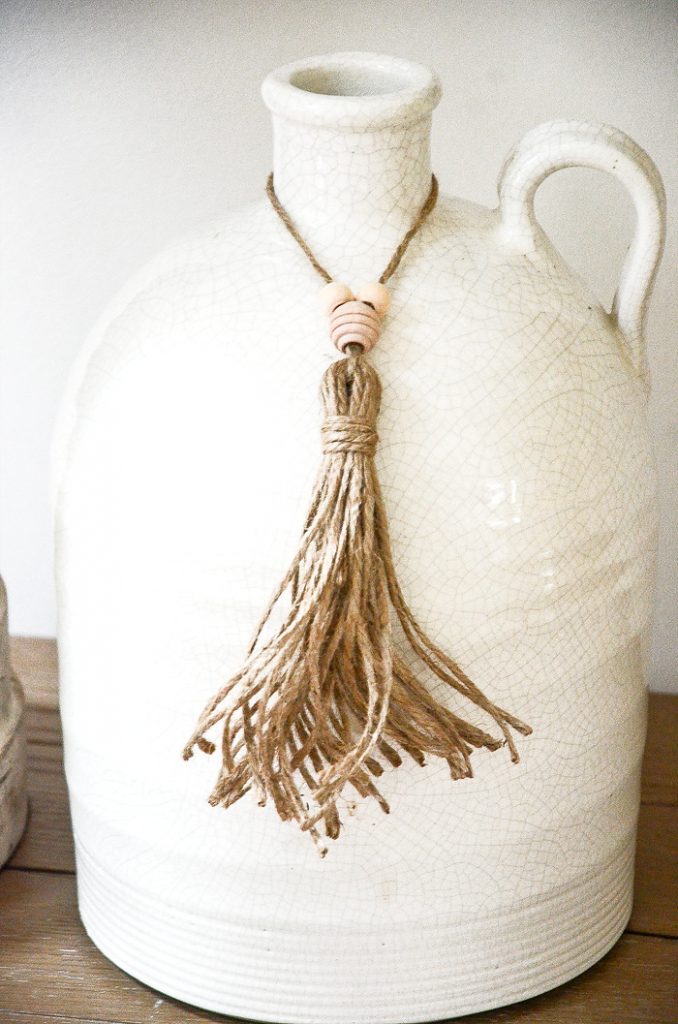
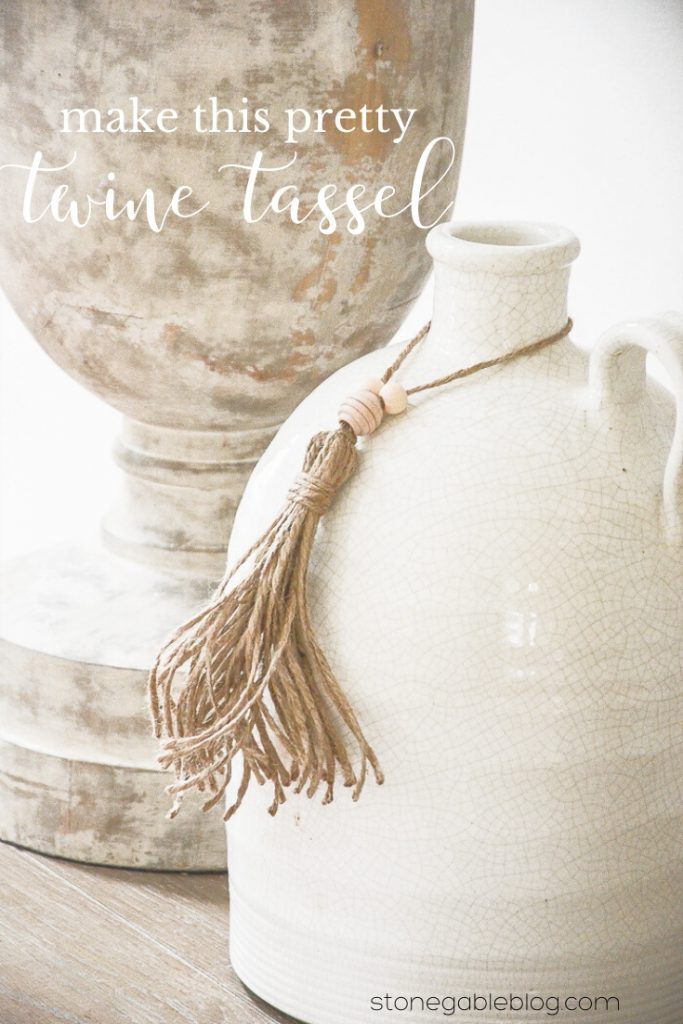
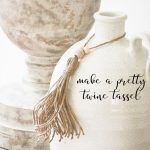
Take this white crazed jug. It’s pretty and fits with my decor but unless I put something in it, it looks a bit plain! By adding a tassel the jug instantly has a polished look!
Traditional tassels can look a bit overdone and formal so I’m updating this one by using twine and wood beads!
This tassel diy took me less than 20 minutes to make. I have so many fun ideas swimming around in my head for ways to make more and use them!
Let’s make a twine tassel!
MATERIALS FOR THE TWINE TASSEL DIY
I had all the materials to make a tassel on hand! Here’s what you will need…
- twine (see twine HERE, HERE, and HERE)
- a book or another flat surface to wind the twin around
- decorative wooden beads with the opening big enough to thread the twine through (see beads HERE, HERE and HERE)
- scissors
HOW TO MAKE A TWINE TASSEL
This twine tassel diy is so so easy. Make one and you will want to make more!
One of the most important things to do is to figure out how long you want the tassel to be and find something about that length that you can wrap the twine around to make the tassel.
I used a painted book for the tassel diy. Its length and thickness were perfect for a nice long tassel! Just make sure the object you wrap the tine around is the same thickness. If it is tapered the tassel will not turn out well. That’s why I love to use a book.
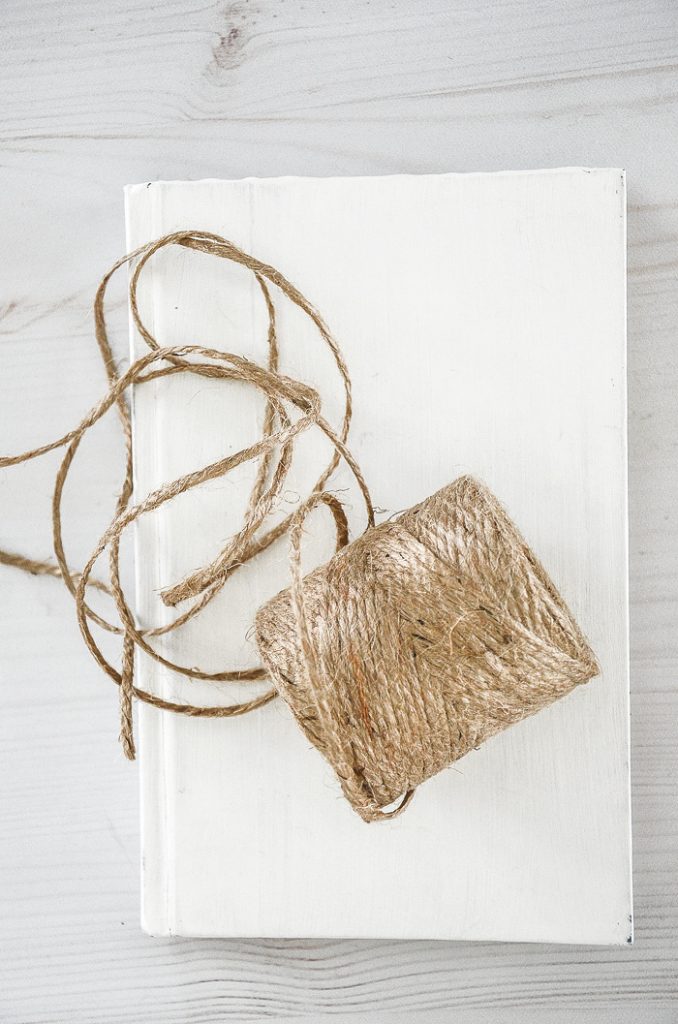
Before we start wrapping the twine around the book…
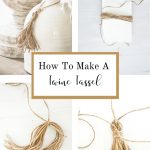
Let’s look at the anatomy of a tassel …
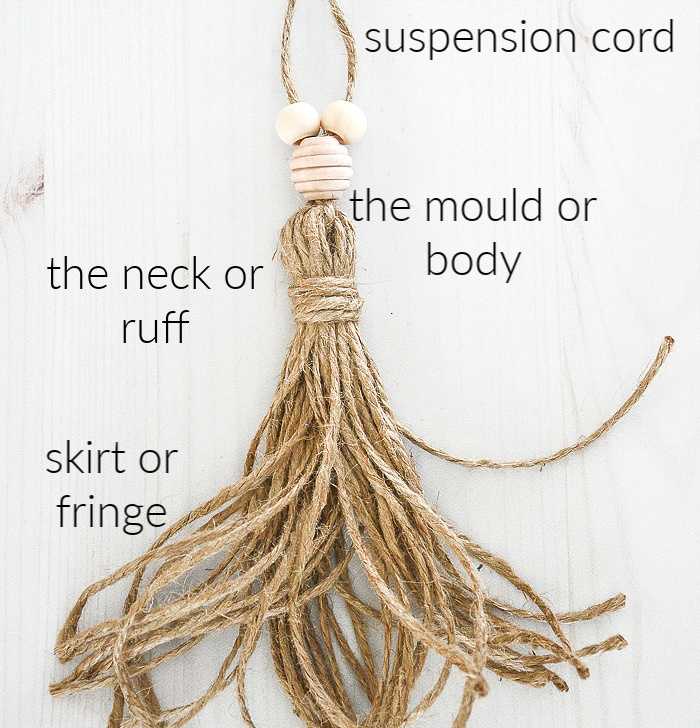
I think if will be helpful to refer to the image so you know what part of the tassel we are working on as we make one.
DIRECTIONS…
CREATING THE BASIC TASSEL SHAPE
The first thing you will want to do is to cut a suspension cord from the twine about 20 inches long. I cut mine 14 inches and that was a bit short.
Position the suspension cord on the top of whatever you want to wrap your twine around to make the tassel as shown below.

It is important that the suspension corn remain at the top of your book. It might be a good idea to use a little bit of tape to secure it.
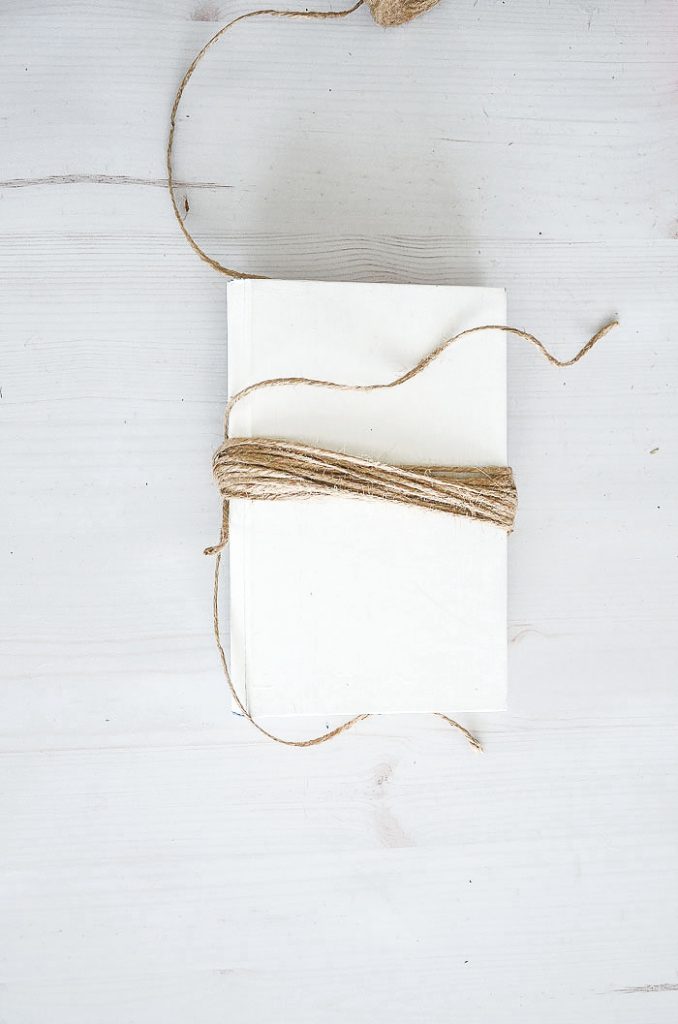
Using the twine on the spool put the end of the twine on the top of the book and then begin snugly (but not too tightly) wrapping the twine around your book in the center of the book on top of the suspension cord. See image below.
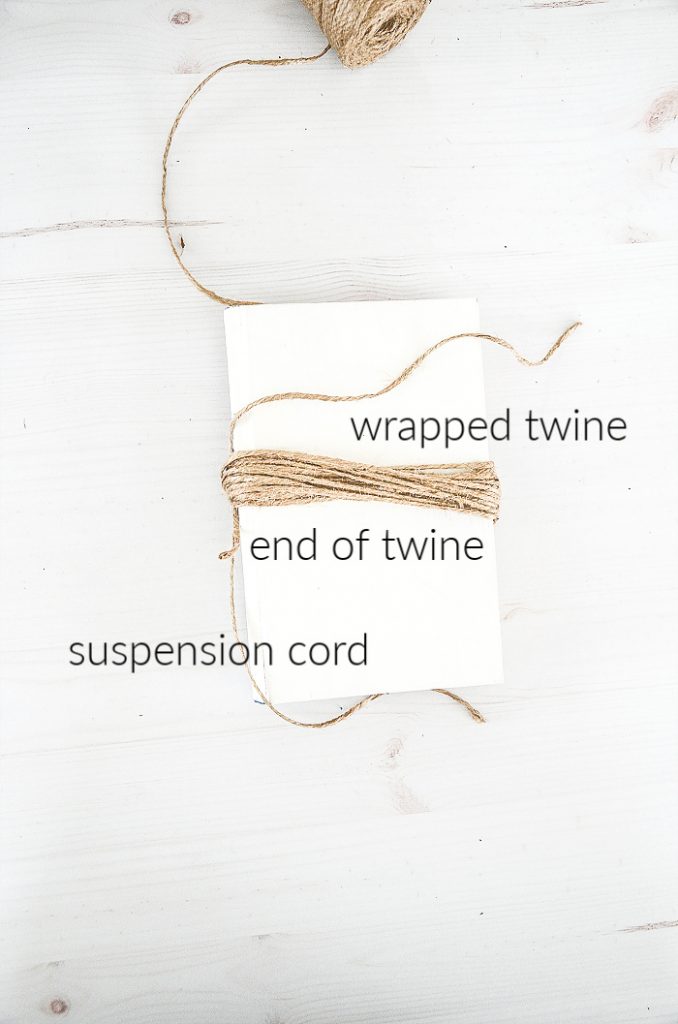
Next, tie the suspension cord in a tight double knot around the looped twine on the book. And then gently wiggle the loops off the book! See image below.
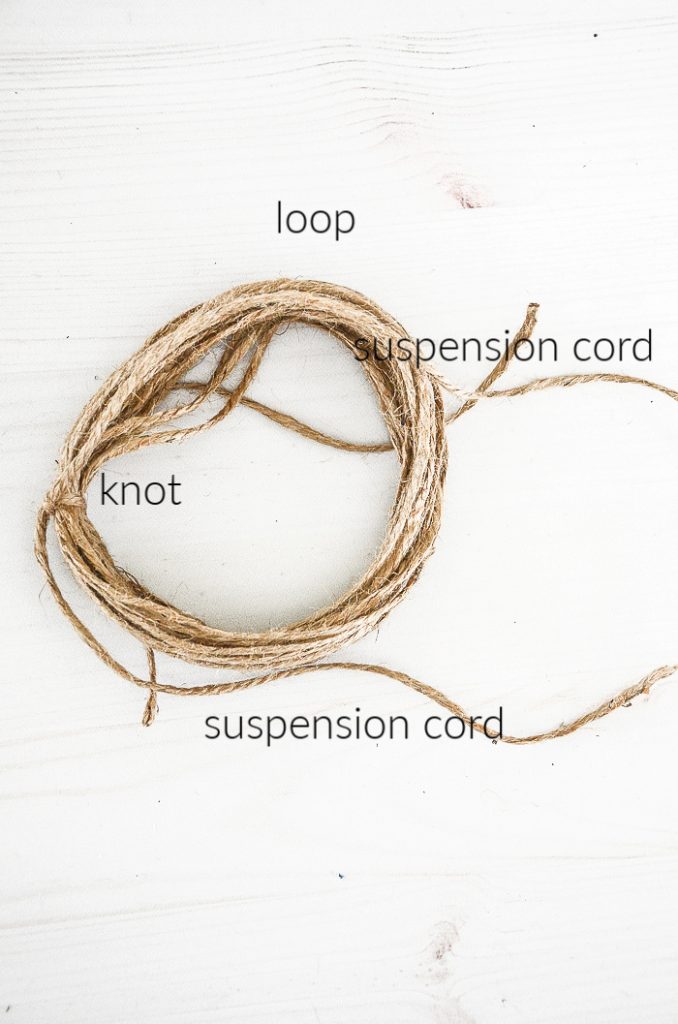
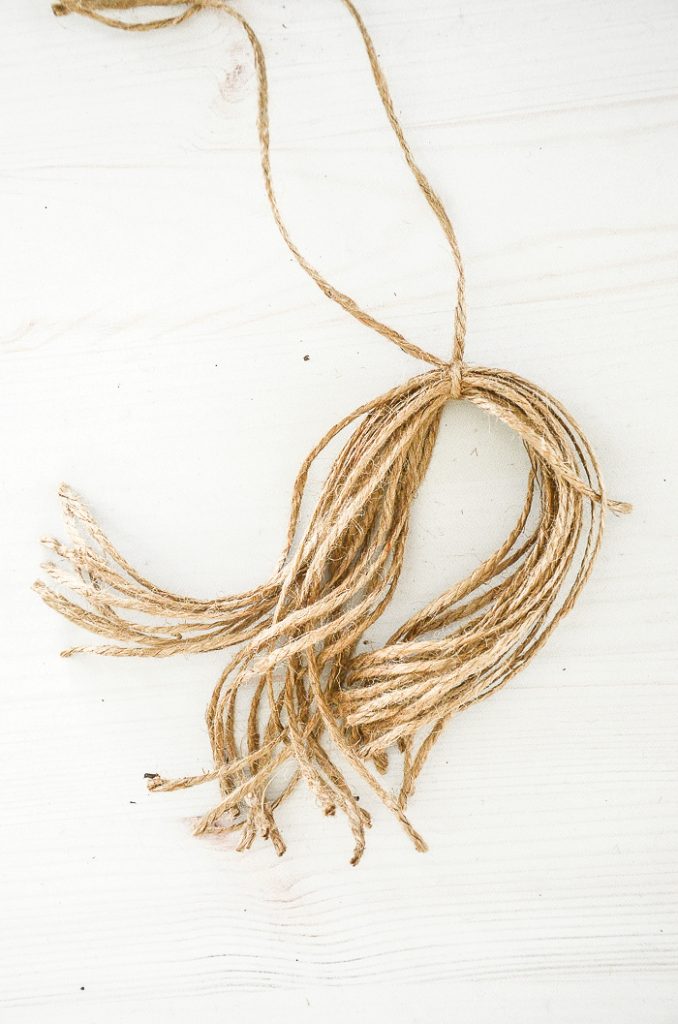
Cut the loop that will make the skirt of the twine tassel in half.
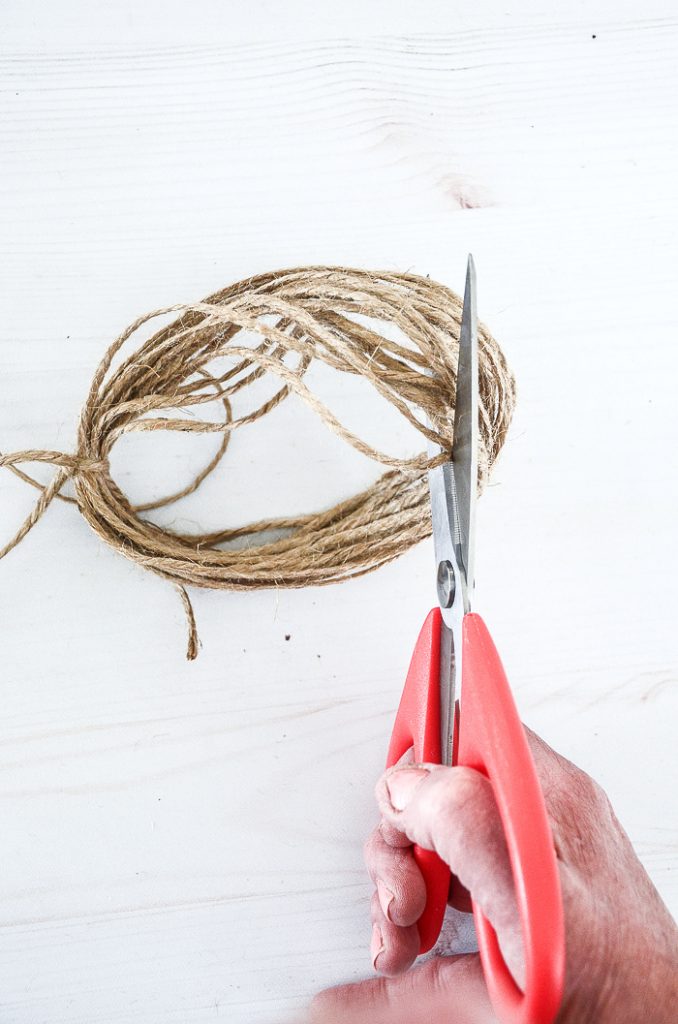
Make for you don’t cut the suspension cord. Can you see the tassel taking shape? This is a very easy tassel diy!
MAKING THE MOULD
Remember the mould? It’s time to make one!
Cut an 18 inch of twine from the spool. This will become the mould twine.
Put the mould twine on your work surface and put the tassel centered on top of it as shown below. Where the mould twine falls on the tassel is how long or short the mould will be.
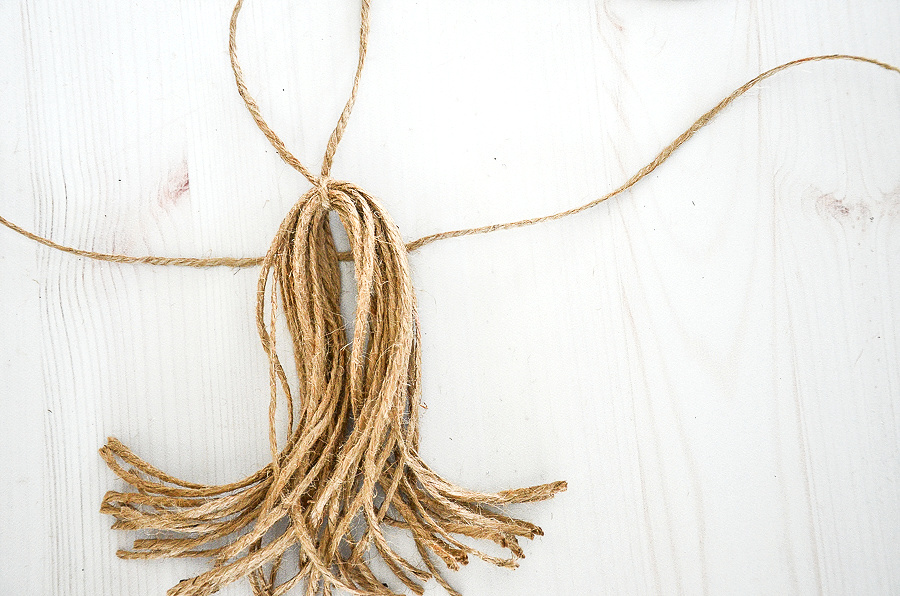
Now bring the mould twine to the front of the tassel and tie it in a single knot as shown below.
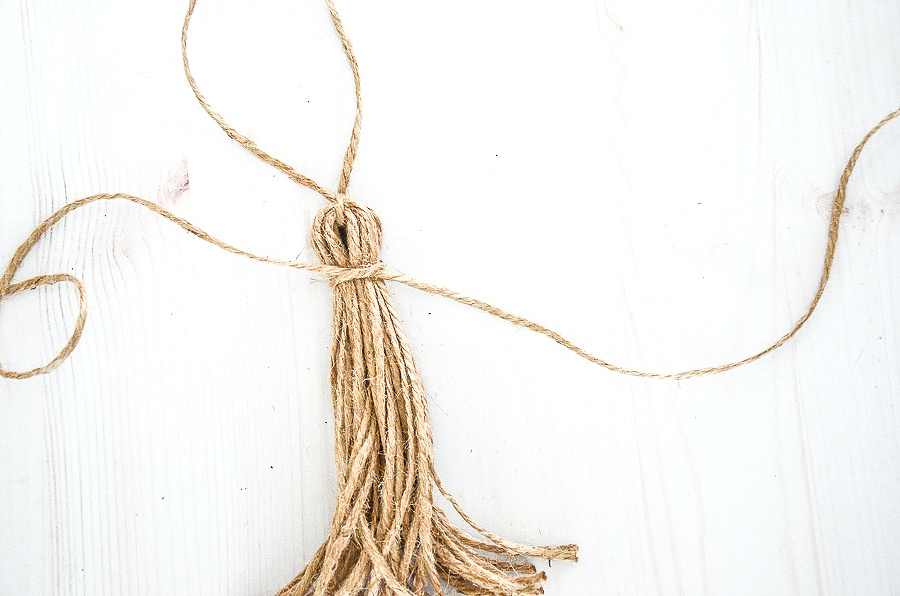
Can you see the mould taking shape?
The next step is not hard once you understand what you are doing. Here’s what to do…
Wrap the right side of the mould twine around the right side to the back of the tassel ending with the twine on the left side of the tassel as shown below.
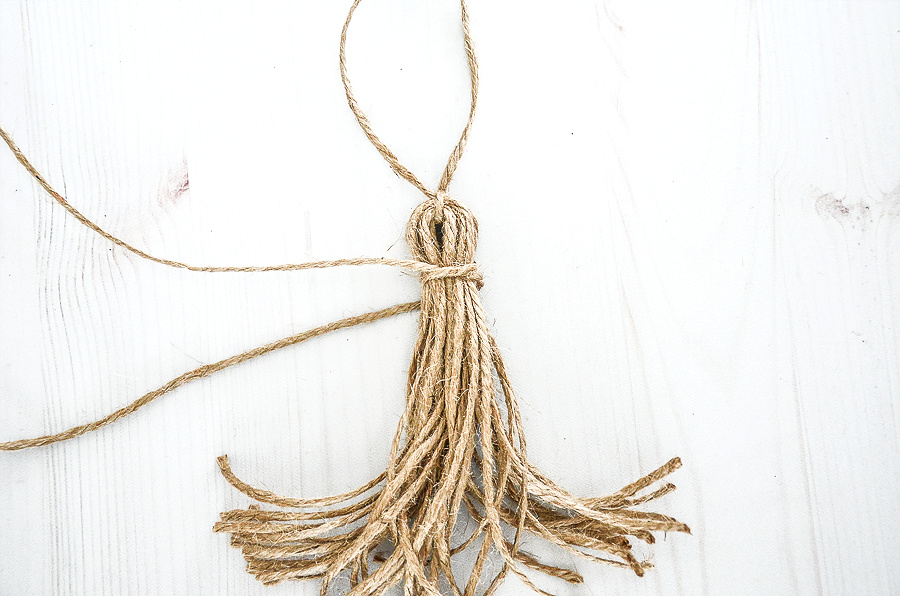
And wrap the twine that is on the left side and wrap it around the left side to the back of the tassel ending with the mould twine on the right side of the tassel as shown below.
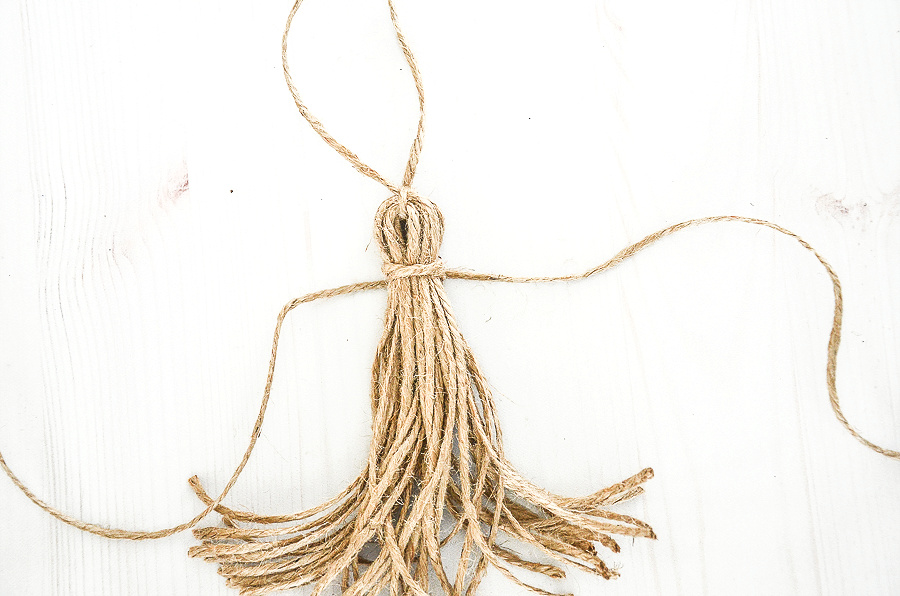
Pul the mould tightly and continue to wrap the mould twine around the tassel to make a pretty mould. I wrapped the twine around the tassel body to make the mould 5 times.
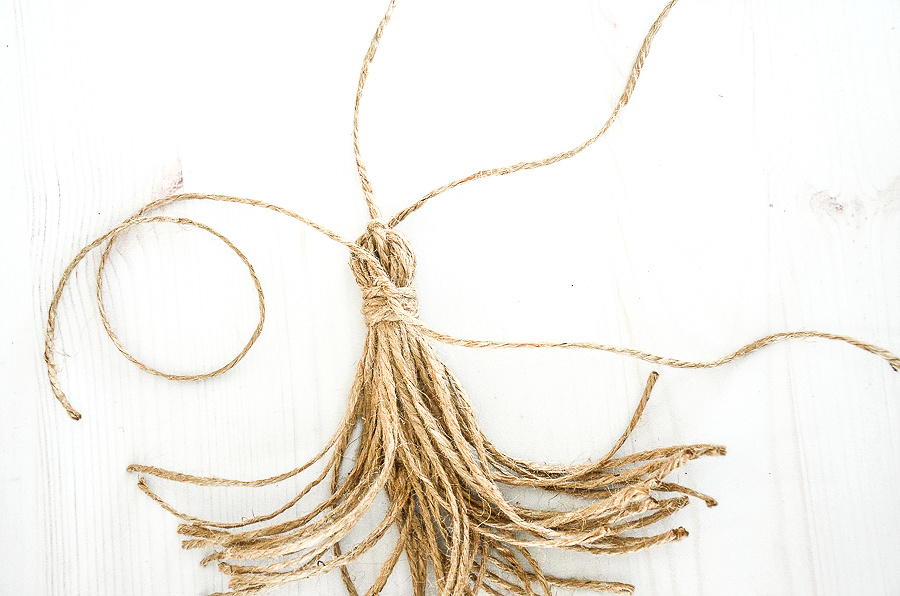
Tie the ends of the mould twine in a double knot and hide the knot under the wrapped twine.
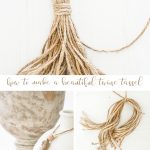
I initially cut the loop to make the skirt, pretty evenly so I did not have to trim the skirt. And I think the wild look of the skirt is fun and flirty!
If your skirt is uneven you can trim it. Also if the wild-side look is not for you, you can iron the twine to tame it. And then cut the skirt to be even.
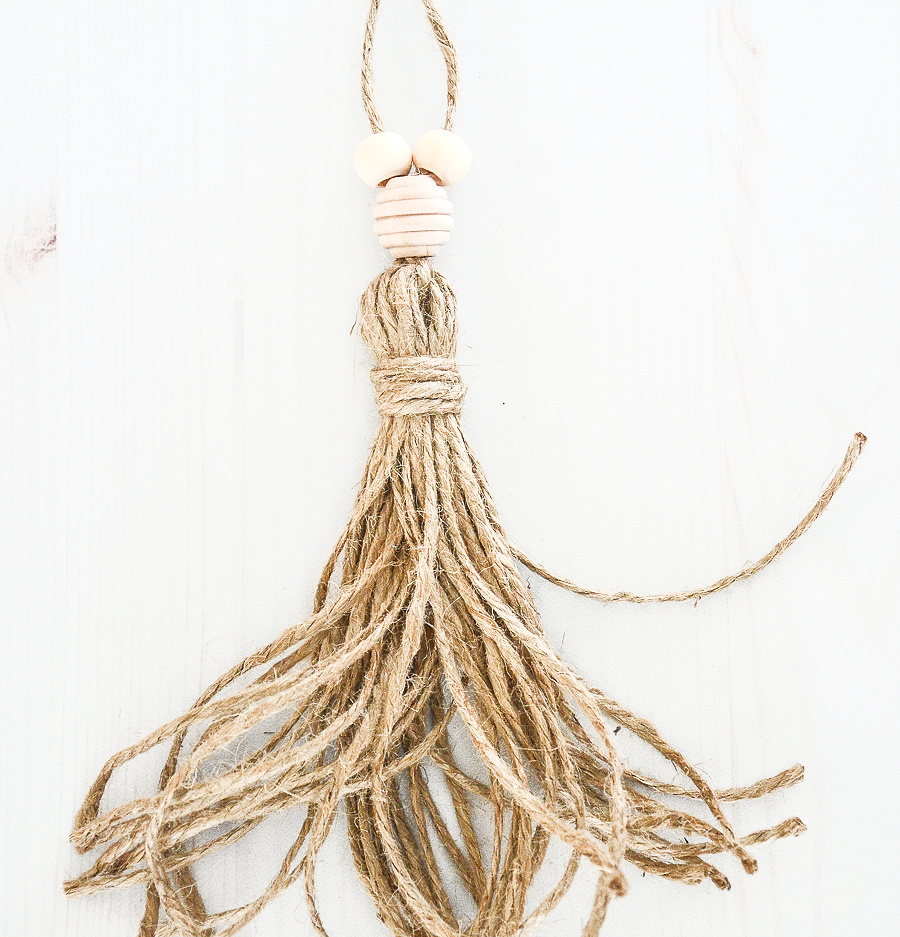
Lastly, I added a few beads to the suspension cord. I put the suspension cord through a larger ribbed bead and added a smaller bead to each side of the suspension cord.

TaDa!!! I’t really very easy!
HOW TO USE A TASSEL
Tassels add an additional layer of prettiness, texture and interest.
Here are some ways you can use a twine tassel in your home…
- tie it to a door handle or drawer pull
- tie a tassel around the throat of a lamp, ginger jar or other container
- add tassels around the top of a basket
- make a key chain using a ring and a tassel
- add tassels to pillows
- add them to the top of curtains or shower curtains
- string tassels on a twine and make a garland out of them
- make a fun tassel bookmark
- add a tassel to the end of a curtain rod
If twine tassels don’t interest you, you can make them out of yarn or embroidery thread or cotton string.
You might like these other easy home decor diy’s…
NO-SEW RIBBON PILLOW COVER DIY

Another good use for this (with a little tweaking) would be a napkin ring. Thank you, Yvonne, for another fun project.
Thanks for the idea, Ruth! You are so right! I need to make a few more tassels for my table!
You have the best blog around, always something to learn to make our homes beautiful, our dinner table satisfying and lots of easy to make crafts! Thanks for all the many ideas and you!! You ROCK Yvonne!
Hey, Logan! Thanks so so much! YOU rock, too!
What a pretty accent piece! I love to add texture to my decor and this really does so beautifully! I remember making tassels for Christmas projects with embroidery floss may years ago (the selection of colors is endless). This is a lovely update!
THANKS, Vickie. I thought it was about time to update the tassel! So glad you like it!
I can hardly wait to try this! I can think of so many places to add one. Love it! Pinned. 🙂
Love this idea…have many jugs and straw covered wine jugs that these would be perfect for…just a bit more pizazz! Never thought of the polished hemp…but the first two “here” for beads return you back to twine examples ?….the only beads we could see were the bright colored ones. Did you find the unfinished beads at Walmart or Amazon? Love this, can’t wait to make a few…add them to the bead garlands that I’ve made . Thanks for your decorating ideas…stay well and stay safe …
Inspiration, creativity and achievement is what gives a room the WOW factor. The tassel which is so easy to make as well as versatile, is yet an added kiss/pop of art which looks elegant, whimsical, and fun. Thank you for sharing.
I love this and can’t wait to make it! The first two links for the beads took me to the same links as the twine, though. Where is a good place to get the beads? Thank you!
I used Amazon. Put “wood beads with large holes” in the search.
Can’t quite figure out how you put those last two beads on if the suspension rope was tied in a knot at the beginning.
The last two beads are put on before the twine is tied in a knot. Hope this helps.