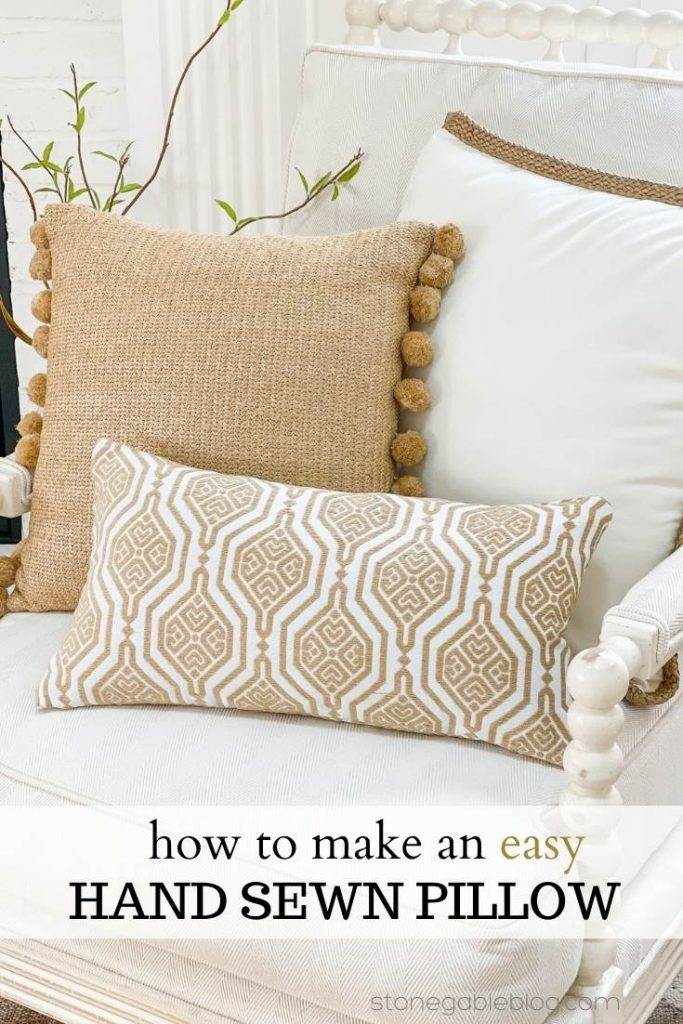
EASY AND PRETTY HAND SEWN PILLOW
Let’s make a hand sewn pillow. It’s so super easy. I’ve shared how to make machine sewn pillows and easy hot glued pillows and fusible tape pillows so today I’m sharing a quick and almost foolproof way to hand stitch a pretty pillow. This is such an easy way to make a pillow for you home!
Pillows are an essential part of home decor! And building and curating a gorgeous pillow collection is something every home decorator should be doing on a continuous basis! Make sure you read HOW TO HAVE A PILLOW COLLECTION LIKE A DESIGNER. There is tons savvy information and lots of tips for a strategic way to collect pillows so they work with one another and your decor!
One smart way to add a pillow to your collection is to make it yourself. It’s less expensive than buying a pillow and maybe even free! Yay! We all love that!
Not every home decorator has a sewing machine so today’s pretty pillow, although for everyone, is especially for those of us who don’t have a sewing machine. You can make this pillow using a machine or hot glue or with fusible tape if hand stitching is not your thing.
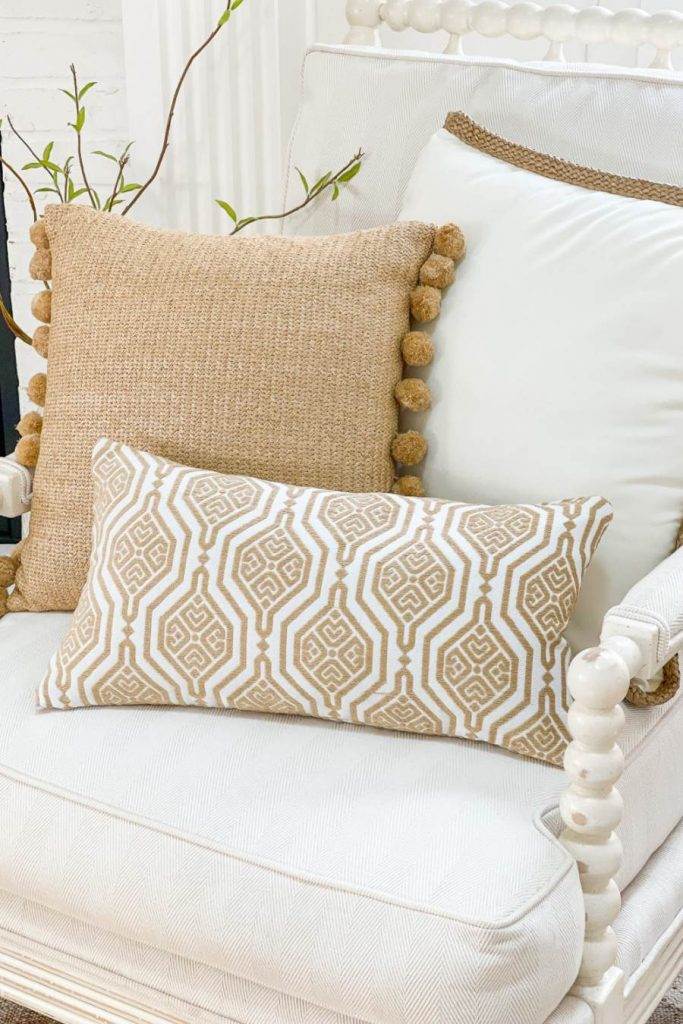
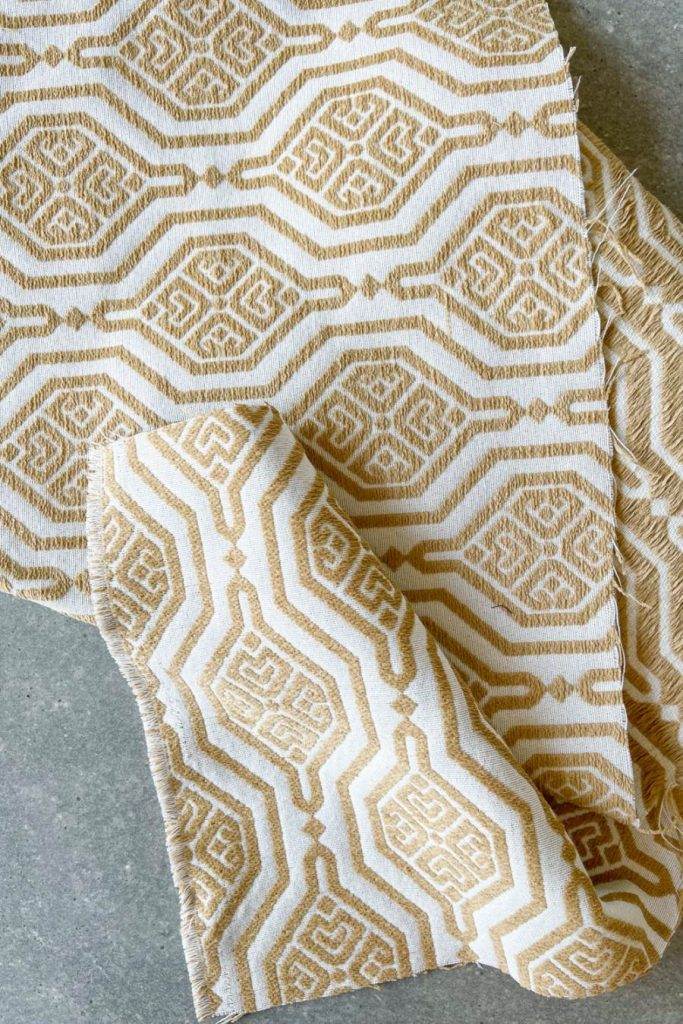
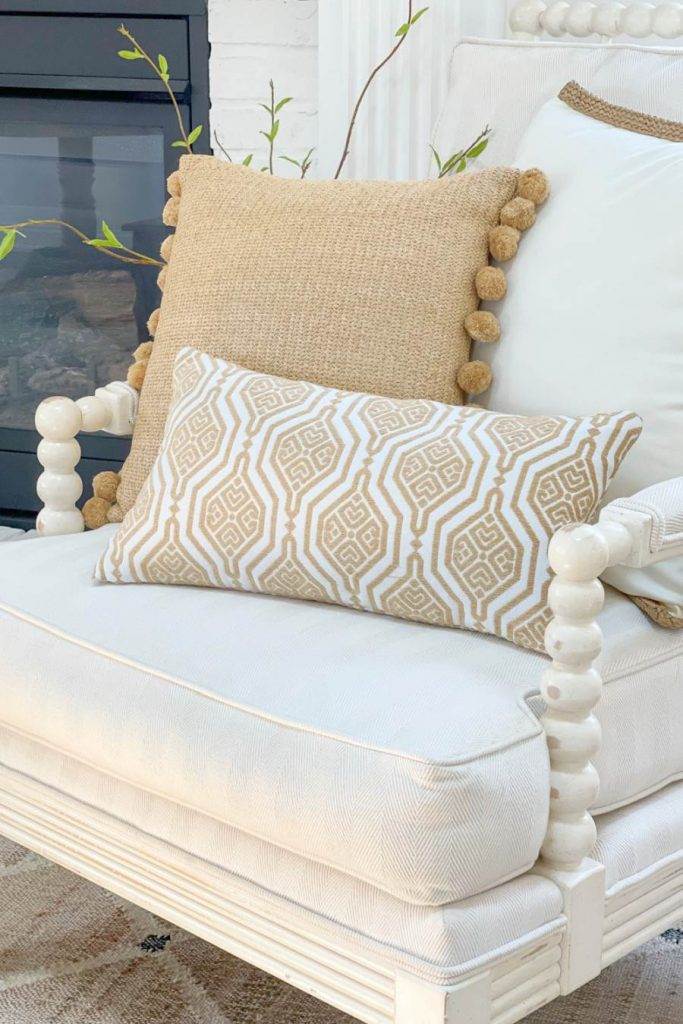
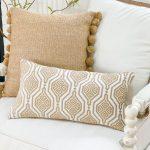
This pillow was inspired by this…
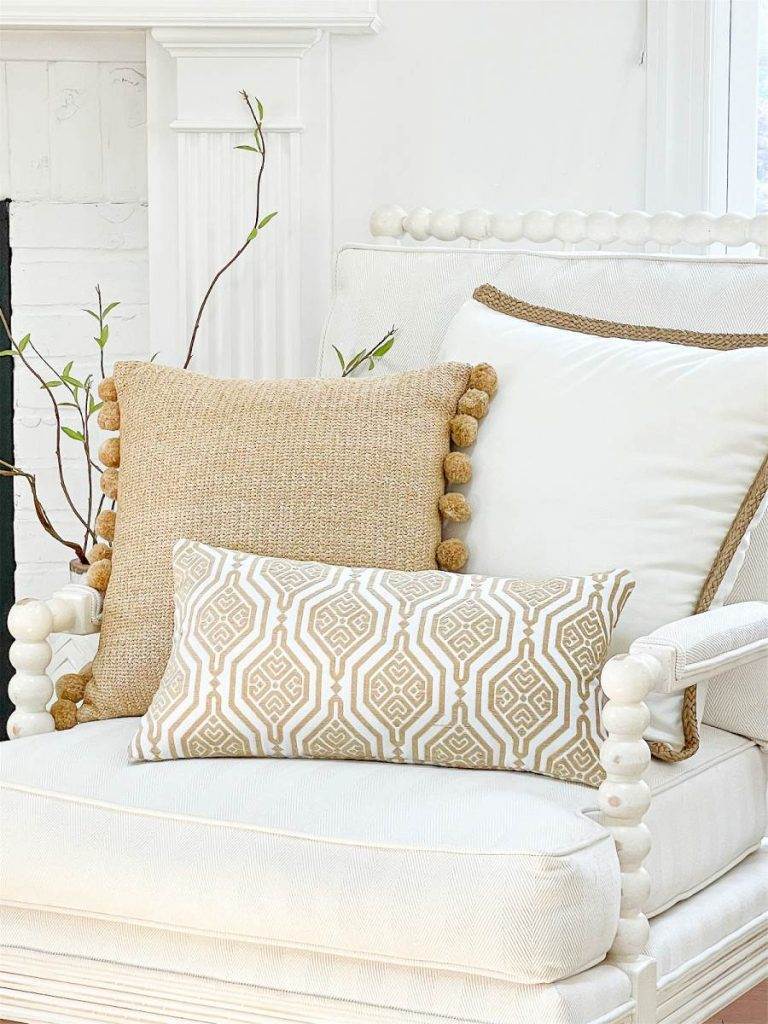
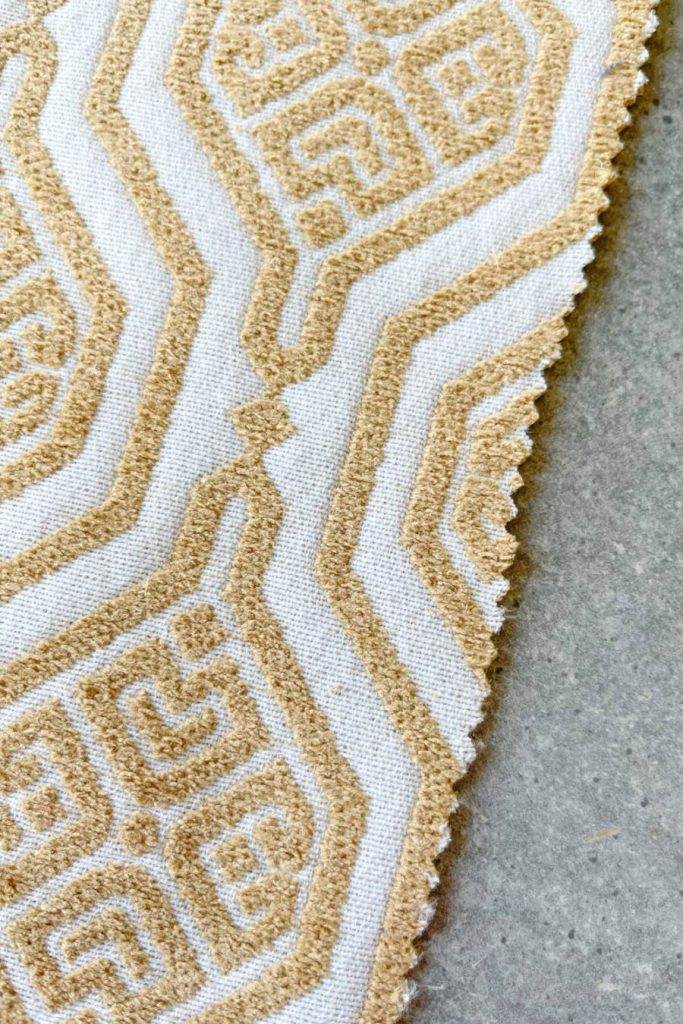
Here’s a closer look…
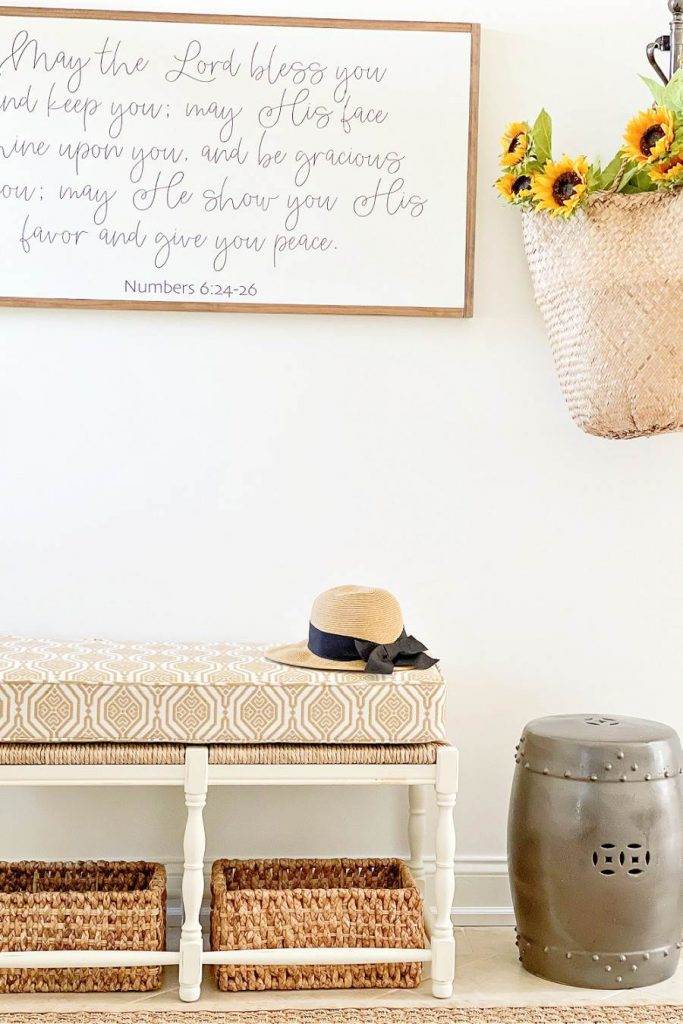
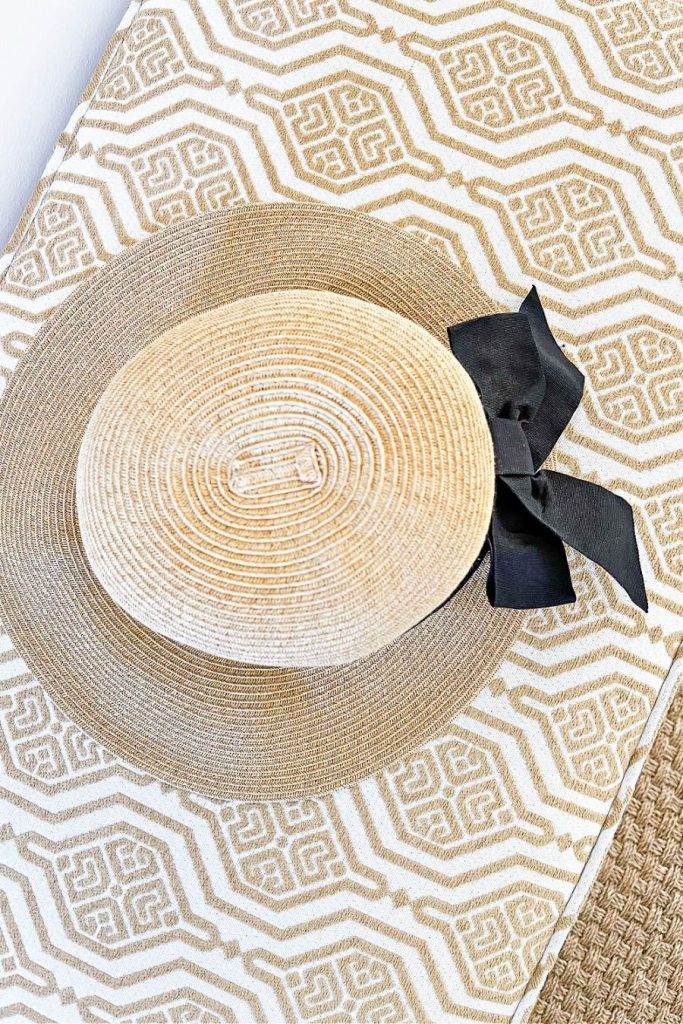
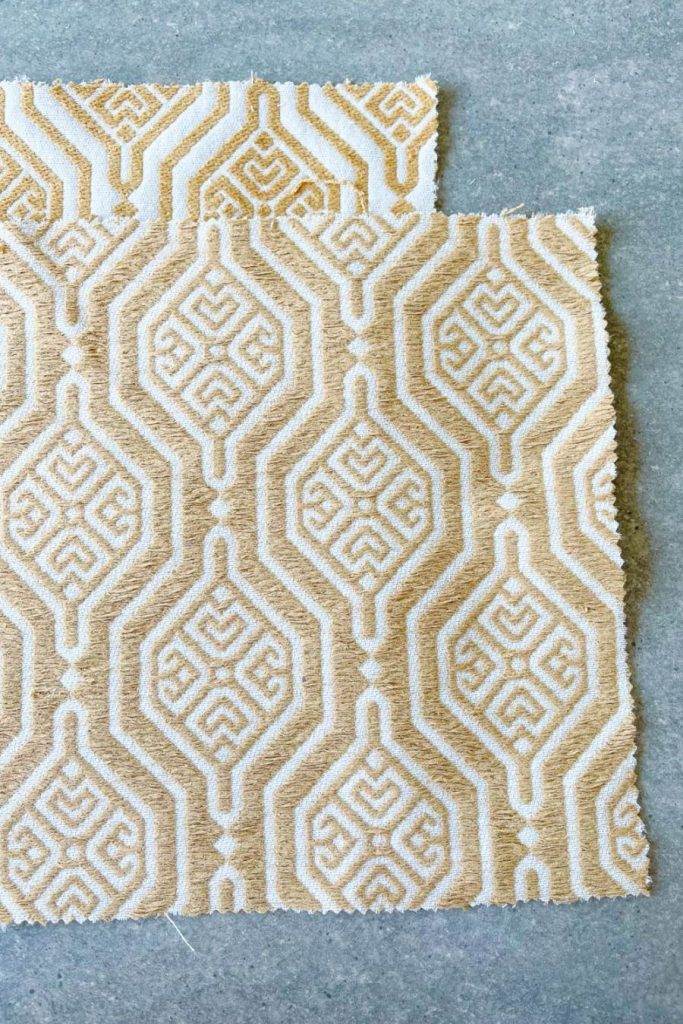
Recently, I had a cushion made for a bench in my foyer and had a small scrap of fabric leftover.
The scrap measured about 13 inches wide and about 55 inches long. I put the scrap away because the fabric was expensive and I just could not throw it out.
It did not take long for me to decide the best use for the scrap was to whip up a pillow.
At first, I thought I would make an easy pillow with a flap opening until I was mapping out how I would use the fabric and I noticed the swath was not all the same width and a flap opening would not work!
No problem, I quickly decided to use an inexpensive feather insert and make it a non-removable pillow cover.
This pillow took about 2 hours from start to finish! And that included wrestling the feather insert into the cover.
A FEW TIPS TO HELP YOU MAKE A SUCCESSFUL HAND SEWN PILLOW
This project is pretty straight forward and simple. Here are a few tips to help you make your hand sewn pillow a success.
This post contains affiliate links. That means when you click on some of the links in this post and you make a purchase I earn a small commission at no cost to you. All my opinions are my own.
- If you don’t know how to sew using a straight stitch or slip stitch don’t worry! See the videos at the end of the post.
- Use mid weight upholstery fabric for best results. The lighter the fabric the straighter you need to sew.
- If you have pinking shears use them to cut out the pillow pieces. It really keeps down fraying. Although any sharp scissor will do.
- If your fabric has a print with a definite top and bottom make sure you know where the top of your pillow and the bottom of your pillow are on both sides. You don’t want to end up with upside down birds or flowers on one side of the pillow.
- Sew your pillow with doubled thread.
- I think a lumbar are the easiest pillows to make so if you are hand sewing this pillow start with a lumbar
- Use a down pillow insert. They make any pillow look soooooo much better and more expensive too! See pillow inserts HERE
- Look for upholstry fabric on sale. You would be surprised how inexpensive fabric can be!
WHAT YOU WILL NEED
I had everything I needed to make this pillow. If you sew you might have everything too!
Here’s what you will need…
- fabric
- pillow insert here
- measuring tape
- straight pins
- pen
- scissors
- needle
- thread
- scissors
HOW TO MAKE THE PILLOW
This is such an easy pillow to make and so satisfying too. Make it in less than two hours and style it on a sofa, chair or bed!
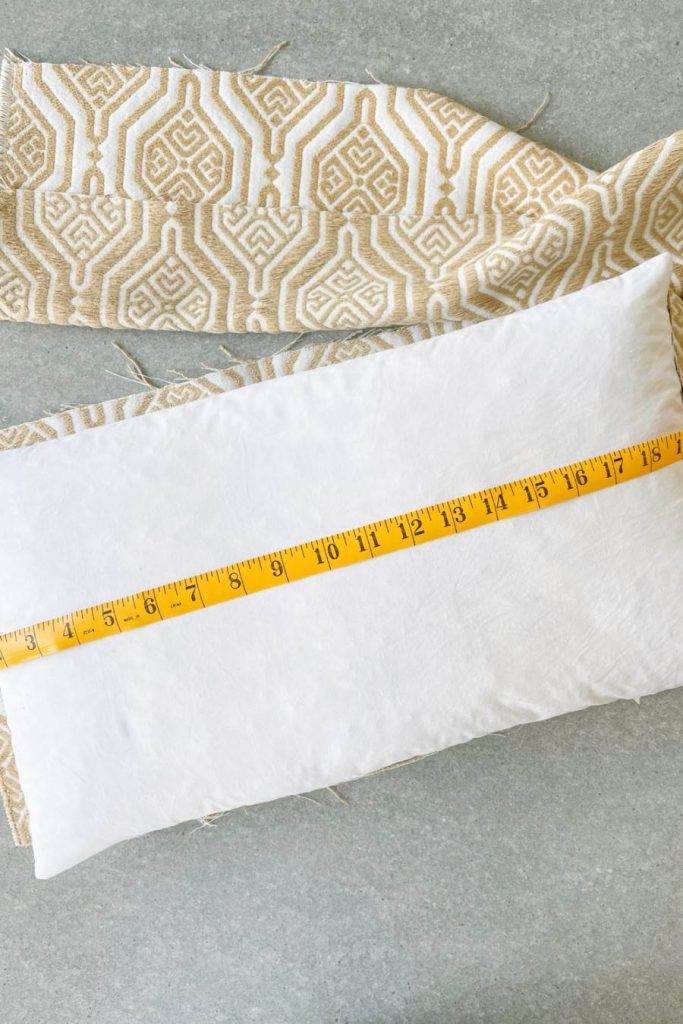
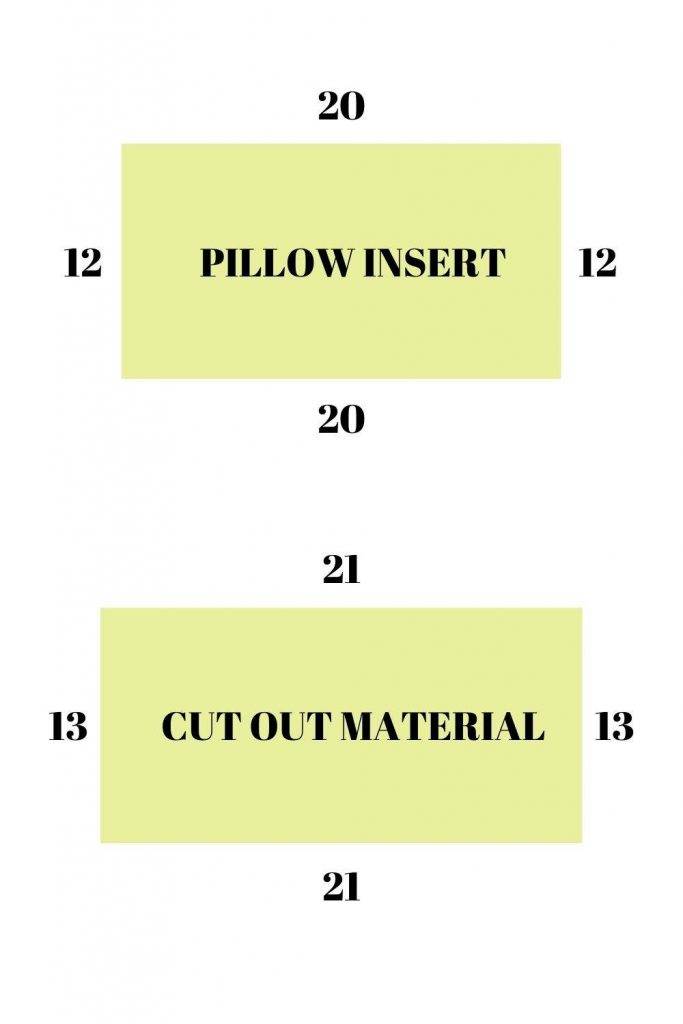
- Measure your pillow insert. My pillow measured 20 x 12.
- Add 1 inch to the length and width. This will give you a 1/2 inch seam allowence. When the material I used was cut out it measures 21 x 13.
- Cut out two equal pieces.
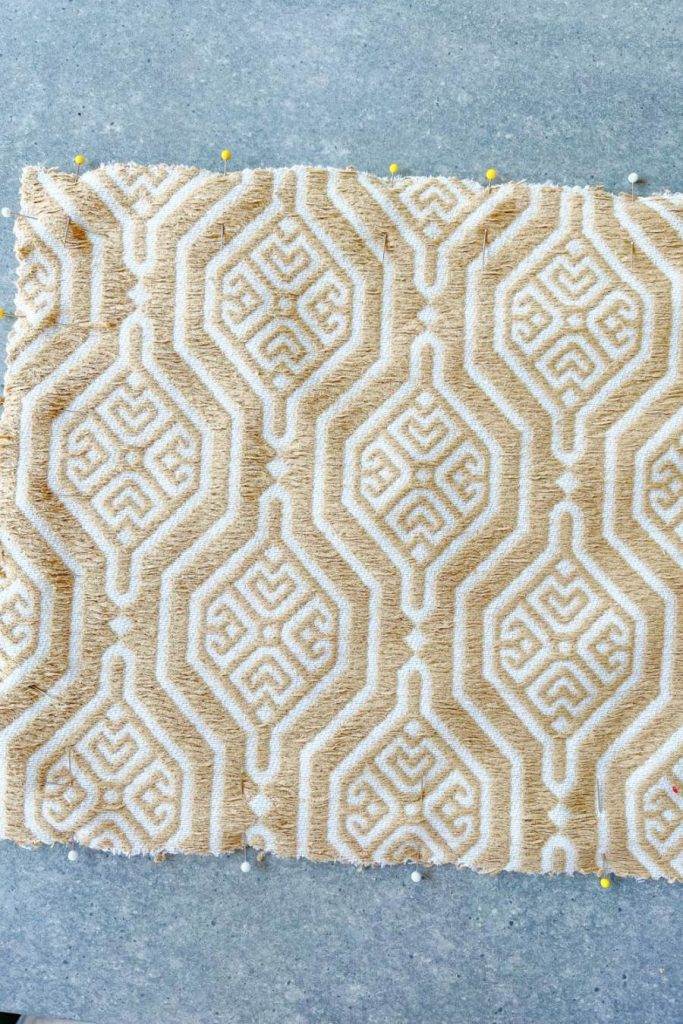
- Put right sides together.
- Pin together.
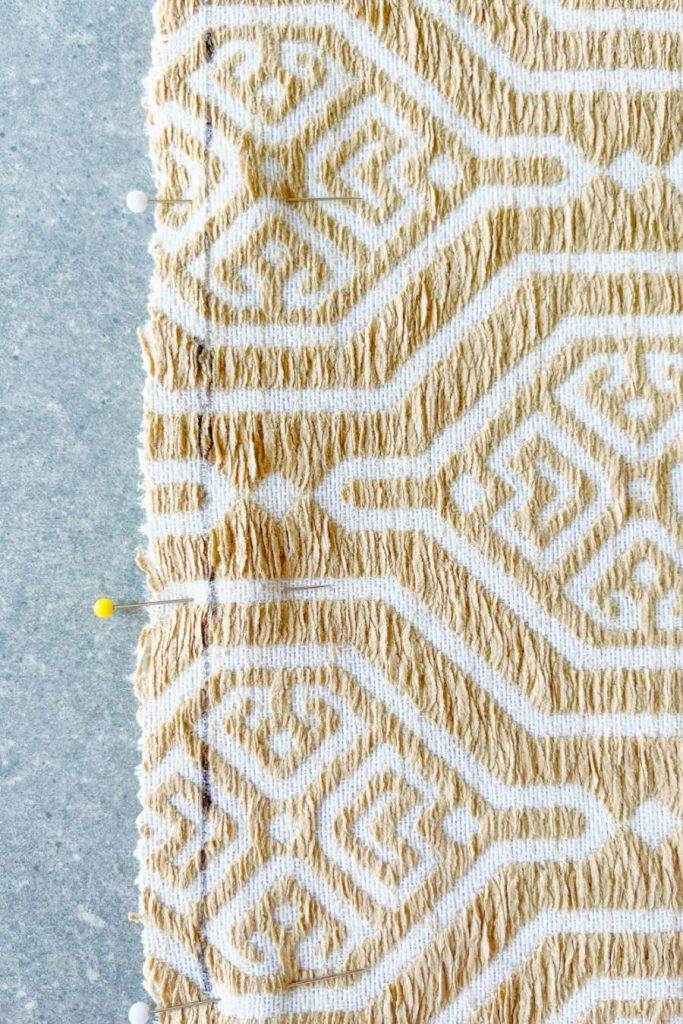
- Mark 1/2 inch all the way around the edge of the pillow. I used a pen to mark the fabric. And pin the fabric together on three sides, leaving one of the short sides (width) not pinned.
- Stitch three sides closely together using a straight stitch. Leave one width or short end open. Turn to the right side.
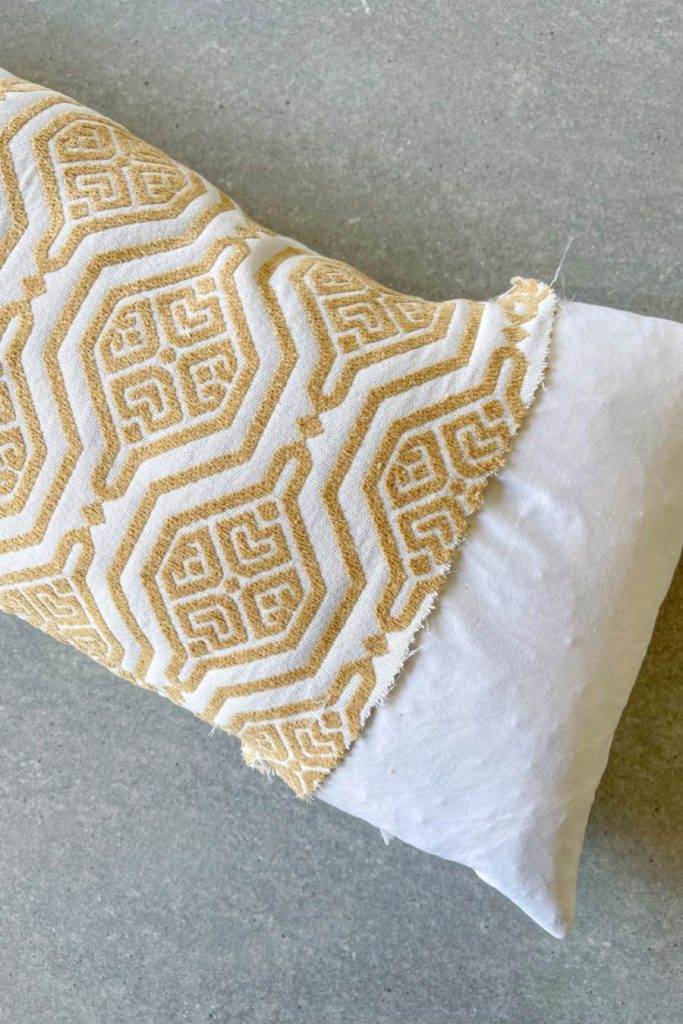
- Stuff the pillow with the pillow insert. This is a bit like wrestling a pig into a dress. But the results are so nice.
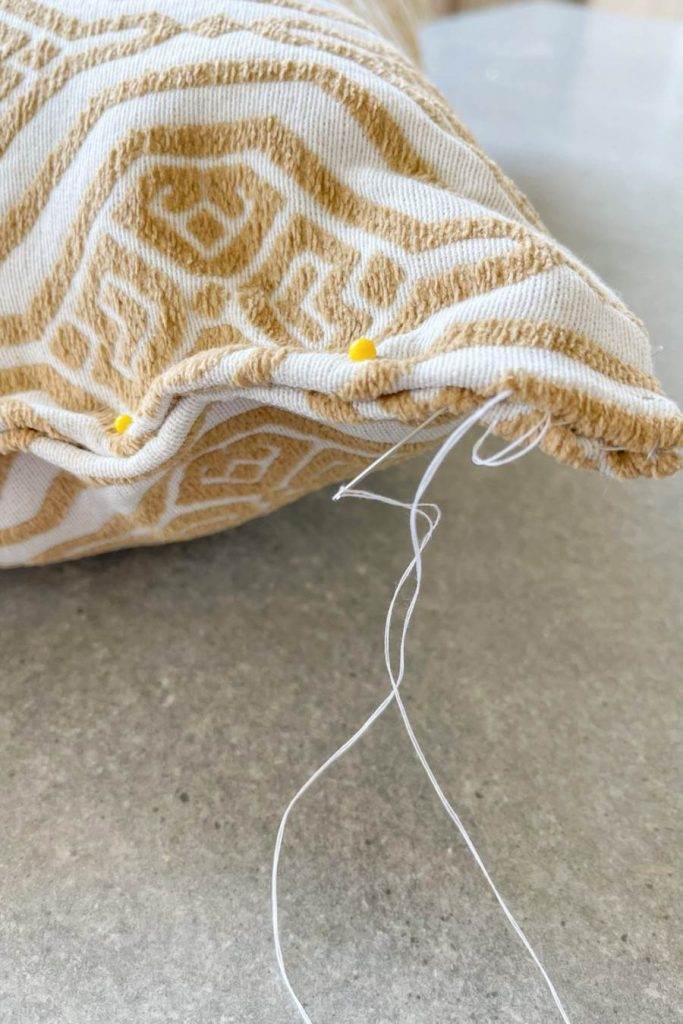
- Turn the raw ends of the pillow and pin them together. Slip stitch the end together.
Fluff and find a place for your new pillow!
I have a few more lengths of leftover fabric. The will all make great lumbar pillows!
OTHER PILLOW POST YOU MIGHT LIKE…
BUILD A BETTER PILLOW COLLECTION
9 BED PILLOW ARRANGEMENTS YOU WILL LOVE
HOW TO ARRANGE PILLOWS ON A SECTIONAL


Hi Yvonne,
I love this post because doing this is so simple and allows such a creative look. I actually love handsewing combined with the creativity aspect. I’ve also used table runners which are great for lumbar pillows, nearly no sewing if they are lined and over sized dinner napkins for large squares. I’ve actually made seat cushions for my dining room out of these.
Your method takes the fear out of people who think they can’t sew!
Thanks, so much Margo! I have always loved “hand work”.