Beautiful Easy To Make Dogwood Summer Wreath for Your Front Door
Make this easy and oh-so-pretty summery wreath diy in 30 minutes or less! It’s so easy you don’t even need to be crafty to make it!
Now is the time to make a few things for early summer, including this beautiful, brambly dogwood wreath.
At the beginning of every season, the first thing I do is make a big wreath. So, I added a brambly, welcoming dogwood wreath to our front door for summer this year. This is a summer wreath DIY you can make in about 30 minutes, so even if you are not crafty, you can make this beautiful spring into a summer wreath. Let’s put something stunning on our front door this summer
Affiliate links may be included at no additional cost to you. For more information, see our Discloser Policy. As an Amazon Associate, I earn from qualifying purchases.
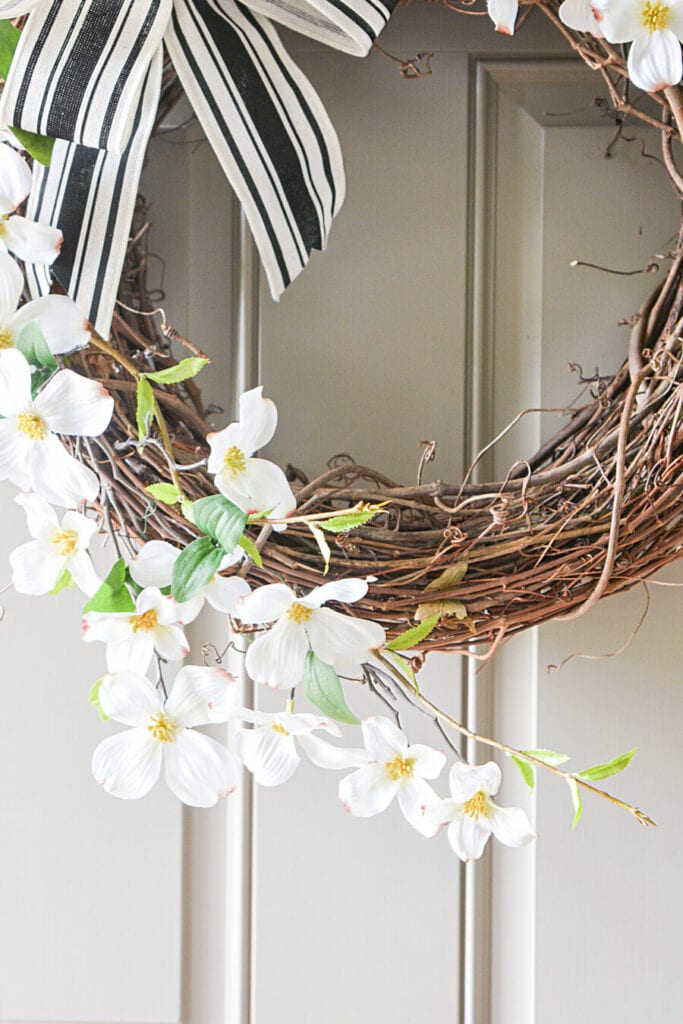
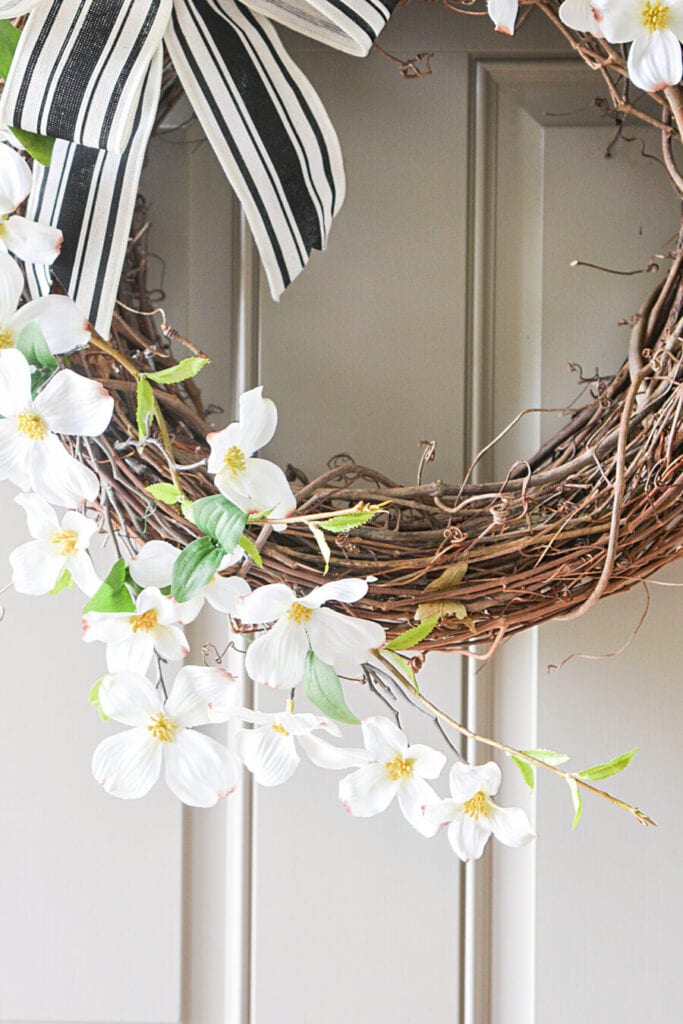
The beauty of this wreath is its lightly adorned look. No heavy hand was used to decorate it.
The organic beauty of the twisted grapevine plays a significant role in this wreath. Instead of covering it up with flowers and ribbon, I left it exposed.
And the dogwood branches look like they are lightly floating on the wreath.
This is a more graceful and edited study of summer abundance!
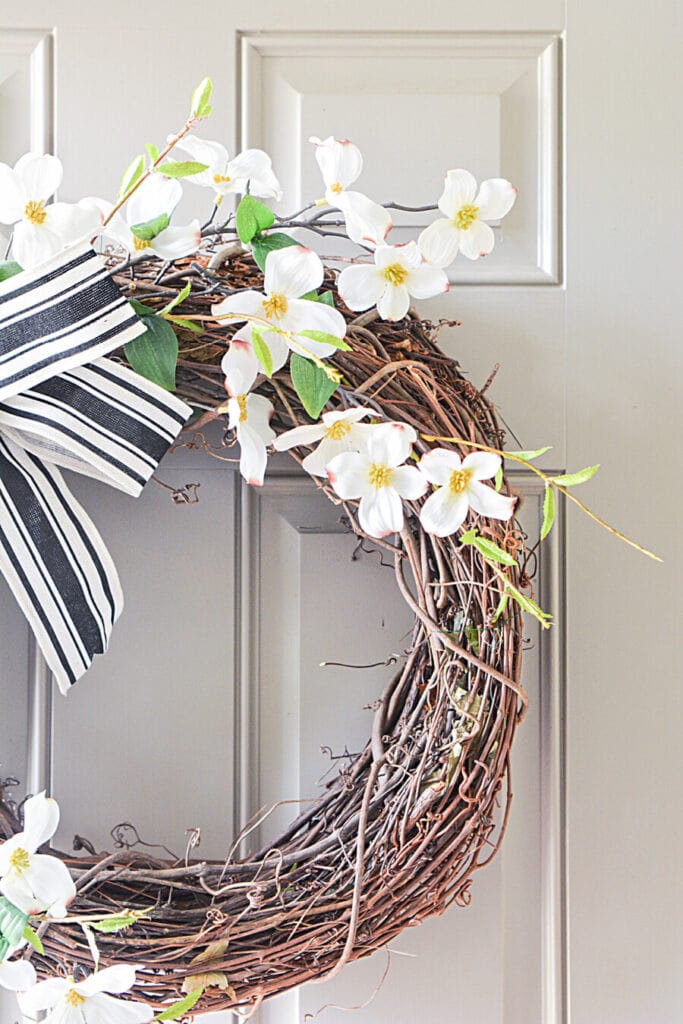
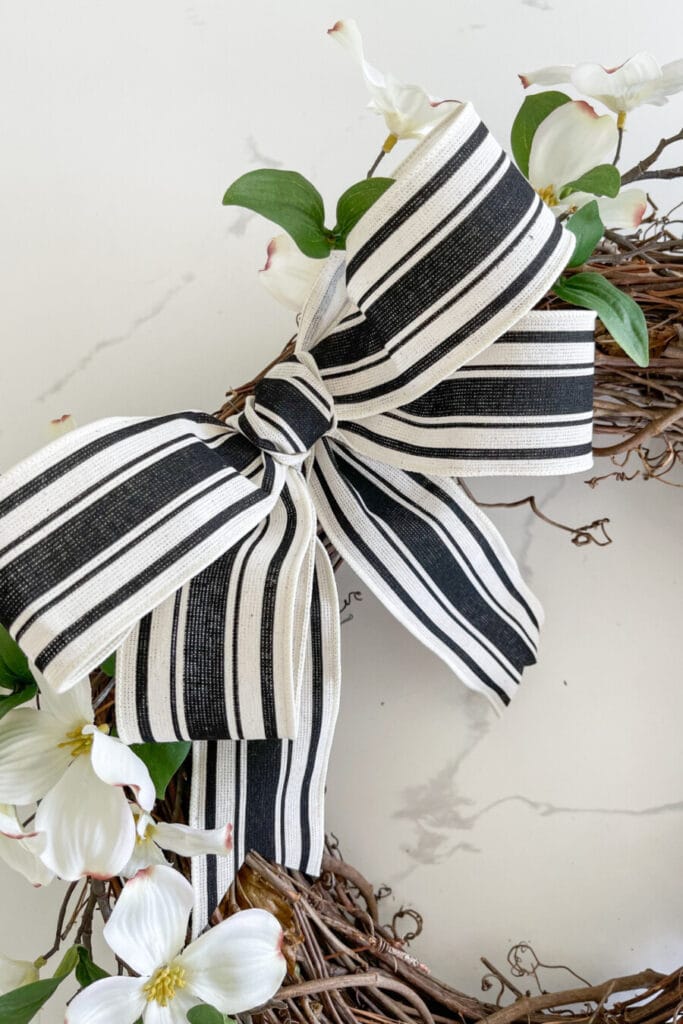
And the black and white French ribbon brings a bit of bold contrast to the summer wreath.
Things To Know
Here are a few things to know to help you make this wreath…
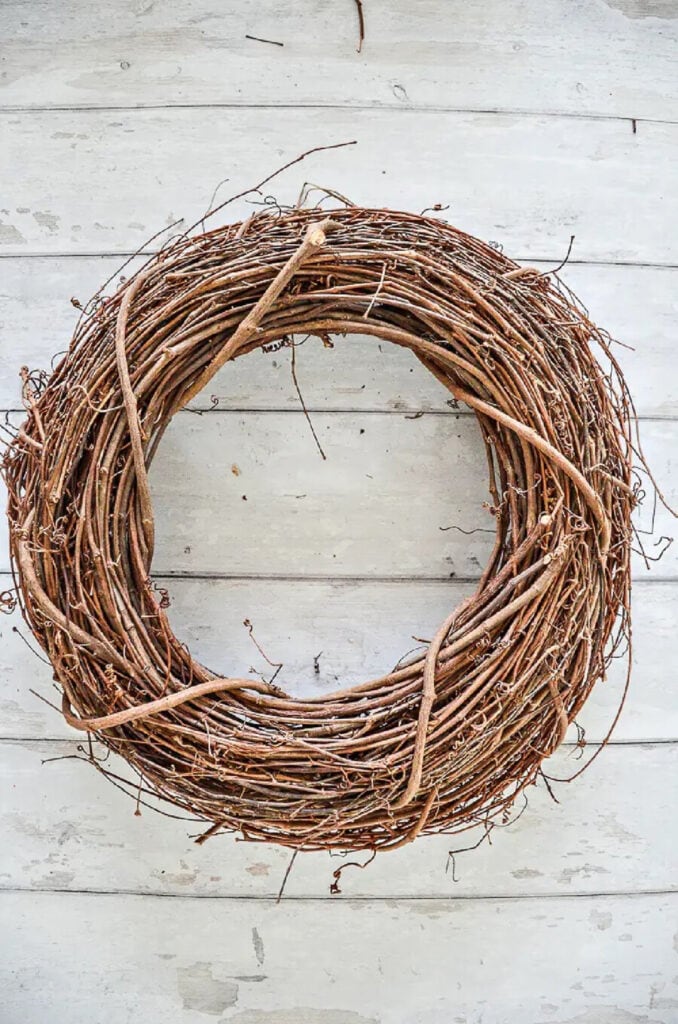
Every time I do a wreath DIY, I always sing the praises of using double grapevine wreaths as the base for any decorated wreath.
I learned this decades ago! And what a difference! Just wire two wreaths of the same size together. You can also use zip ties if you cover them up with things you put on your wreath.
I like to wire or zip-tie my wreaths together at 2, 6, and 10 o’clock on the wreath. This ensures the wreaths don’t slip apart.
Making A Perfect Bow
I made the bow ahead of time and set it aside. That way I can play around with its position on the wreath as I work.
I wired my bow loops together to make the bow and made sure I had enough wire to also wire the bow onto the wreath.
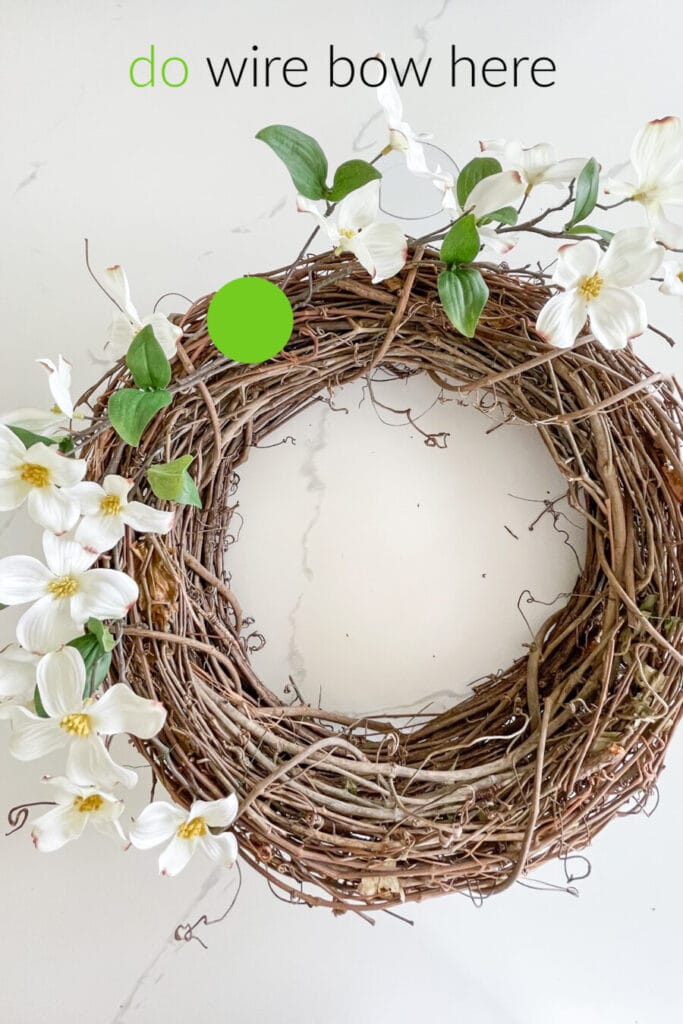
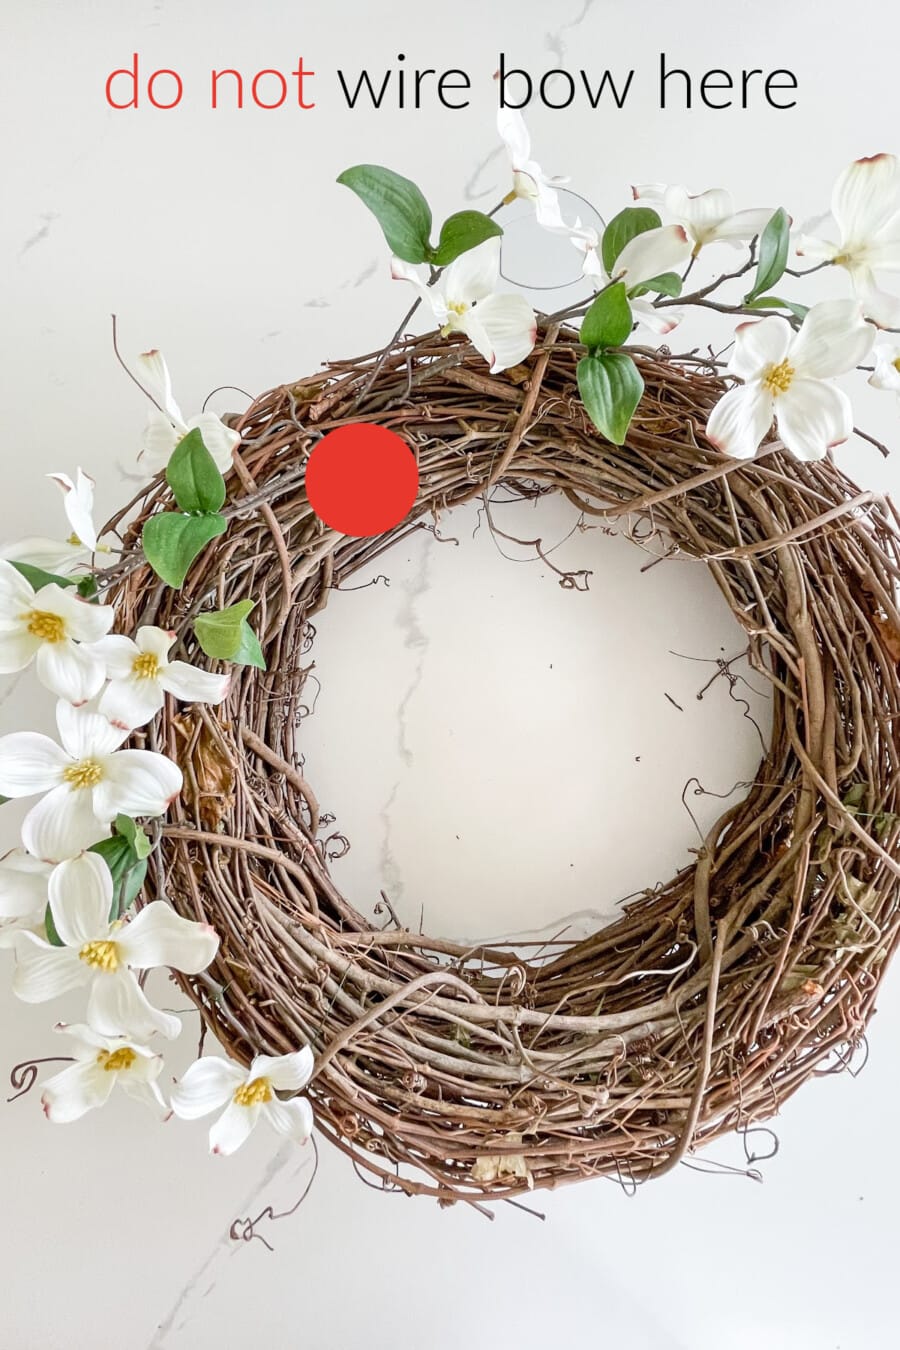
When you wire the bow onto the wreath make sure to wire it high up on the width of the wreath itself. This is so important. So many of us want a wreath to sit in the middle of the width of the wreath or lower and this will make it look odd. Take my word on this!
A Money Saving Tip
All grapevine wreaths are NOT alike. Get the best ones you can afford. These same wreaths can become the base of wreaths for years.
Don’t buy new wreaths for each new wreath unless you really love it and are going to keep it. Instead, pull everything off the wreath and repurpose and store the bits and pieces in clear plastic containers. Roll the ribbon up and store it for use again. Now you have a plain wreath you can use to adorn with seasonal florals and such to make a new wreath. This tip will save you lots of $$$!
Tips For Success
This wreath has a loose floral construction. I used just enough dogwood stems to drape around the wreath. I did not want the flowers to look too dense.
I also added a few sprigs of thin, leafy branches here and there on the wreath to give it a graceful look. I found them in the basement, so I thought they might be a pretty addition. However, this is totally optional.
Must-Do Pro Tip
When working on adding the dogwood flowers to this summer wreath, I cut the stems of dogwood apart as needed. Then I stuck them into the wreath and glued them in a place where the stems and wreath met when I was happy with the way everything looked hot.
I blew the wreath with my blow dryer set on warm to get rid of any hot glue spider webs. The hot glue spider webs melt away into nothing. Works every time!
This wreath is not rocket science, so enjoy the process!
Materials
This post contains affiliate links. That means when you click on some of the links in this post and you make a purchase, I earn a small commission at no cost to you. All my opinions are my own. You can view my full disclosure here.
Here are the things you will need to make this wreath…
- two grapevine wreaths (mine were 18 inches) see them HERE
- 3-4 yards of ribbon for bow- see the black and white ribbon HERE
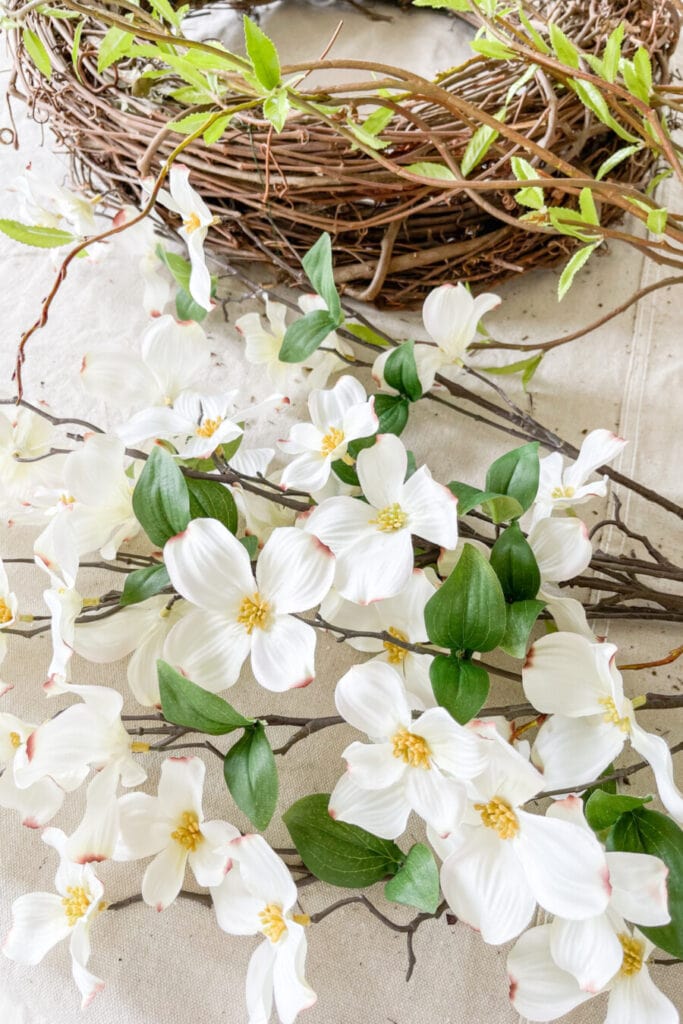
- 4 stems of faux Dogwood- see them HERE
- odds and ends of leafy branches (optional)- THESE are pretty
- florist wire
- hot glue gun
- got glue
- scissors
- wire cutters
Dogwood Wreath Instructions
Making this summery wreath is as easy as 1-2-3!
A couple of decisions to make first
The first thing you need to decide is how much of your grapevine wreath you want to cover with your floral design. All of it, half of it, or just a small part of it?
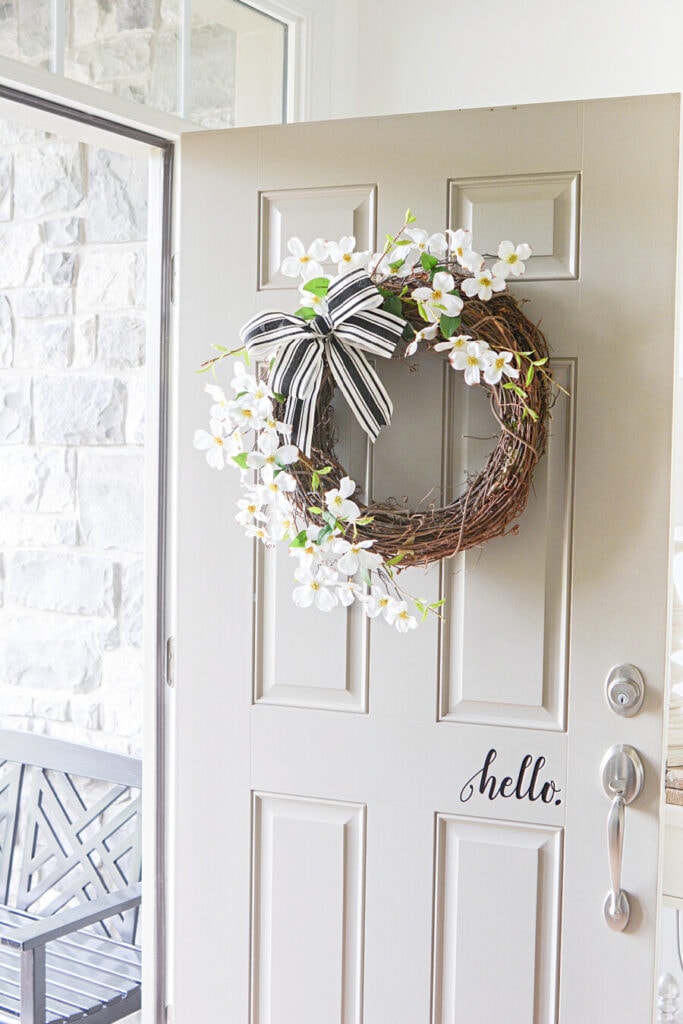
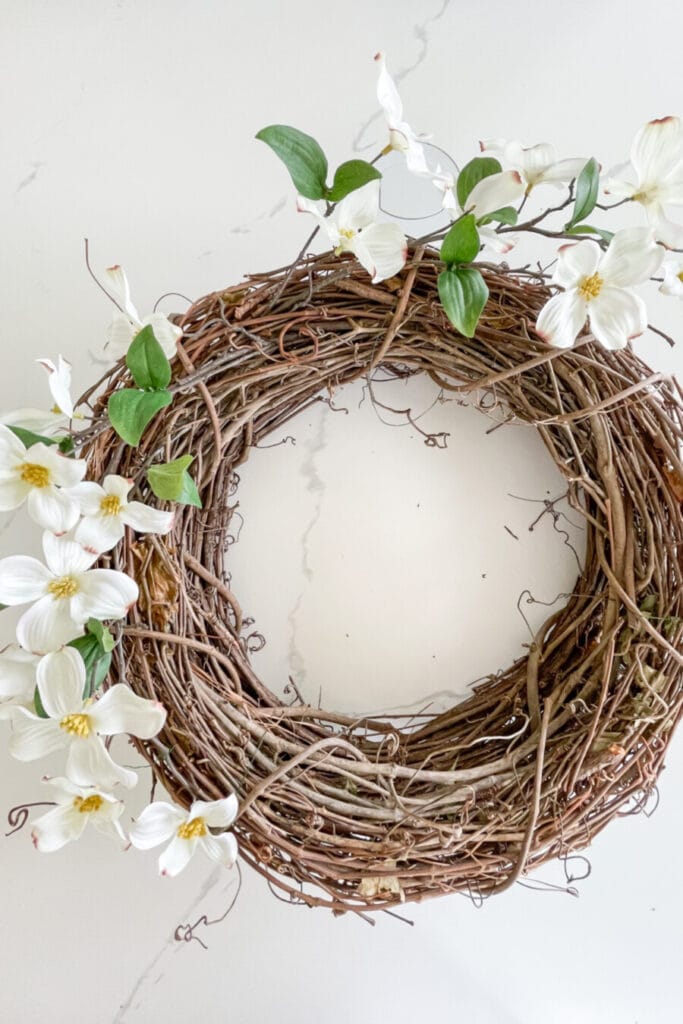
For this wreath, I like the look of what I call the “C” coverage. So, about two-thirds of the wreath is covered with my design, and about one-third is left bare. Sorta like the letter C.
If you are making a C design, you will also have to decide what direction the C will face. I like the open part of the C or the bare wreath to be nearest to my door handle.
All these decisions are personal choices, and there is no right or wrong way. So do what you like!
This wreath is as simple as 1-2-3!
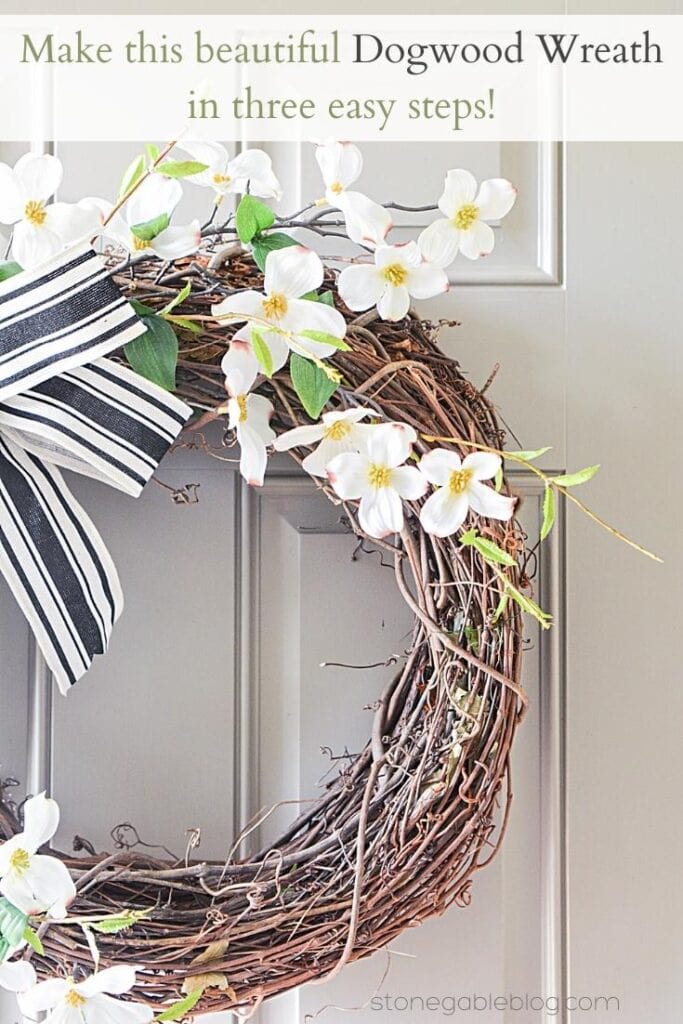
1). Start by placing a cutting from a stem of the dogwood branch at about 12 o’clock on your wreath. This will give you a place to start! Work the branch ends into the grapevine. See the image above for placement.
Then, add another stem working in the other direction at about 10:30 on your wreath. This will give you an idea of where you want to place the dogwood blooms. Again, see the image above.
Add more dogwood cuttings to elongate the design and fill in the wreath a bit. Just don’t put too many dogwood blooms on this wreath. Less is best! And don’t be afraid to let some of the grapevine wreath show through.
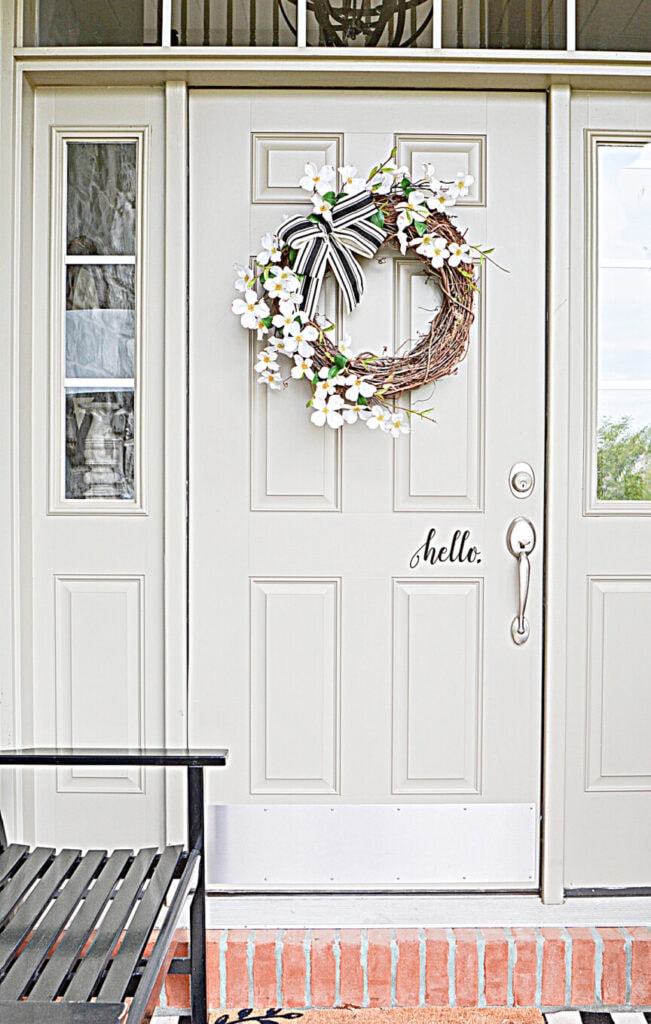
You can see from the finished image that I elongated the end of the C so the blooms literally drip off the wreath.
2). Wire the bow to the wreath in the opening between the dogwood.
As I said earlier, make sure the bow is wired at the top of the width of the grapevine and not in the middle.
See the images above if you missed them.
3). Look over the wreath and make adjustments. Hot glue the dogwood cuttings onto the wreath and hang the wreath up proudly on your front door!
I hope you will make YOUR version of this oh so pretty summery wreath diy for your front door!
Happy Summer!

Love the wreath and instructions. I would like to test your memory if I may. Quite a few years back you did a post on linens and bed sleeping pillows. I ordered from this site and loved their pillows. Would love to order more but can’t find the info I had saved on your sites. Any idea, wonder if they might still be in business. Love to go back and view all your old post, have gotten so many ideas from your site. Thanks, hope you are feeling better and stay safe
Beautiful summer wreath, I love dogwood blooms I have them in a couple of rooms in my home. I love the black and white now a very pretty touch in the color of ribbon . Thanks for the inspiration.
Yvonne, Like you I like to make my own wreaths for every season. Love the dogwood blooms but here in N.C they are gone by May.This spring I used a grapevine wreath with forsythia and now have a faux fern wreath with a birds nest with eggs which looked cute and kept the Wrens from nesting in the wreath..For summer will remove the nest and decorate the wreath with some great faux succulents my daughter gifted me one Christmas. Love the many ways I can and have used these. Thanks for your hints about the bow placement and hanging the wreath. Next spring I will do a dogwood wreath. So pretty.
Beautiful idea Yvonne, and just in time, I was wondering what to do with that spring wreath I have on the door. Now I can just change out the flowers and add a bow!
The wreaths are stunning, as everything you do. I really love the paint color on your door and I am hoping you will share with me the brand and the paint color!
Keep up the good work!
Blessings,
Paulette
Paula, the door was painted this color when we moved in. I think the front door color is Nimbus by Benjamin Moore.
Do have any instructions or demonstrations on how to make the lively bow? Or any other bows? I am not very good at making bows!? Thank you!!
Hi Sheri, this is such an old post, but makes the prettiest bow:https://www.stonegableblog.com/make-perfect-burlap-bow/