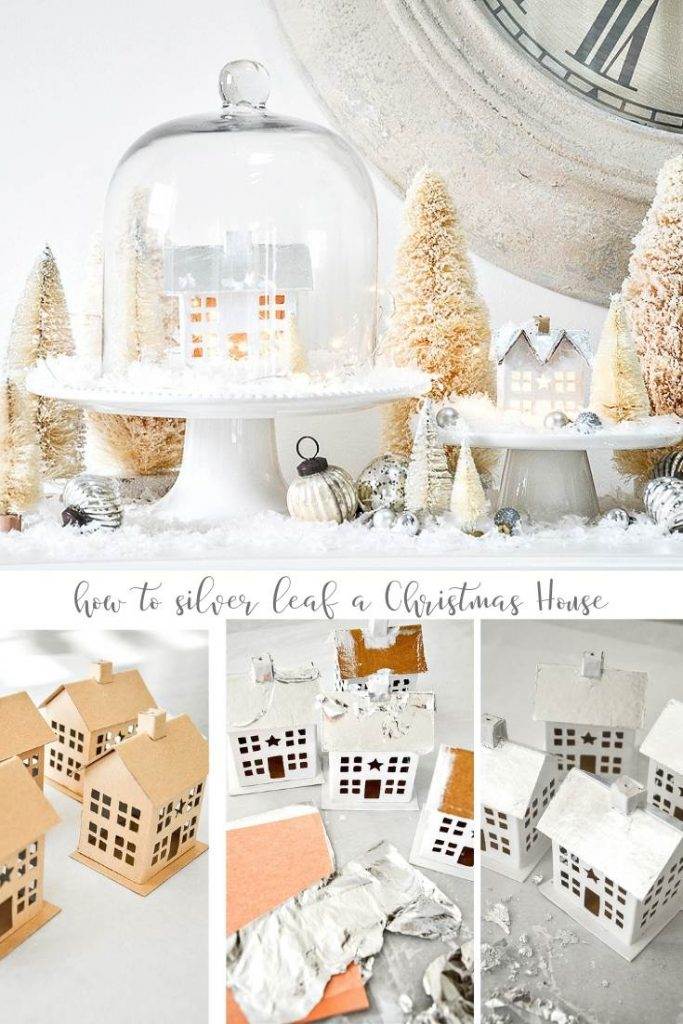
LITTLE CHRISTMAS HOUSE DIY
Ready for a little Christmas house diy! I made these darling little white houses with gilded roofs a couple years ago and since then I’ve gotten so many request for a diy. These tiny homes are so pretty and add such charming cheer to Christmas decor!
This post contains affiliate links. That means when you click on some of the links in this post and you make a purchase I earn a small commission at no cost to you. All my opinions are my own.
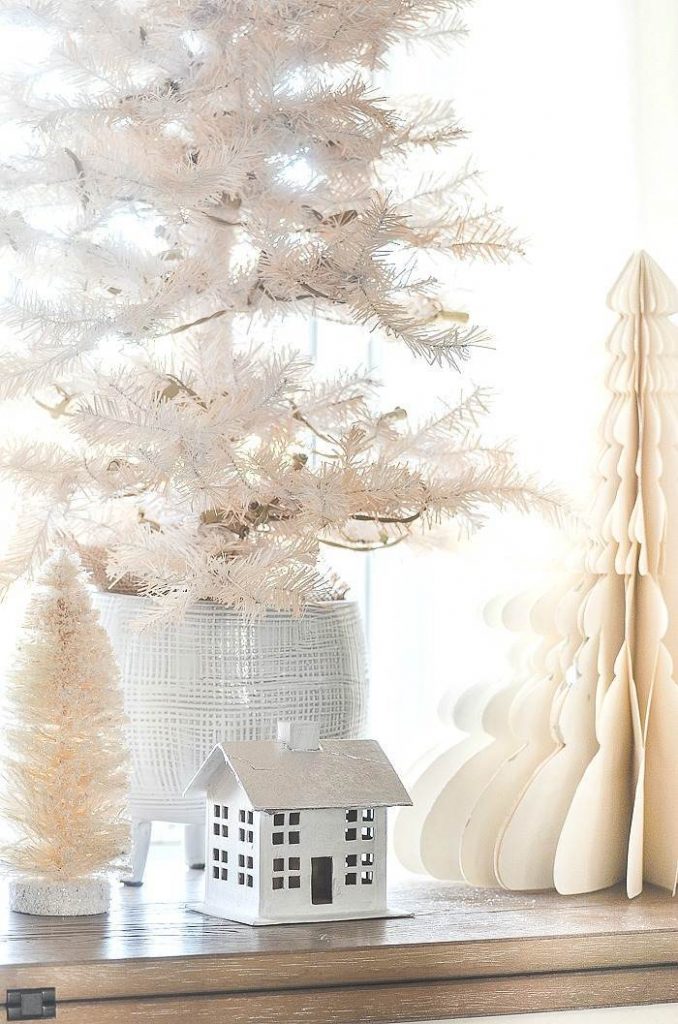
If you need something small and shiny and just so fetching to tuck into your decor, these little white Christmas houses should be it!
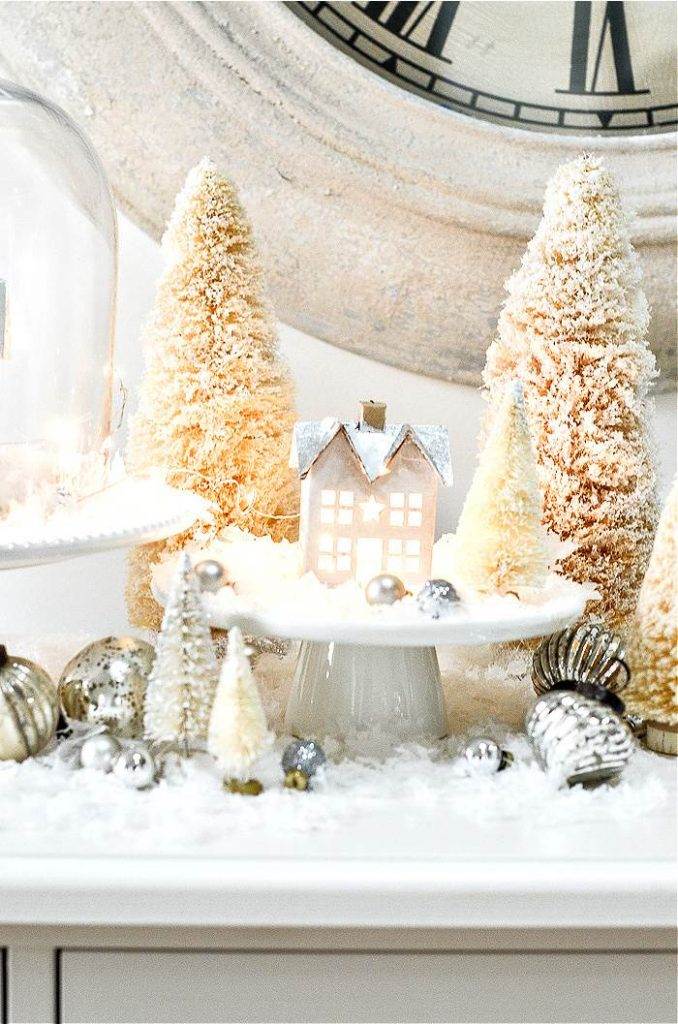
Over the last 3 years, I have added to my Christmas house collection and now I have a bit of a village!
They are so easy to make and learning to add silver leaf to them was fun! I am now addicted to leafing and have a few home decor projects that I’ll be using leaf in the New Year.
WHAT YOU WILL NEED TO MAKE A CHRISTMAS HOUSE
Making this little Christmas house is super easy! Even using the silver leaf is a breeze once you get the hang of it!
Here’s what you will need….
- little cardboard houses (I found mine HERE and HERE and HERE)
- white craft paint
- gilding size
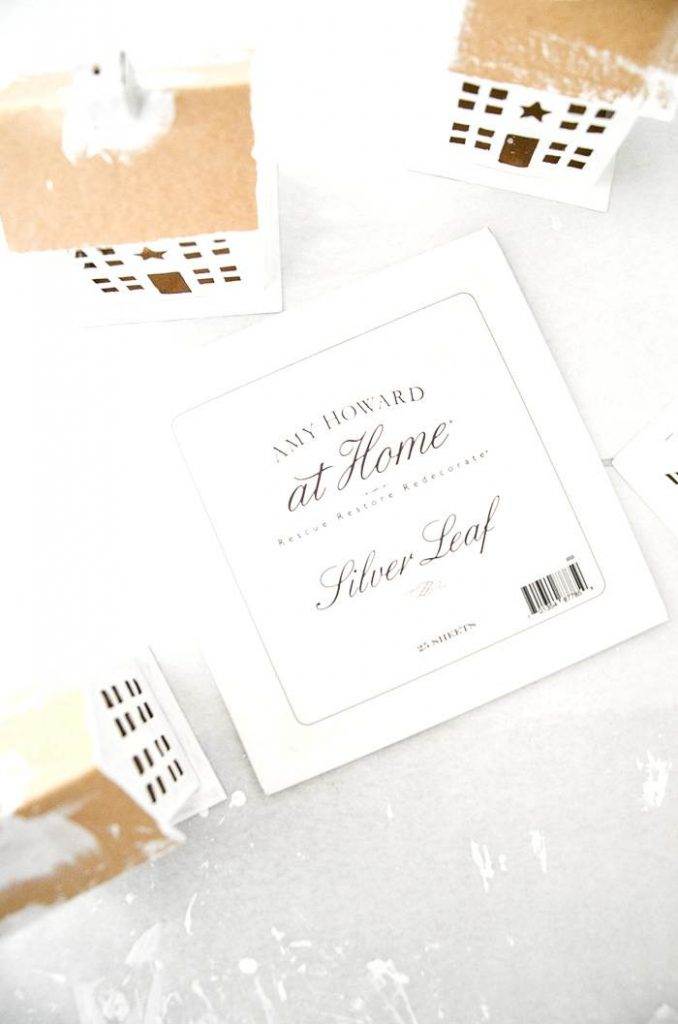
- silver leaf
- paintbrush
- small foam paintbrushes
LET’S GET STARTED
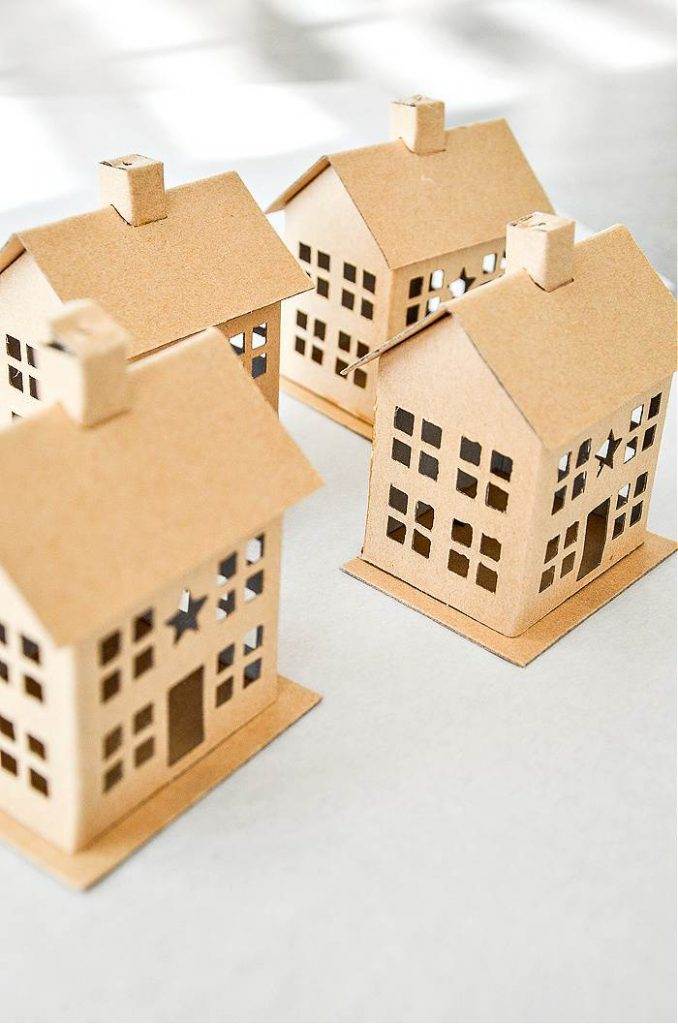
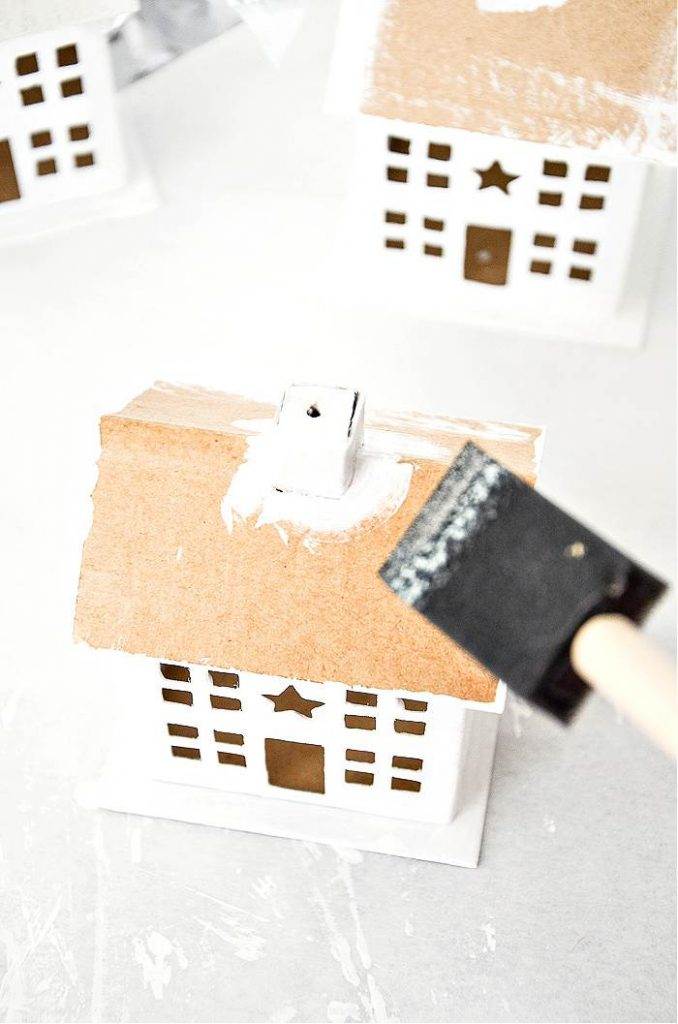
First, paint the body and the roof of each little Christmas house white using craft paint. Use thin coates.
It took 3 coats of paint to completely cover my little houses. Don’t worry if paint gets on the roof. It will be covered with silver leaf.
Now for the fun part!
WORKING WITH LEAFING
Silver leaf is very addictive because it is so transformative! There is nothing you can get out of a paint bottle that comes even close to the depth and shine and beauty of leaf!
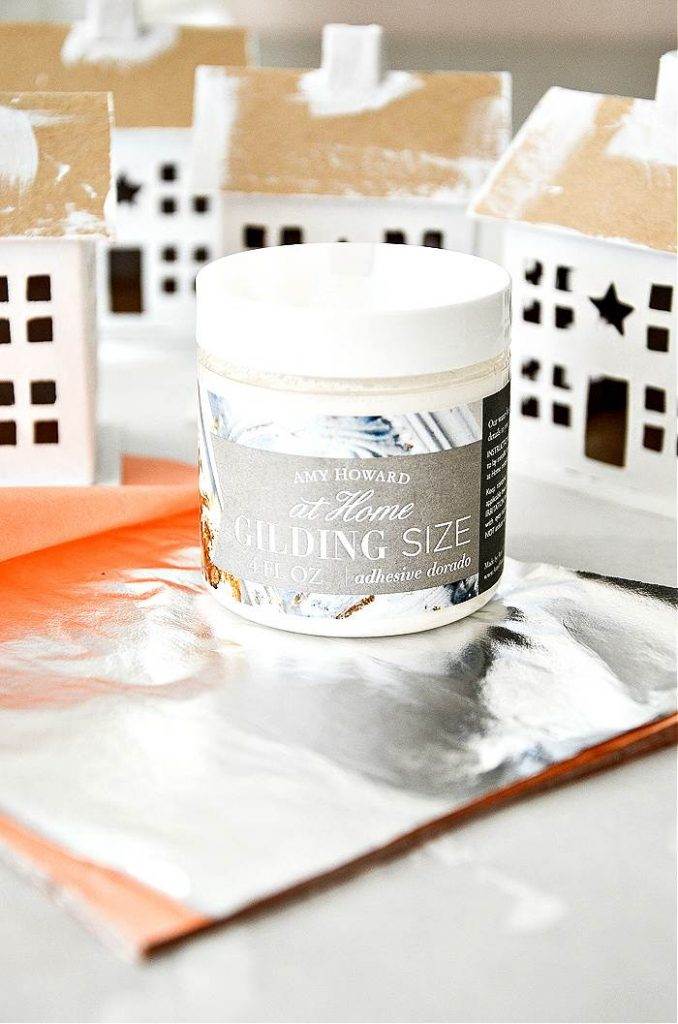
PAINT ON THE SIZE
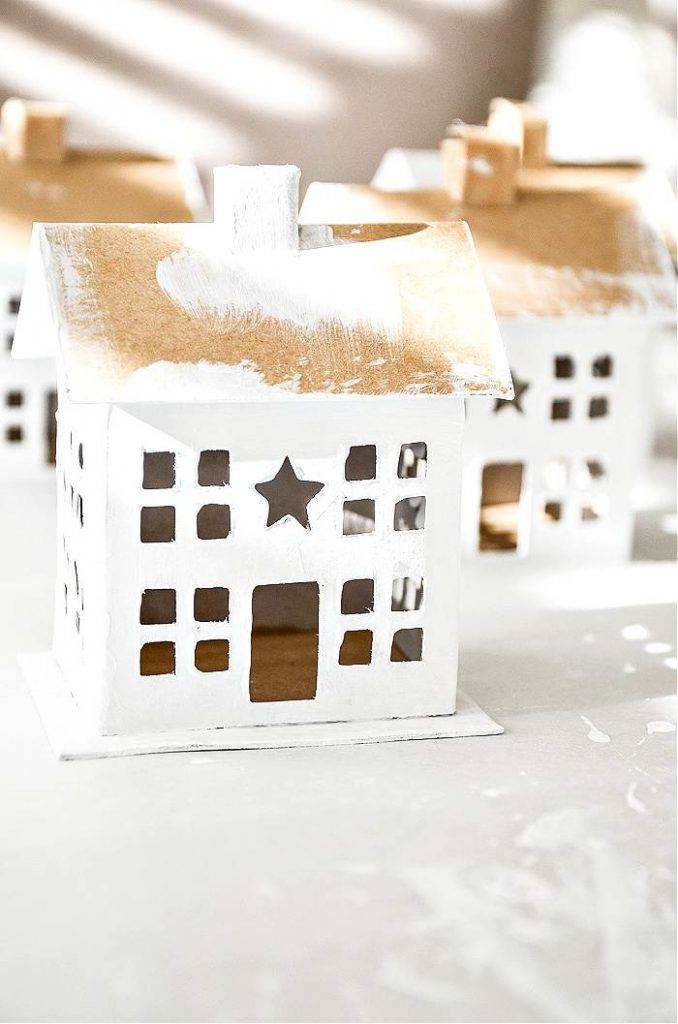
Start by shaking the size. Leaf will stick to size so carefully paint a thin layer on just the roof of a little Christmas house.
Because it is sticky I used a disposable foam brush. I wet the brush with water and pressed as much water out as I could. Then I dipped my brush into the size and painted it on the roof.
You need to wait about 10 minutes after applying the size to the roof to begin to add the silver leaf to your Christmas house. The sizing goes on wet but as it dries it gets just slightly tacky.
And that is when it accepts the silver leaf correctly! If you don’t wait long enough it get’s messy and if you wait to long (probably over 30 minutes) the leaf does not stick.
Really, it’s not rocket science. You will understand when you try it!
NOW ADD THE SILVER LEAF TO THE CHRISTMAS HOUSE
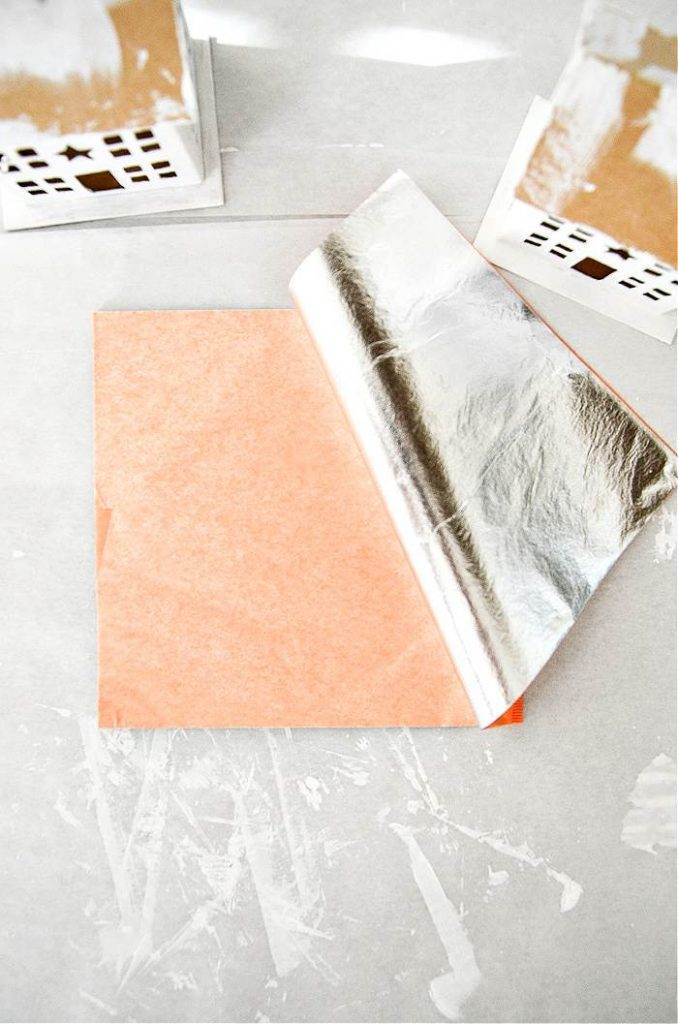
The silver leaf come is a “book”.
The delicate silver sheets are sewn into a little book with orange tissue paper in between.
The way I stick the silver leaf to the roof of a Christmas house is very unorthodox but it works!
Please forgive me Amy Howard! You taught me better!
Usually, you would gently fold the book back holding on to the orange tissue paper so you don’t touch the silver leaf and then take the book with the leaf to the thing you want to put leaf on.
But I took the little Christmas house to the silver leaf and stuck the roof right down on to the silver leaf!
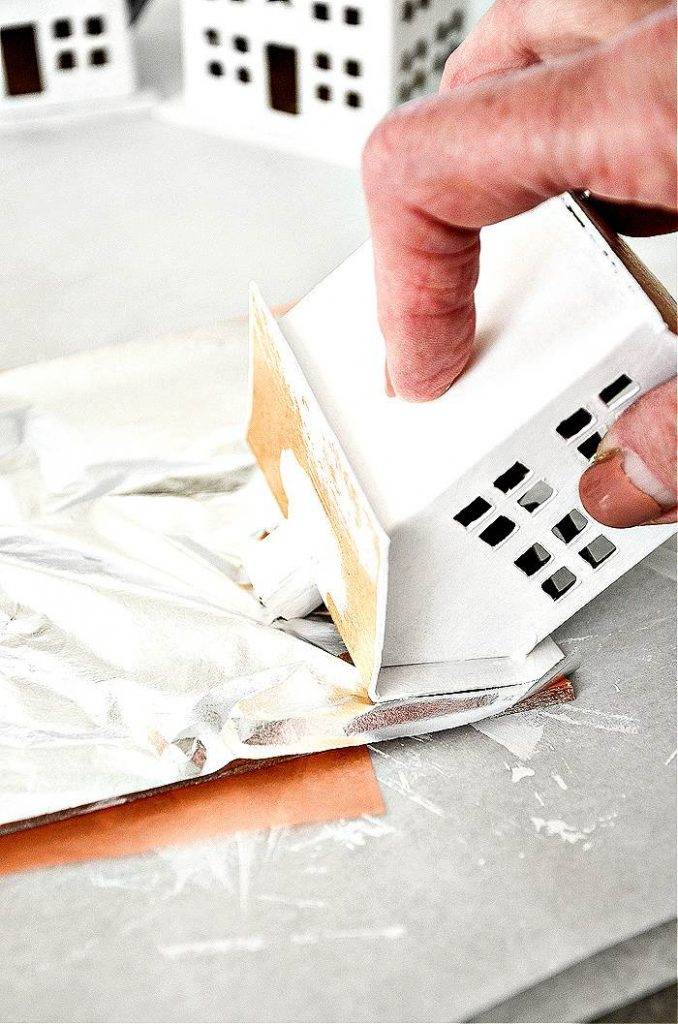
As soon as the roof hits the size it will stick! Then I pulled the house away from the leaf and a chunk of leaf tore off.
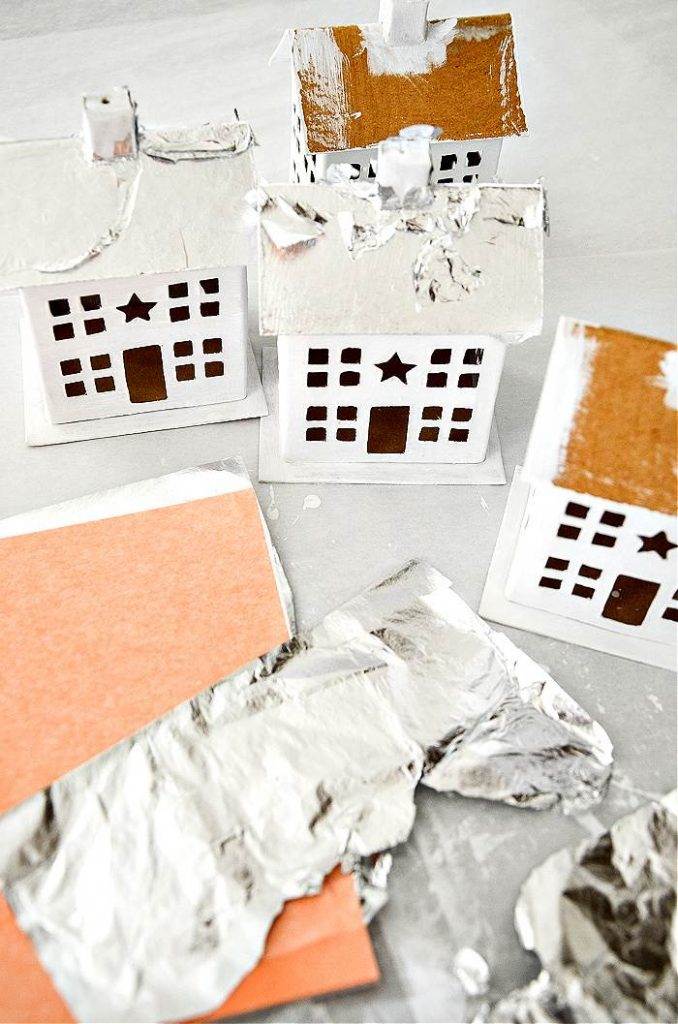
ADDING LUSTER TO THE CHRISMAS HOUSE ROOF
I turned the house right side up and burnished the leaf onto the roof. Burnishing is rubbing the silver leaf onto the roof of the Christmas house with one of the orange tissues from the book.
Don’t touch silver leaf because it will leave a fingerprint and dull it’s incredible luster.
Put a piece of the orange tissue paper over the leafing and rub! This will also ensure a gorgeous shine! But don’t get the orange tissue on the sized area or the tissue will stick. If this happens pick off the tissue and resize the area. No harm!
Continue repeating the process of adding silver leaf and burnishing the room until the entire roof is covered.
The roof of the Christmas house will look like this…
FINISHING THE CHRISTMAS HOUSE
To remove all the chips of leaf hanging on to the roof of the Christmas house take a soft paintbrush or a foam brush and gently brush the roof. The excess leaf will fly off the roof like snow!
And here is how the houses look when they are finished…
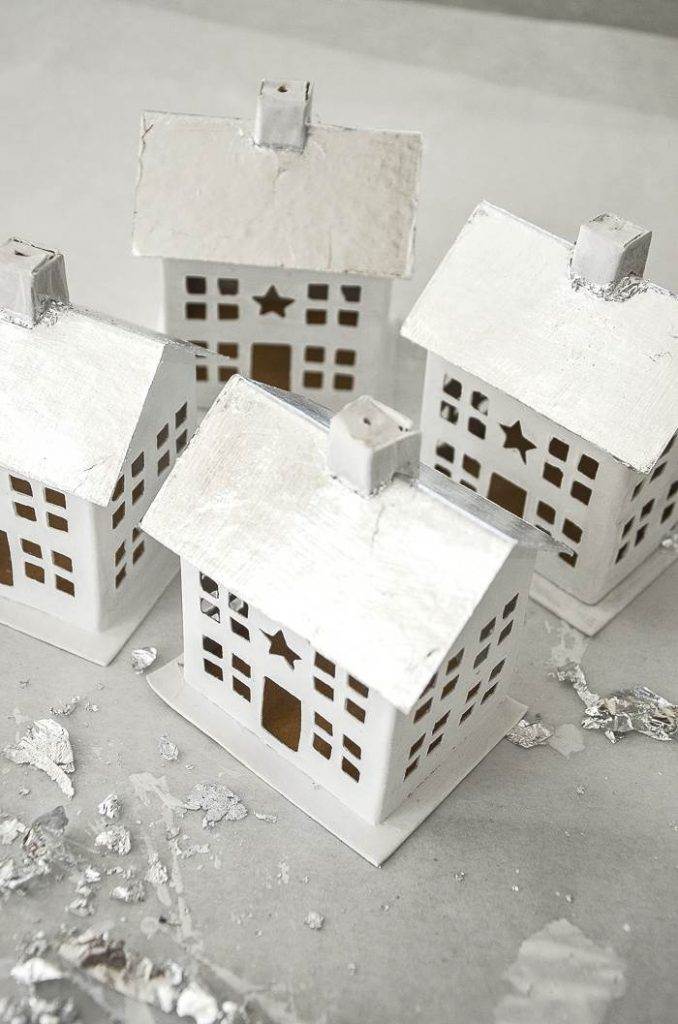
Look at these darling Christmas houses!
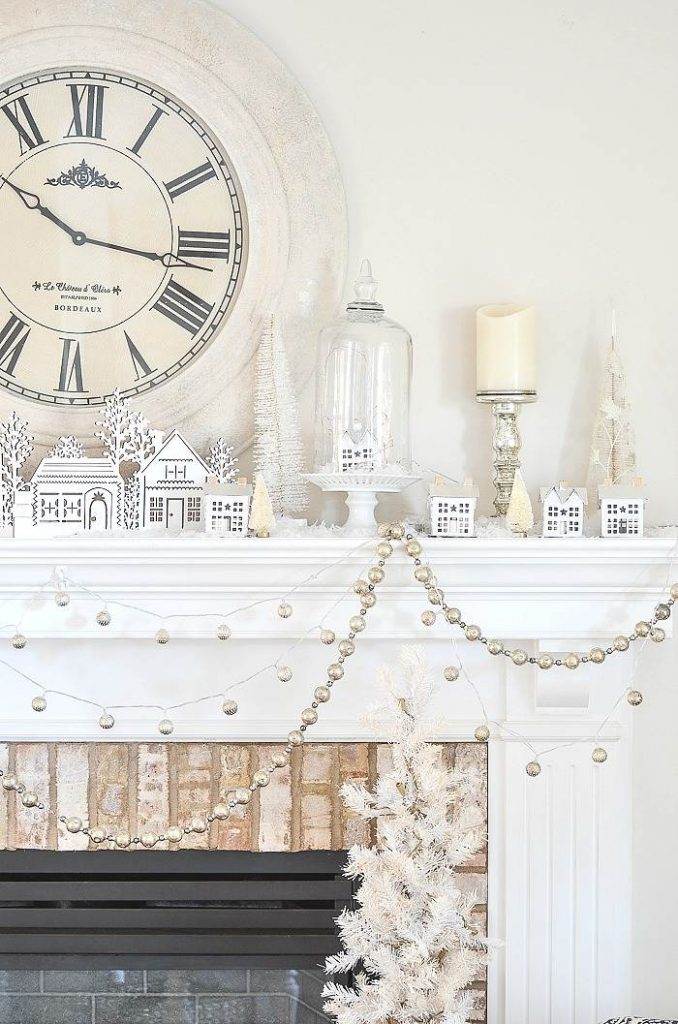
I make a few very year and now I have a village!

To light up my Christmas houses I cut a flap in the back of the house with an Exacto knife and added fairy lights.
See how I created this sweet Christmas Village go HERE.
To see a video of how to use silver leaf go HERE. This is an excellent video done by Amy Howard and so fascinating!
I hope you will make these darling little Christmas houses for your home this holiday season!
You might like to see these other Christmas posts…
BEAUTIFUL CHRISTMAS MANTEL IDEAS
UPDATING AN OLD CHRISTMAS WREATH
EASY WAYS TO USE CANDLES TO DECORATE AT CHRISTMAS
EASY CHRISTMAS ARRANGEMENT MAKE FROM AN EVERYDAY FAUX PLANT


Precious and Pinned! Thanks so much Yvonne.
LOVE my pinners! Helps so much. Thanks.
Great timing Yvonne! I just ordered a couple little house ornaments and needed this instruction and resources for supplies. Do you have a resource for fairy lights that you like? Oh, and the link for the small foam paintbrushes actually takes you to the DecoArt paint.
You don’t need a huge string of lights for the houses. Here is a link for you: https://amzn.to/3eXERm3