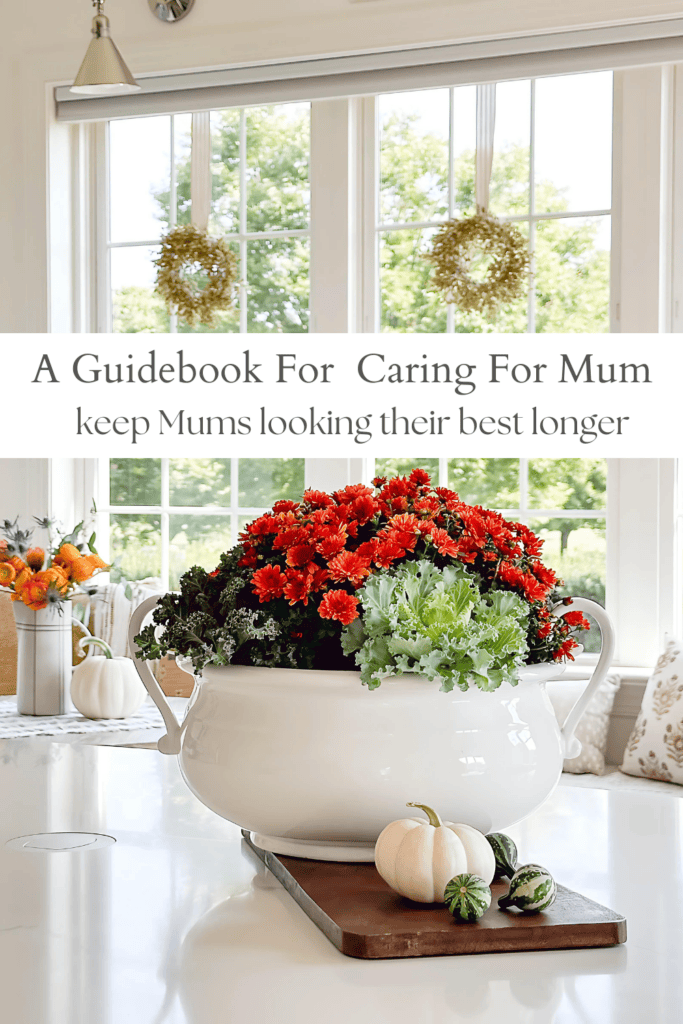
Keep Potted Indoor Mums Fresh Longer: Care And Upkeep
Learn simple tips for caring for mums indoors—watering, repotting, deadheading, and when to plant spent mums outside.
Mums are the quintessential fall flower. With just a little care, these happy plants will reward you with weeks of colorful blooms. Indoors, they can last a good month or more, sometimes up to six or eight weeks when they are healthy and well cared for.
Mums are one of the best seasonal buys. They are less expensive than many bouquets of fresh flowers and look lovely on porches, patios, or tucked inside in a pretty pot. Let’s talk about how to pick, plant, and care for mums so they stay looking their best.
What Is A Mum?
Mums, or chrysanthemums, are bushy perennials in the aster family. Their cousins are daisies and sunflowers. There are dozens of forms and colors to choose from, from bright yellow and rust to soft pinks and creamy whites.
Florist Mums And Garden Mums
There are two main kinds of mums to know about. Florist mums are bred for floral arrangements and short-term indoor displays. You typically find these mums in florists’ shops or planted in pots for occasions like Mother’s Day. Think of them as annuals or long-lasting cut flowers. They are beautiful, but usually don’t survive outdoors.
Garden mums, often called hardy mums, are perennials in zones 5 through 9. They are the mums most of us see in markets and garden centers in the fall. Hearty mums are known as fall plants because they bloom from September to frost.
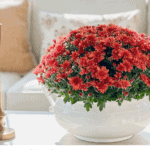
Decorating Tip:
No other flower represents fall as well as a mum.
When buying mums, look closely at the plant itself:
- Choose ones with fresh, green foliage and no yellowing leaves.
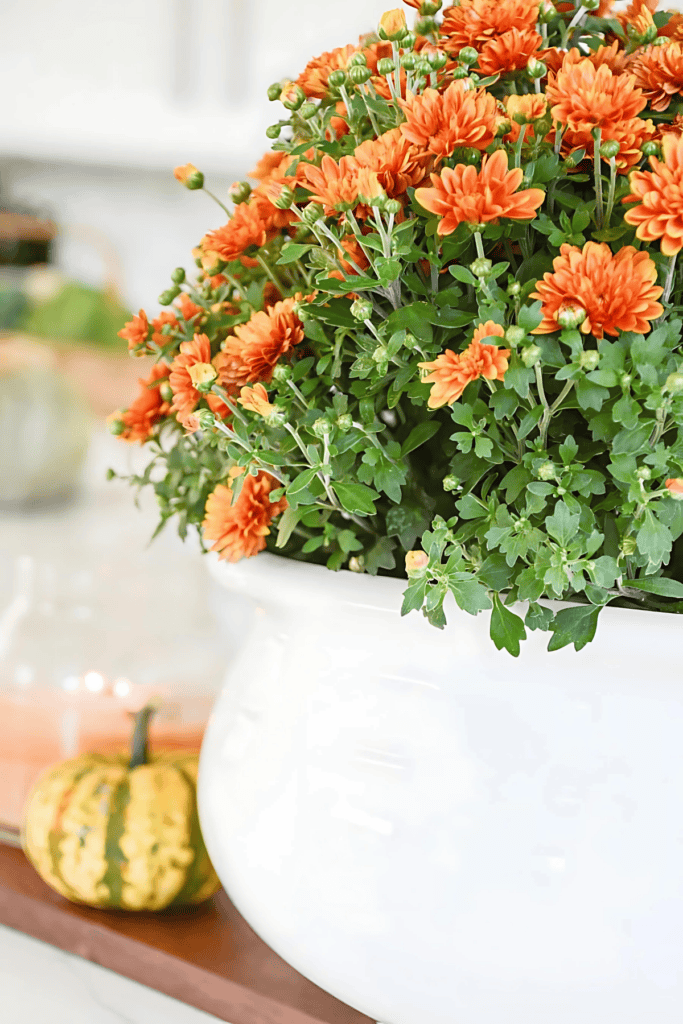
- Pick plants with lots of tight buds, not just open flowers. They’ll bloom longer for you.
- Check under the leaves and around the base of the plant for insects or webbing.
- A plant that looks full and evenly grown will stay healthier.
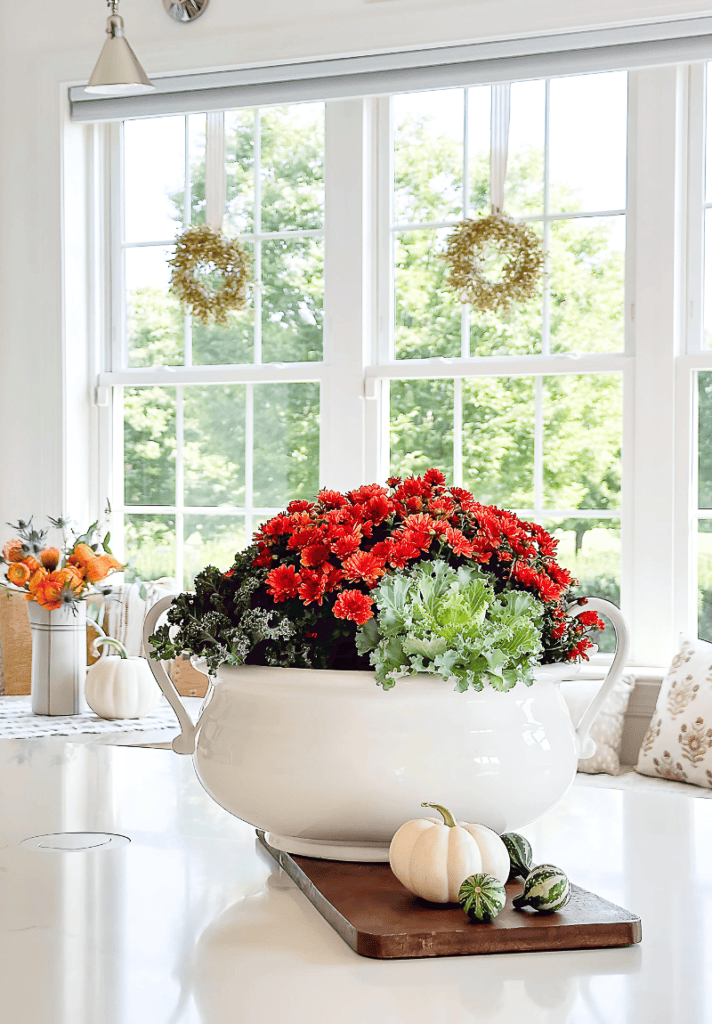
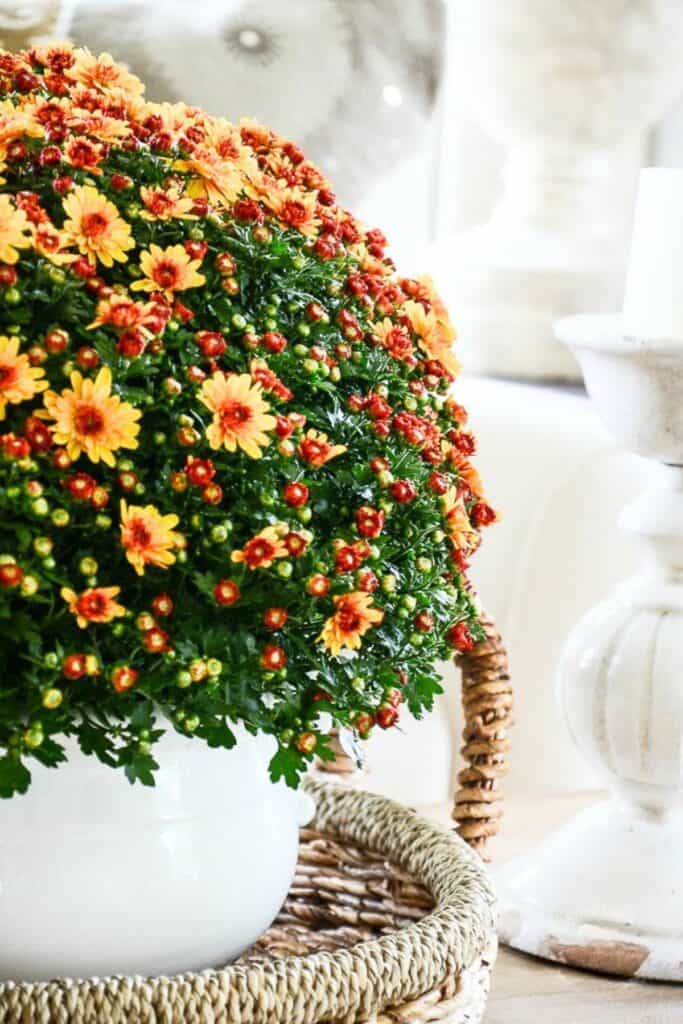
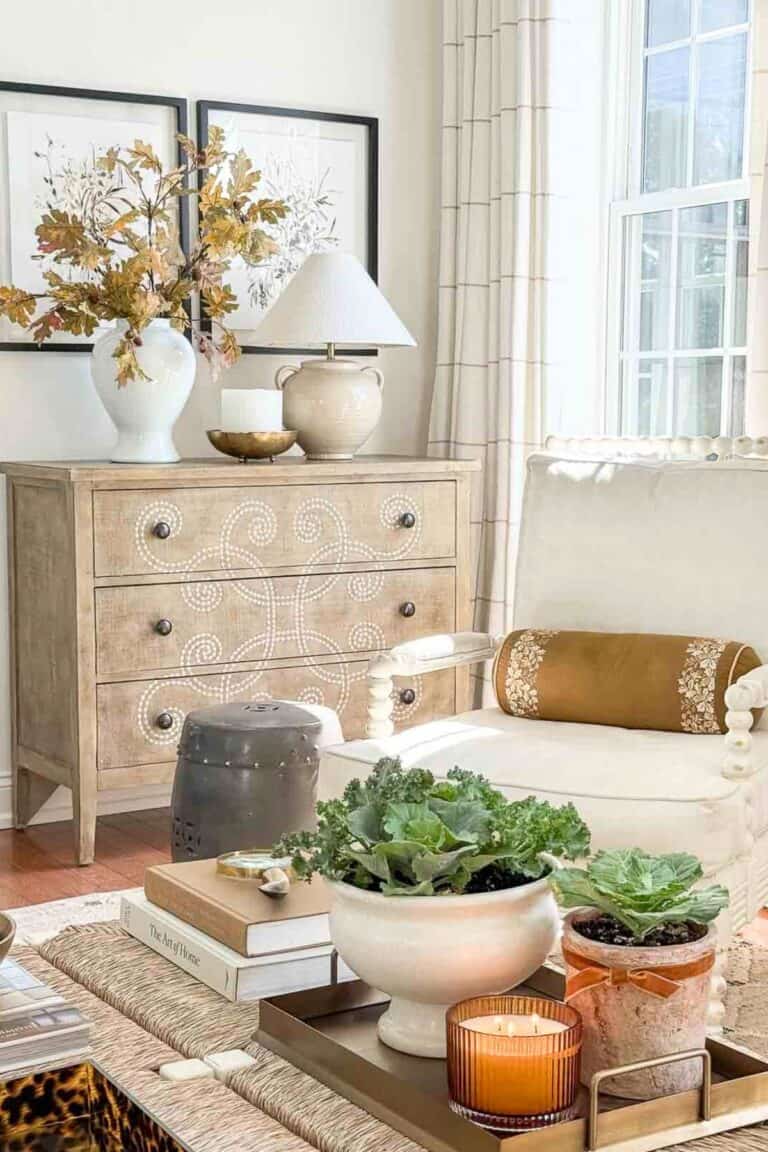
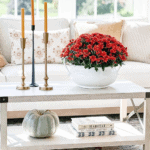
I’ve been an avid mum lover and grower for decades. For me, mums and fall go together! And it would not be fall if I did not decorate with them inside.
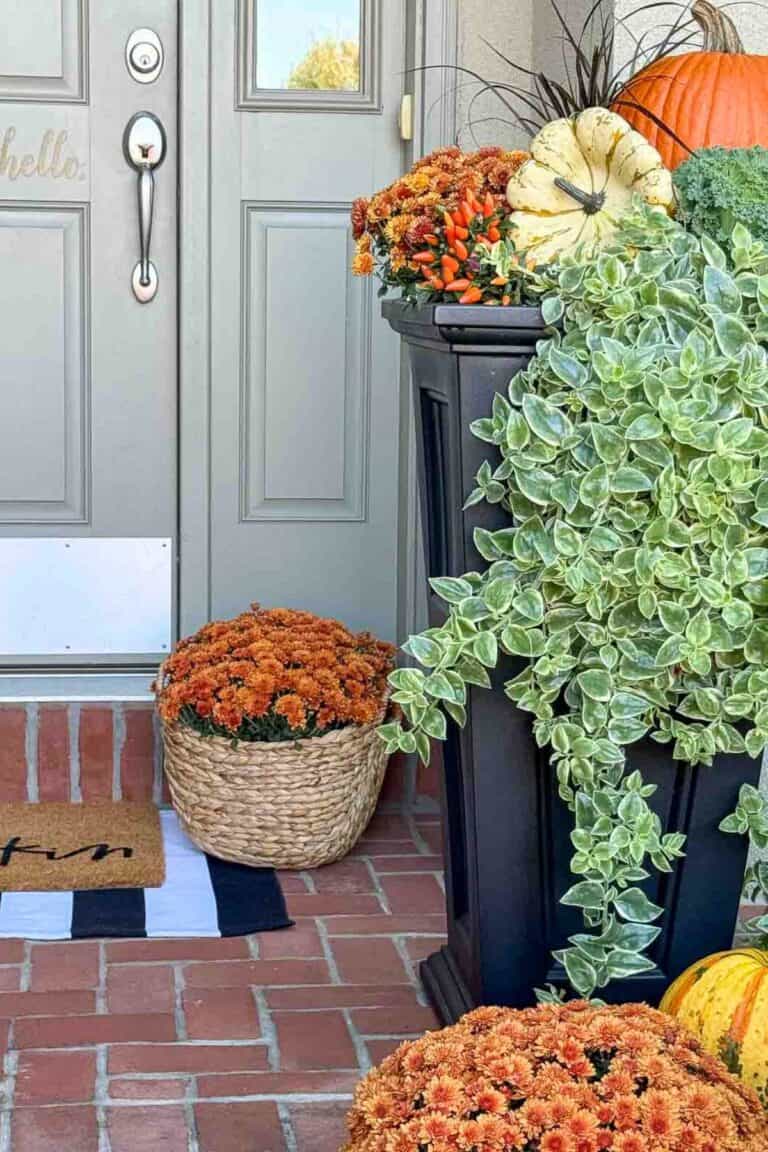
Planting Mums Outdoors
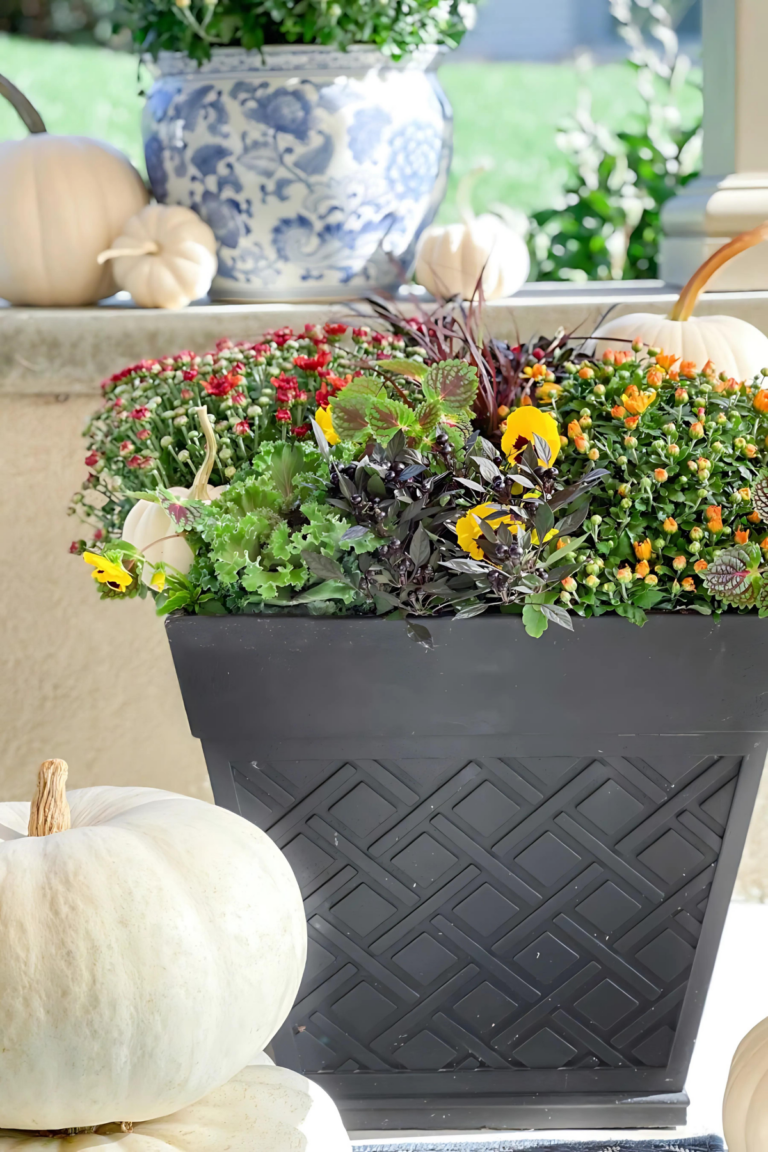
Mums planted in the garden create such a colorful display. In spring, buy smaller hardy mums so their roots can settle in before hot weather. In the fall, choose full plants with plenty of buds. You’ll enjoy their blooms until the first frost.
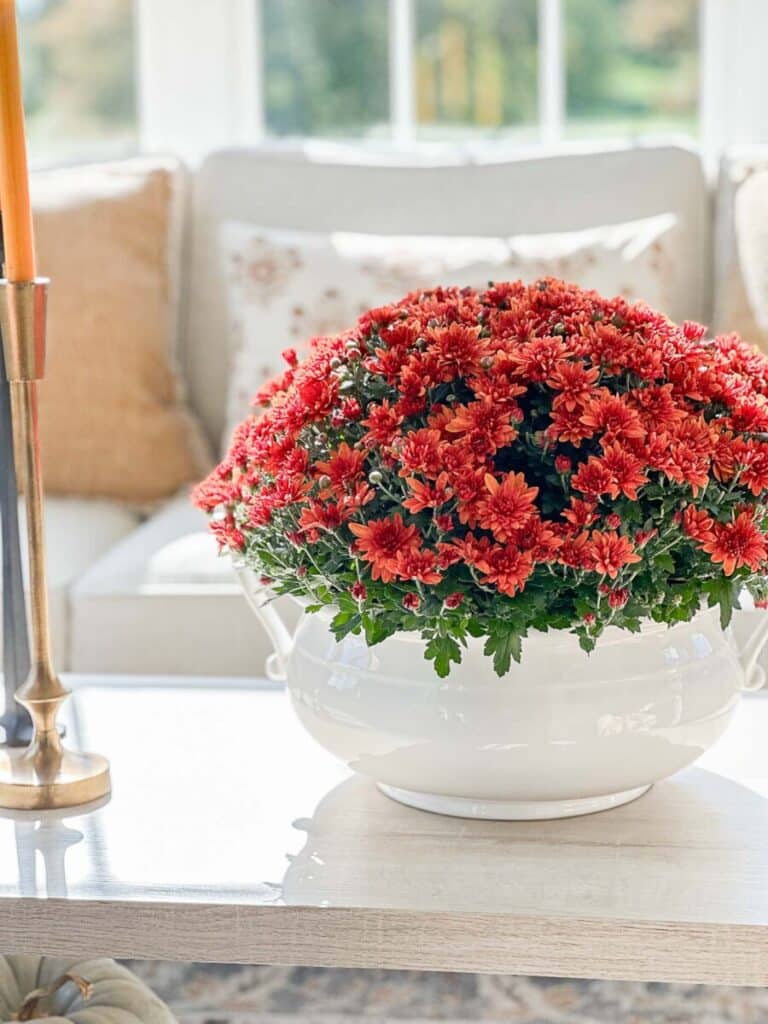
Planting Mums Indoors Or Outdoors In Containers
Mums usually come in black plastic containers. You can keep mums right in those containers if they are not too pot-bound. However, putting the plastic container inside another larger, more decorative container is much more attractive. You want to enjoy the beauty of your mum plant, so make sure the container you put them in is decorative.
Removing Mums From The Original Pot
Gently squeeze the sides of the pot to loosen the soil. Don’t pull on the stems because they break easily (I’ve done that more than once!). If the roots are tightly packed, soak the pot in water for a few minutes before sliding the plant out.
Pay Attention To The Roots
If the roots are wound around each other, tease them apart gently and remove any extra clumps of soil. This gives your mums a healthier start in their new home.
Choose The Right Container
Pick a pot that’s a bit larger than the one they came in and make sure it has drainage. If it doesn’t, create a false bottom with stones, small pots, or even plastic bottles so water doesn’t sit around the roots.
Choose The Right Soil
I know many, if not most, of us keep our decorative indoor mums in their original black containers. However, repotting them is worth the effort since mums in their original plastic pots don’t last as long as repotted mums.
The mums we get in our area are usually planted in heavy soil from the fields where they grow. This heavy soil is not a good choice for keeping mums healthy indoors. So I like to transplant my mum’s plants, using good-quality potting soil, into a decorative container. A good potting soil offers a healthy environment for mums and ensures good drainage.
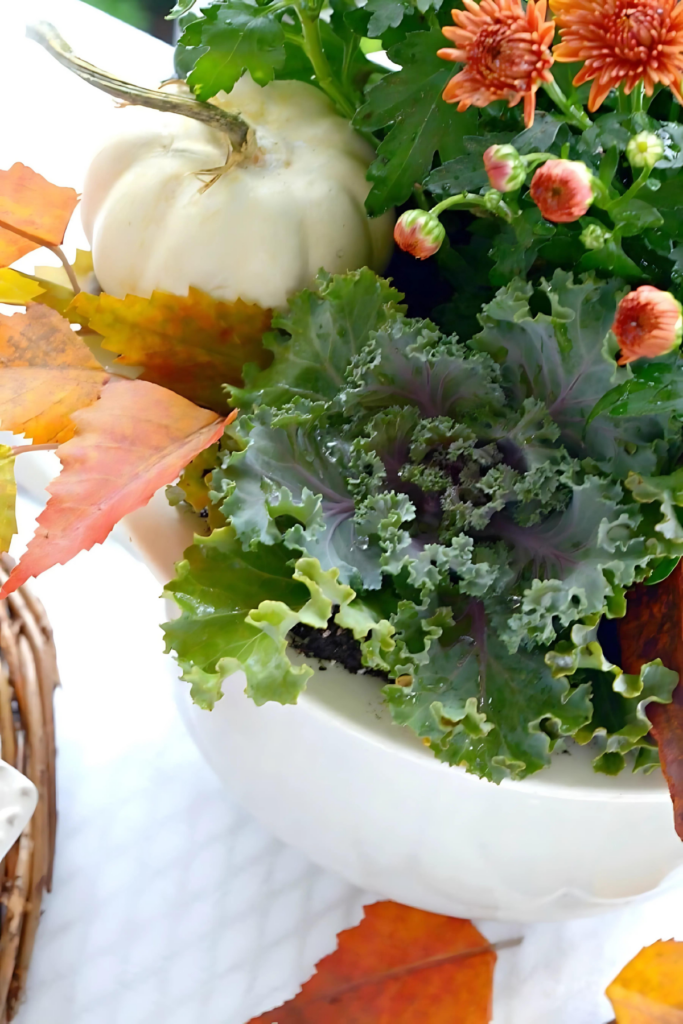
Easy Pro Decorating Tip
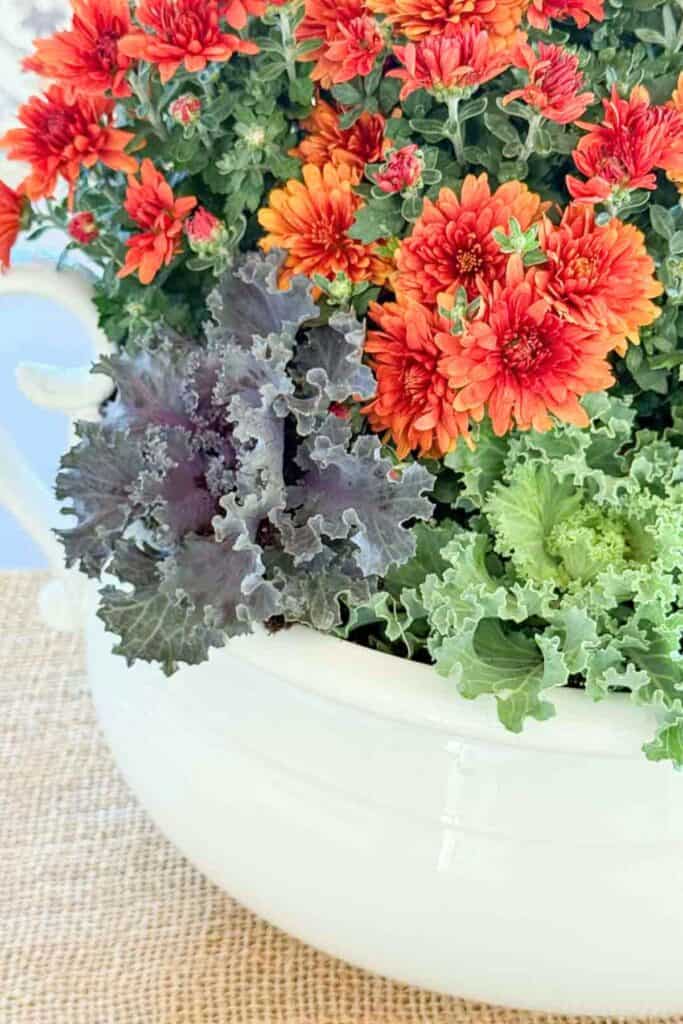
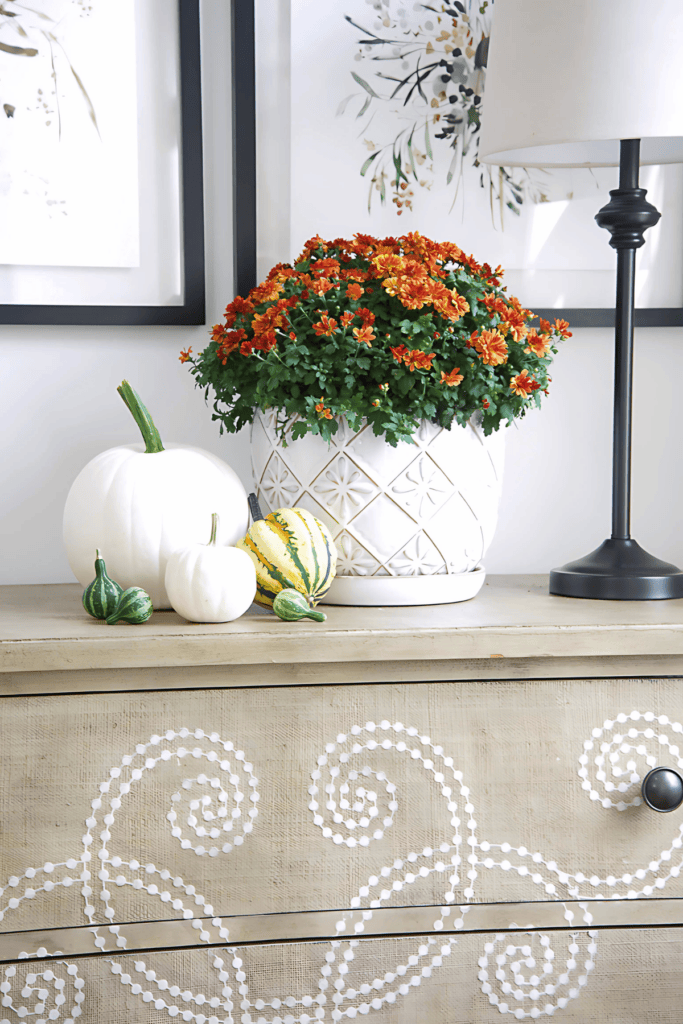
If there’s extra room in the pot you are using for your mums, tuck in a few little pumpkins, gourds, or ornamental cabbages. It’s such a pretty seasonal touch. Just remember to be gentle when handling mums, their stems are fragile.
Watering Mums
Mums are thirsty little things and don’t like to dry out. I check mine every day.
Here’s what works for me:
- Test the soil by pressing your finger about an inch down. If it feels dry, give them water.
- Always use room-temperature water and water at the base, not over the leaves.
- If your mums are in the original plastic pot, lift it — if it feels light, it’s time to water.
- Watch for signs of stress: droopy leaves mean they need water, while yellow leaves, mushy stems, or wilting even in damp soil often mean too much water.

When the heat comes on indoors, mums dry out quickly. In the fall, I often water mine every day or two. After the blooms fade, you can ease up, especially if you plan to plant them outdoors.
Fertilizing Mums
Potted mums sometimes bloom longer if fed with a diluted liquid fertilizer every couple of weeks while the buds are forming. Stop once the flowers are mostly open. Full disclosure: I don’t fertilize our mum, indoors or outside. It’s more important to provide them with the right environment and water so they can thrive.
Deadheading Mums

Deadheading keeps mums looking fresh. Snip or break off spent blooms just above a healthy set of leaves. Doing this often helps unopened buds open and gives you more flowers to enjoy.
Replanting Your Tired Indoor Mums Outside
Once your indoor mums start to look worn out, droopy blooms or lots dropping petals, don’t rush to toss them. You’d be surprised how resilient they are. With a little effort, those once-forgotten pots can become garden stars by next season.
Here’s what works, based on what I’ve learned (and tried myself) so you don’t have to:
- Act early before the frost sets in. For the best survival odds, plant your mums outdoors at least six weeks before the first hard frost. That gives their roots time to settle in and establish before winter’s chill arrives. Saying that, I will try to plant indoor mums outside anytime before hard frost.
- Pick a bright, well-drained spot. Look for a sunny garden patch that gets at least six hours of daylight and doesn’t hold water. Mums hate soggy soil, especially going into winter.
- Don’t worry if they look tired and past their prime. Even mums that look tired can surprise you in spring. Hardy garden mums are built to bounce back, just like hardy people.
- Add a protective mulch blanket. As soon as the ground cools, covering the roots with two to three inches of mulch like straw, leaves, or pine needles works wonders. Mulch helps keep the soil steadily cold, and steady cold is much kinder to mum roots than a cycle of freezing and thawing.
- Come spring, lift the mulch and tidy up. Once you see new shoots poking through, gently remove the mulch and trim away last year’s dead stems. Soon after, your mum will push new growth, and before long, you’ll get another fall full of blooms.
Are Mums Pet Friendly
As much as I love mums, they aren’t the best choice if you have pets that like to nibble on plants. The ASPCA lists mums as toxic to cats, dogs, and even horses. If eaten, they can upset a pet’s stomach and cause other problems, so I always suggest keeping mums out of reach indoors.
Out in the garden, deer will sometimes snack on mums, too. They don’t usually go after them first, but if a deer is really hungry, those pretty blooms can become dinner.
Mum Smart Pro Tip:
If you share your home with pets, try keeping mums on high shelves or using faux mums indoors. There are so many realistic options now, and you’ll still get that beautiful fall look without the worry.
Mums are the very essence of fall. They bring warmth, color, and seasonal beauty into a home in a way few other flowers can. They’re easy to find, simple to care for, and offer so much reward for very little effort. Using mums in your decorating is one of the best ways to celebrate the season and create a home that feels inviting and alive.
With just a little care, you can enjoy their cheerful blooms indoors and know that many will continue to grow outdoors year after year.
More FALL Inspiration
Find fall decorating ideas and inspiration for inside your home and out!


Happy fall decorating friend,


Yvonne, in all the years I’ve been following you, I have never taken the time to THANK YOU for sharing your thoughts and creativity with us. It’s been a pleasure to see your surroundings and your projects and the evolving look of your beautiful home. Just wanted to say thanks and let you know how appreciated you are! =)
Oh, my goodness! Thank you so so much! How nice to hear, Mary
Fall is my favorite season! Thanks for all your great suggestions. Off to searching for mums!
I love your beautiful set-ups! Where did you find the large container (looks wooden) that is on your table?? It’s gorgeous!!
Here you go:https://rstyle.me/+8GEX8nom1l8mTOHcKZ7IFg
Thank you so much for this post Yvonne. It was very informative so I learned so much! I love fall and everything that comes with it! I’ve always liked your style of decorating and you never disappoint. Have a great week.
Hi Jeannette! Happy Fall. Thank you for your lovely comment.
Thank you so much for the great info on mum care. I’ve sent it to a friend who is receiving mum plants as a gift in a few weeks. Love your blog!
Mums are a fall treasure and with just a little care can thrive indoors. Thank you for sharing this post with your friend.