UPSCALING AND RESCUING THINGS YOU LOVE!
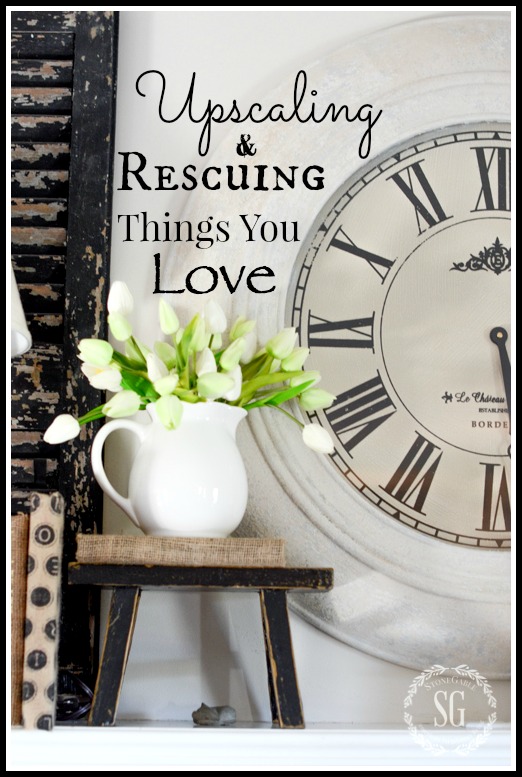
One of my very favorite things to do is to peruse vintage furniture shops and restoration stores. How I love to find pieces for my home like chippy, architectural elements and old furniture. It dawned on me, as I was looking online for a more updated clock to go over my mantel, that I was going to discard a perfectly good clock because its frame was too heavy for the decor in my room. If I would have found this clock in a second hand or vintage store I would have immediately thought of painting it and brought it home! Why do we get rid of great home goods that just need a little upscaling? Today’s PRACTICALLY SPEAKING is about keeping, rescuing and upscaling things we love with PAINT!
If you are like me, I bet you have lots of castaway home furnishings in your garage, basement and other areas of your home that could be fixed up and used in our homes!
Upscaling and recycling what we already have is not only smart… it is also creative and economical. I love when I can take a piece and breathe new life into it. It really becomes a one-of-a-kind masterpiece!
I decided to save the $250.00 plus shipping and invest in a little paint and supplies that cost a whole lot less (and gave me leftover paints to use on other pieces)!
HERE’S THE BEFORE…

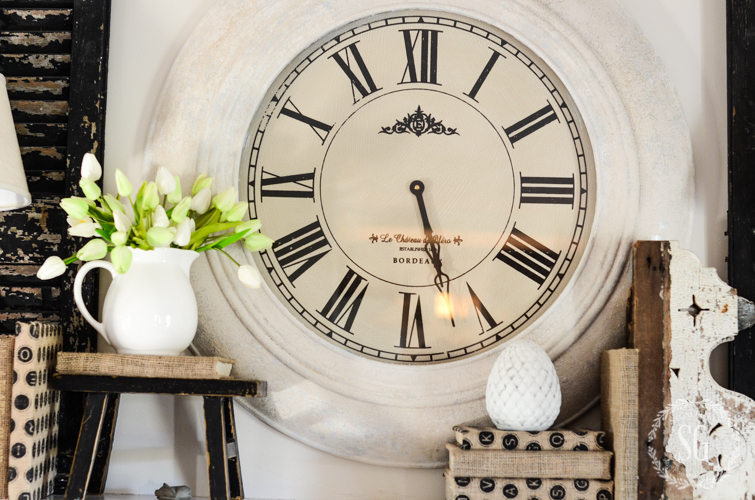
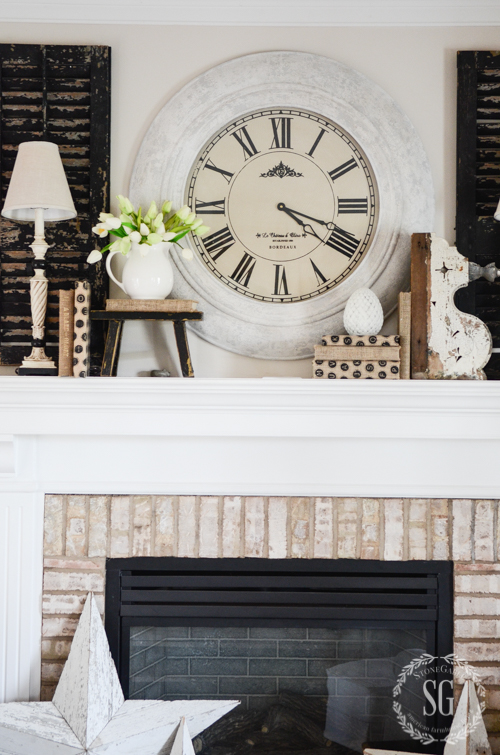
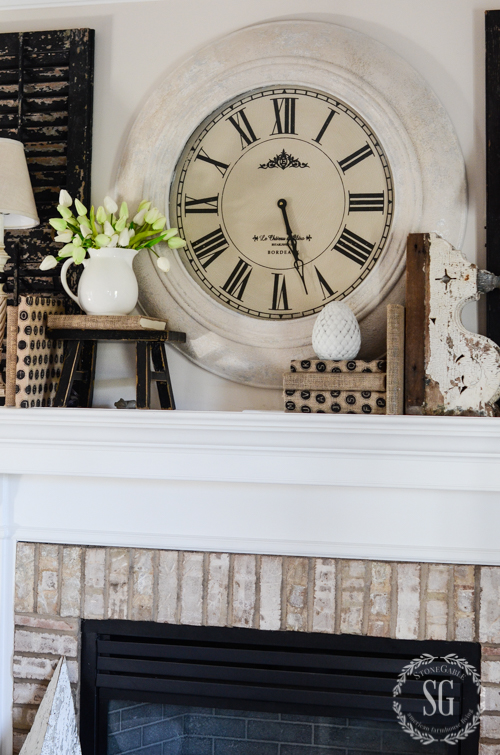
AND THE AFTER…
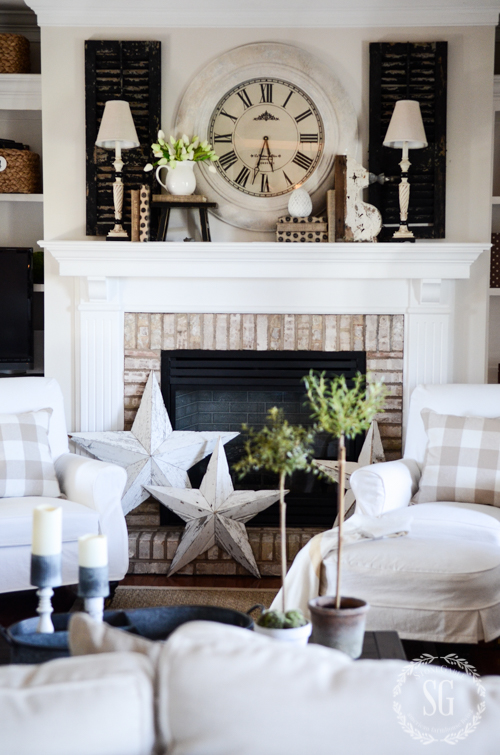
In just a few hours (mostly drying time) the mantel clock went from one I wanted to replace to one that I love love love and works with my family room! And it was easy! Once I learned the Cracked Patina painting technique it was a breeze! I’d love to show you how I transformed my clock…
Materials:
- degreaser (I use Simple Green)
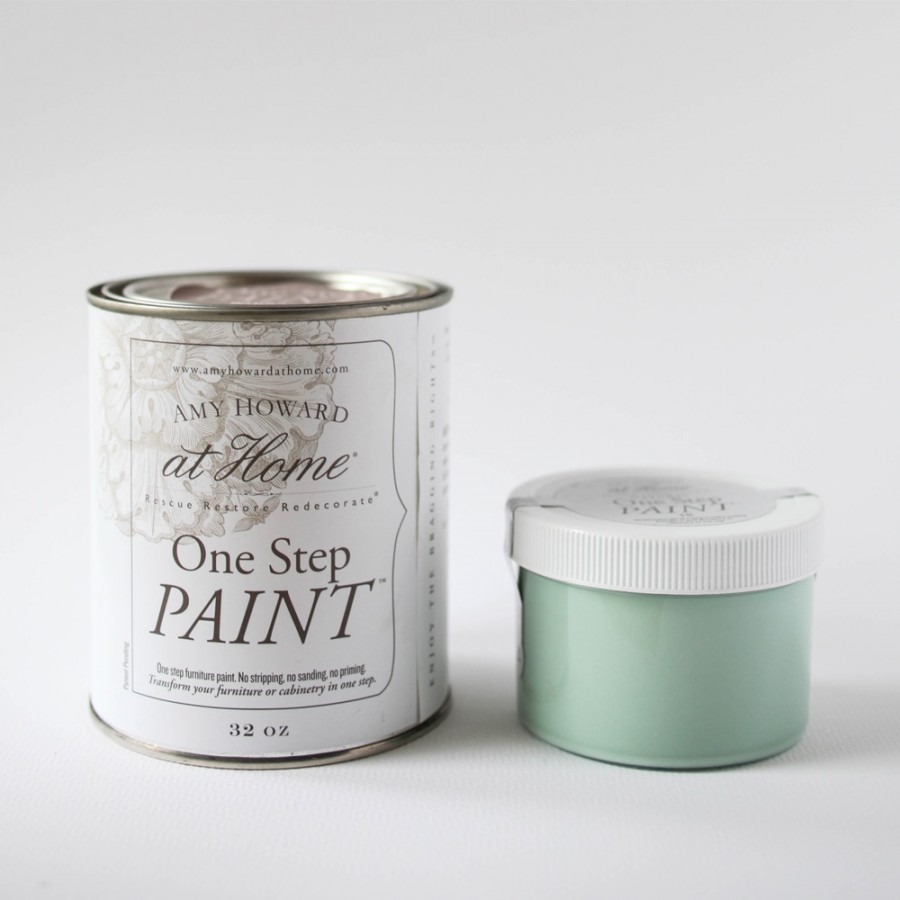
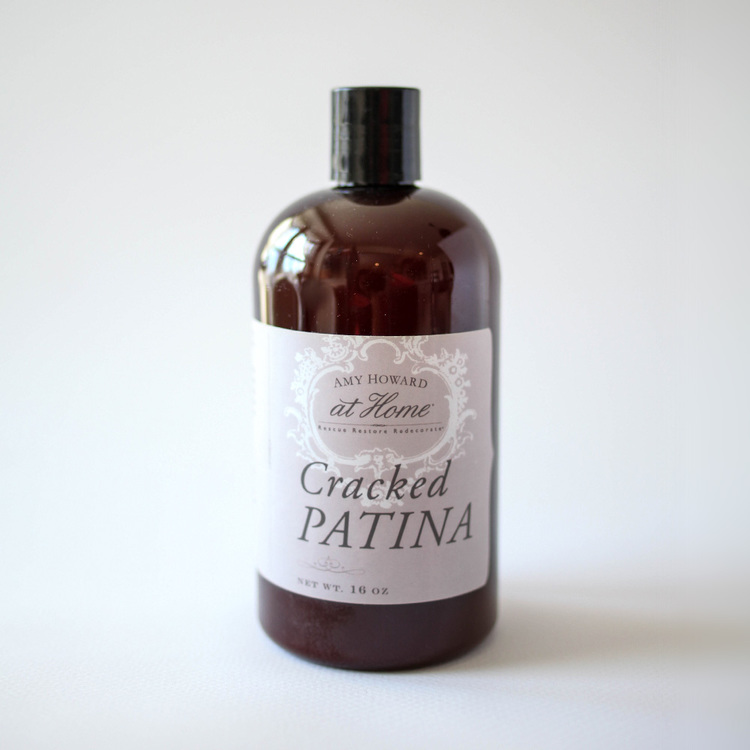
- Amy Howard One Step Paints in Luxe Gray and Bauhaus Buff (This paint can be found at your local Ace Hardware store.)
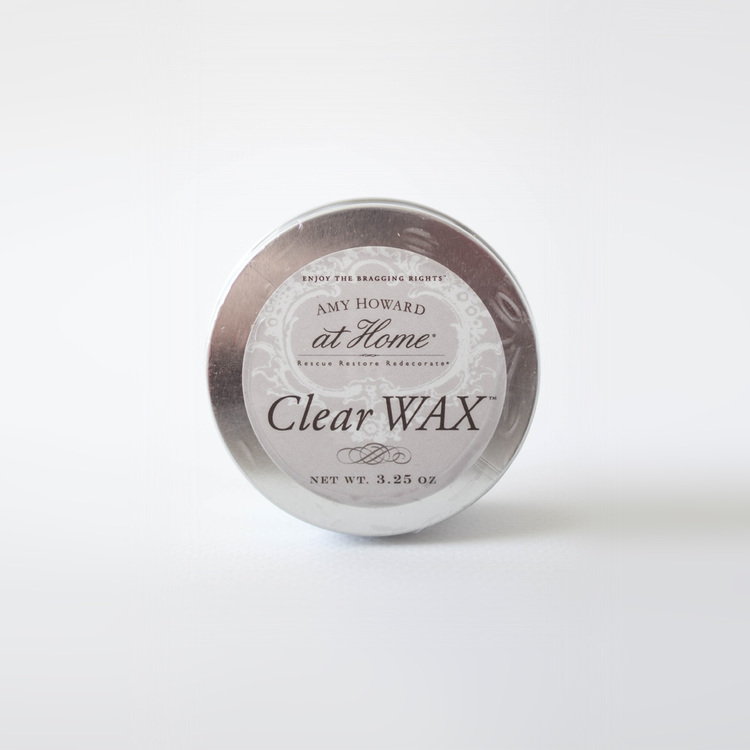
- Clear Wax
- small piece of cardboard (to off load wax)
- Chip brushes
- Paper Plate (to pour Cracked Patina in)
Before you do anything wash your piece to be painted with a degreaser like Simple Green and go over it with a cloth that has been dipped in water and wrung out.
Turn the paint cans upside down for about 30 minutes to mix. When you open the paint stir it until totally mixed.
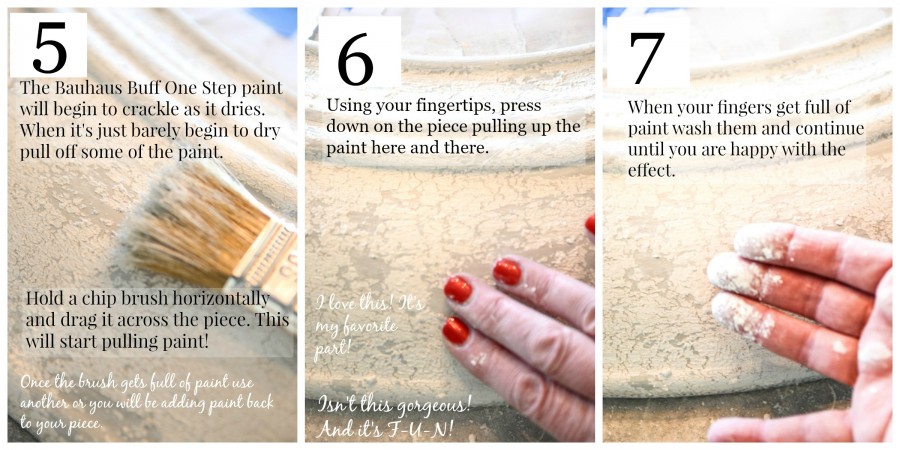
Here’s how I painted my clock…
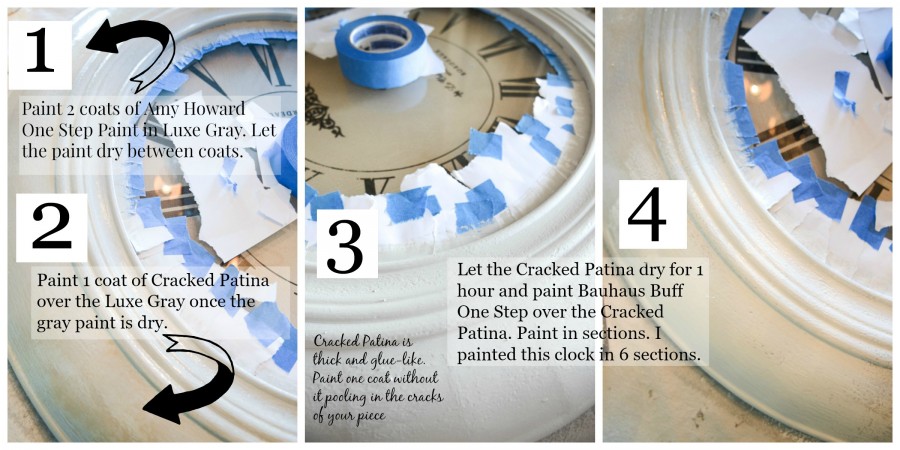
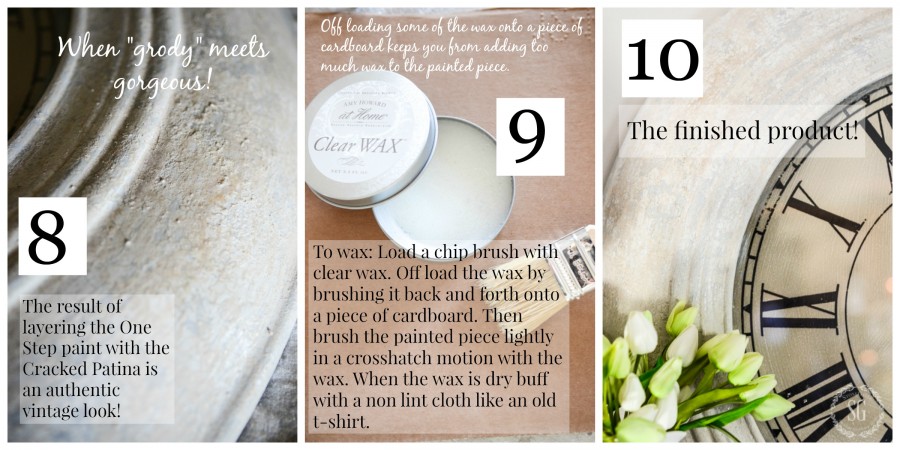
At this point a clear wax can be applies or not. Clear wax is not necessary but I think it gives the piece a nice finish. Here is the clock with the Luxe Gray Base and the Bauhaus Buff over that and the Cracked Patina.
I thought the clock needed a little “warmth” because of the warm tones in brick surround and the face of the clock so I added another layer of Linen One Step over a layer of Cracked Patina.
Here’s how I did it…. I repeated steps 2, 3 and 4 over the paint already on the clock. I used Linen One Step Paint to paint over the dried Cracked Patina.
This painting technique is a little addictive because it is so easy to do and the results are amazing!
Here’s a fabulous step-by-step tutorial on HOW TO CREATE A CRACKED PATINA done by Amy Howard… You will love this! It’s so worth watching!
I hope you will look at the wonderful things you have in your home that may look a little tired, a tad dated or worn around the edges and instead of getting rid of them think about painting them. There are so many beautiful finishes and colors and techniques you can use.
Upscaling is good for the earth and good for our pocketbooks! Painting furniture is easy to learn and keeps our creative juices flowing! Remember it’s very important to always be learning!
Let’s upscale the things we love and rescue them from the landfill! You will end up with a beautiful piece for your home that you have done yourself. And as Amy says, “ENJOY THE BRAGGING RIGHTS”!

Hi, just wondering… did you know you can get the cracked finish look using just plain white glue instead of the much more expensive crackle patina? I’ve used it for years. Once, when asked to complete a huge antique cupboard which had been removed from a wall I was flumoxed to find that the side built into the wall was completely unpainted while the rest of the 12 foot long piece was missing parts of it’s molding and was chippy from layers of paint including one layer of shocking red. Amazingly although all the doors were detached the antique wavy glass was all intact. I was surprised to find that the molding was easily available so it just had to be cut to fit where it was missing. I washed the entire piece and scrubbed years of barn dirt shamelessly using the garden hose. One dry I started mixing paints. The challenge was the raw side. I do wish I had thought to take pictures- it came out awesome and no one could tell that it had been refurbished. The antique dealer I did the work for wasn’t happy with the price of the work, but loved the end product. Unfortunately she is long out of business. I sure would like to see that piece again.
Sounds like an amazing rescue Nancy! I wish you had taken pictures too! I would not suggest using glue on a piece though. Glue sits on top of the paint while Cracked Patina melds into into the other layers creating a much richer look. And a little Cracked Patina goes a long way.
There is a difference and I would tell you if there wasn’t. Thanks so much for sharing your great furniture rescue story!
I have almost the exact clock that needs to be rescued from the basement! Thanks for the fabulous idea…I’m thinking red 🙂
Oh my goodness! I love the idea of R-E-D!
Good save, Yvonne!
Great way to save some money and it looks fantastic. I like the painted version much better 🙂 Have a wonderful weekend Yvonne!
I sure love this idea, I love how your clock turned out! I did this last year, I painted a mirror that is above my fireplace, and a mirror and shelf set I have hanging on a wall. I used creamy chalk paint and a wax, lightly brushing the wax as a finish. It just brightened things up and gave it a new look, even though they were 13 years old! Paint! What a wonderful thing it is. It can change just about anything. Thanks for posting this, I have another idea in my head now. Have a lovely day!
You must love painting furniture like I do! I’m so glad this post inspired another idea for you! Would love to know what it is!
A large wall clock, your clock inspired me to do it!
I love the crackle finish and the lighter color. Paint is an amazing thing. I need to try Amy Howard paint.
Very pretty. I actually loved the dark finish, but both are nice. I love your house decor and follow and copy as I can?. Thank you for the inspiration and for sharing your talents with us.
I love the change to the look of your mantle by changing the clock from dark to light, but am not a fan of the crackle/chippiness – but that’s just me – and probably the photos do not do it justice. I’m sure it’s much better seeing it n person and so many times I wish we could. Your home is beautiful ….
I love how it turned out, and love repurposing pieces rather than throwing them out.
I love how your clock turned out . Thanks for sharing the how too’s, wish I would have thought about repaint the clock when I saw it at Hobby Lobby, next time.
Be Blessed.
I like both versions of the clock, Yvonne – the dark looks nice in the colder months while the lighter version suits the soon-to-come warmer weather. I have always “upcycled” with paint – from vases, coffee, end & sofa tables to a stereo cabinet and a huge bulky Spanish 70’s style bedroom suite that looked so much nicer in a lighter color. If my dear Mum were still alive, I can just hear her laugh and say “upcycling in my day was called making do”!!
I have been considering making a French clock, looked at the clock parts at Michaels yesterday but this post makes me want to just buy a clock that I saw at Goods store and refinish it. Thanks for sharing you use of the paints, I have not tried the chalk paints yet. As I continue to revise the decorations I just keep mixing things up to keep it fresh but I also notice I have to edit some times since I get a little to enthused with too much on each surface. Somehow you manage to keep things clean and simple. You sure have a gift.
I recently started to use some of Amy Howard’s paint line, and I definitely like the overall look. Thanks for sharing your tips and experience with this paint, Yvonne!
Greetings Yvonne, Having found your blog about a month ago I am enjoying all things ‘Stone Gablle’. Although I’ve not perused your history blogs, do you do much with family photos? Either on walls or tabletop? Would you have suggestions for such? My side board with a few photos looks dull. There are different size frames, as well as styles and colors. I am in the process of lightening up the room. The sideboard will eventually be painted as well. I welcome your comments.
Hi Ginger Ann! Welcome to the StoneGable family. As far as your pictures… I would put them all in the same color frame with white mats. That should make them look fresh and inviting. Also, you might want to put them in frames like I said above and hang them on a wall.
Love it! I actually have a very similar clock – now I know how to update it a little! THANKS!
Yea!
nice post thanks for sharing
Incredible results from your sweat equity. Did you test the process first before tackling the clock?
I love this. Trying to recreate for my mantel. Where did you get the shutters or did you do it yourself? Thanks.
We found the shutter at a local antique shop. Very inexpensive and my husband retrofitted them. Here’s an easy tutorial to resize shutters… https://www.stonegableblog.com/how-to-resize-old-chippy-shutters/
I love this look! I’m going to use these paints on a large mirror.
What process did you use to paint the brick on your fireplace. I’ve been looking at different examples online, and I yours is the best looking, hands down. I would love to do something similar to my own brick around the fireplace. Thanks!
I think the best way to paint brick is to whitewash it. You can learn to whitewash here:https://www.youtube.com/watch?v=u8wtwgCtDA8